Choosing boots for winter city walking comes down to matching the boot to your winter rather than to the coldest number on the label: waterproofing where the ground is slushy, a siped rubber outsole where it is icy, and just enough insulation to stay warm for eight hours without cooking your feet. Get that balance wrong and you end up wet at the bus stop, sweaty by midday, or sliding across a crosswalk. The whole decision takes about an hour, most of which is spent standing and walking around a shop in your real socks.
Table of Contents
- What You Need
- Step-by-Step
- Frequently Asked Questions
- Are waterproof winter boots bad for city walking?
- What sole grip is safest for wet sidewalks and stairs?
- How much insulation do I need for walking in cold weather?
- Should winter walking boots have a high or low ankle?
- How long should I test new boots before keeping them?
- What socks should I wear with winter city-walking boots?
- Conclusion
What You Need
Most bad winter boot purchases start as an impulse in a shop doorway. Working out how to choose boots for winter city walking properly starts a day earlier, when you gather what your winter actually throws at you.
- Your route, drawn out. The blocks you walk every day, whether they are cleared pavement or half-plowed slush, and where stairs, metal grates and puddles sit.
- A two-week weather note. Write down how many days were slush, how many were dry snow, how many were freezing rain, and what it actually felt like at 7am. This matters more than the city’s annual average.
- Your daily distance. A commute of one mile and a commute of four miles are different problems. Distance drives fatigue and blister risk; temperature drives insulation.
- Your socks. Bring the thick wool or synthetic pair you already wear. Buy them first if you have to, then size the boot around them.
- Storage that suits the boot. Taller boots need a boot tray or a rack. Flat-packed rubber boots left folded for a week are how waterproof uppers crack.
- A testing plan. Twenty to thirty minutes indoors in your socks, plus a real outdoor walk inside the store’s return window.
Step-by-Step
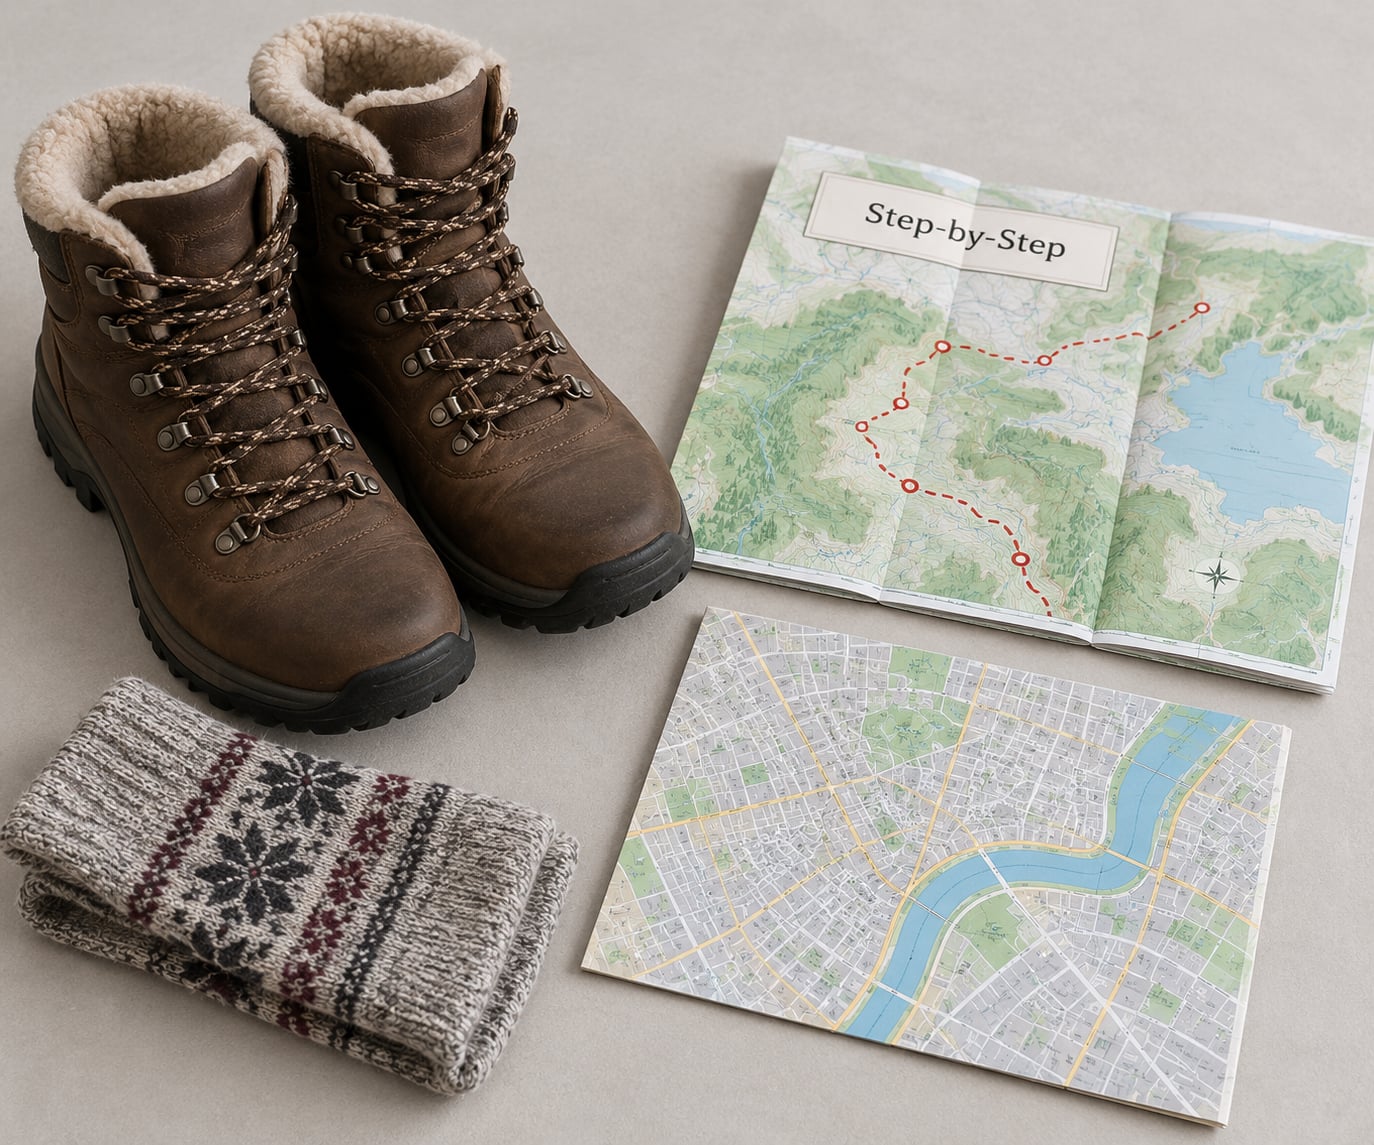
Step 1: Map Your Daily Route
Start with the surfaces, because they dictate everything else. Dry, well-swept asphalt with a few grates is a low-cut boot with a siped sole. Constant slush through a snow belt is a taller waterproof boot with deep lugs, because slush soaks any low seam and hides ice underneath.
Note the specific hazards on your walk: construction zones where the pavement turns to compacted gravel, station steps with metal edges, lobby tile that turns polished soles into skates, and the low sun spot where condensation refreezes into a glassy patch. If you cross a bridge or an overpass, add a wind note, since wind chill on an exposed span is what actually makes feet cold rather than the street temperature.
It also tells you the ankle height. Stairs, kerbs and uneven construction need a mid-height or higher shaft for stability. Flat, familiar pavement does not, and a low cuff breathes better and looks more like a shoe.
Step 2: Test the Fit for Long Walks
Size up by half a size if you wear thick socks, and no more than that: the rule is that your socked toes should touch the front of the boot without compressing, and your heel should not lift when you push off. Buy the boot late in the day, when feet are slightly swollen, and take the pair home and wear them indoors for half an hour with your usual socks before you trust them.
Check three things while you move. First, toe room: tap your toe box with the floor, you want to feel the cushion, not hit hard leather. Second, heel lock: stand on a slope, indoors stairs are fine, and the heel should stay down. Third, width across the forefoot, because a boot that fits your heel can still pinch the ball of your foot after hour two.
Women in particular should push back on a default market-average last. If your toes touch the front of the boot in a size that is otherwise correct, that is a narrow-last boot, not a sizing mistake, and no amount of thick socks will fix cold toes. Wide toe boxes exist for a reason.
Step 3: Compare Warmth and Waterproofing
Warmth and waterproofing are different jobs, and this is the most misunderstood spec in the category. Insulation traps air; it does nothing once your sock is damp. Waterproofing keeps slush out; it costs breathability because the membrane that blocks liquid water also slows vapour.
Look for three things in the waterproofing. A waterproof membrane (Gore-Tex, eVent or Olantex are the common names), sealed or taped seams rather than just a coated upper, and a gusseted tongue so grit does not run down into your laces. A water-resistant suede or nylon upper sheds a shower but soaks through in sustained slush.
For insulation, a synthetic fill such as 3M Thinsulate or PrimaLoft stays warm when slightly damp and is usually lighter; wool felt and shearling linings are warmer but heavier and slower to dry. Ignore a brand-new boot rated to minus 20 F if you live in a city that rarely drops below 20 F, since you will overheat indoors by hour three.
The overheating complaint is the one I hear most often, and it is real. In r/gorpcore, the consensus on winter city walking is that a membrane earns its place when it is cold and there is snow or slush on the ground, and is overkill in a mild, rain-only winter where breathability matters more. r/BuyItForLife posters lean the other way, preferring welted leather and skipping membranes because their feet run hot regardless of weather. Both are reasonable; the deciding question is whether your ground is snow or splash.
Step 4: Choose Traction for City Surfaces
Traction is the safety spec, so read the outsole before the upper. Rubber compound comes first: a soft, grippy winter rubber (Vibram and similar) bites into wet pavement, while a hard plastic or glossy compound can skate. Then look at lug depth and siping, the small cuts across the lugs that let water and slush squeeze out so the tread does not hydroplane.
Deep, widely spaced lugs handle loose snow. Fine, closely spaced siping handles smooth wet pavement and shallow ice. Heel design matters for stairs and kerbs: a defined heel with a broad contact patch keeps you planted when you come down steps fast, while a continuous flat sole feels odd on stairs and can catch an edge.
For freeze-thaw cities where black ice forms every clear morning on a salted street, grip matters more than warmth, and you should consider a boot with siped rubber or a pull-on overshoe with foldable crampon studs. Foldable crampons stretch over your existing boots and are the cheapest way to handle genuine ice days; leave them off indoors, because steel studs on transit tile and lobby floors is a fast way to fall.
Step 5: Check Comfort Beyond the First Minute
A boot that feels great in the first thirty seconds is telling you nothing, because padding that looks thick compresses under real load. Judge the cushioning after about twenty minutes of standing and walking, when the midsole has settled into your stride.
Four things to check. Weight matters more than people expect, since a boot carried on your foot for eight hours costs you noticeably more energy than a lighter one. Flex should happen at the forefoot, not at the ankle, or your shins will complain. Arch support has to match your foot rather than be maximally thick, so try removable insoles and swap them. Breathability is felt in the first ten minutes of indoor walking in a heavy pair.
If you stand for part of your day, such as a platform or a shop floor, weight shifts onto your heels, and heel cushioning and a stable counter matter more than forefoot padding. Note where pressure lands so you can judge it later on a real walk.
Step 6: Make the Style Work With Your Wardrobe
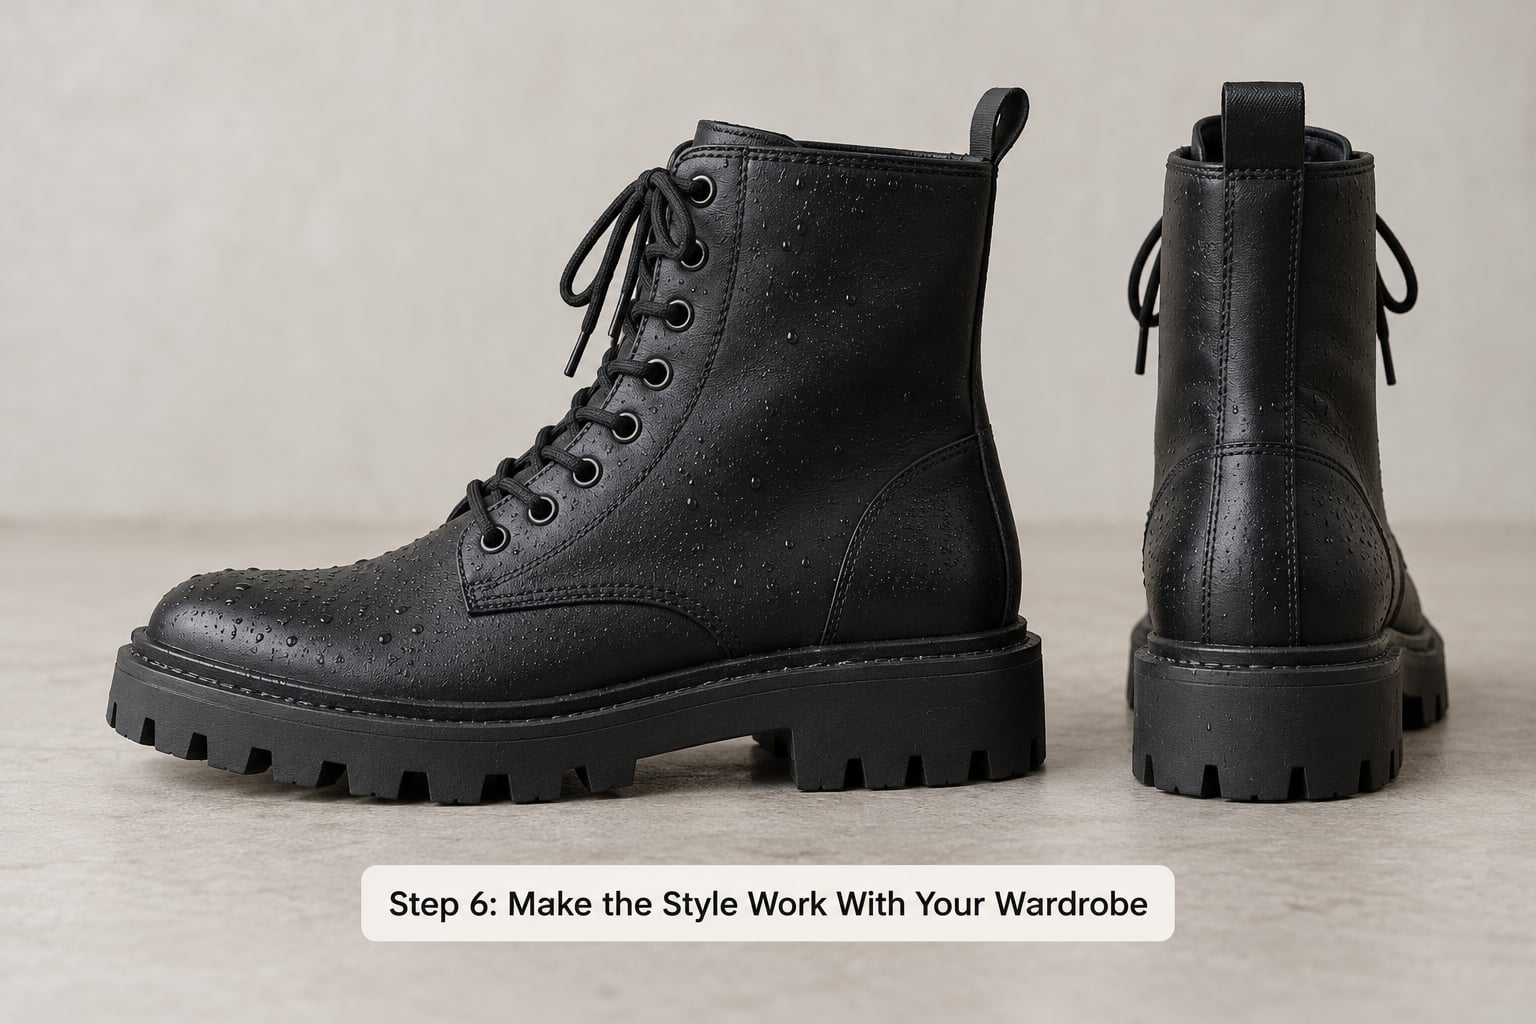
The most common complaint about winter boots is not comfort, it is that people refuse to wear them with anything they own. Fix that by shopping around the cuff: a lower shaft pairs with straight or slim trousers and lets the hem show, while a taller boot wants a wider or cuffed trouser to avoid a visible gap at the ankle.
Colour is easier than people think. Black and dark brown disappear with almost everything, tan and oxblood read more casual, and a red or gum sole adds one clear accent to an otherwise quiet outfit. Keep the laces tidy, and re-treat or polish the finish a couple of times a season so the leather does not go grey and cracked, since a maintained boot looks intentional and a dried-out one looks abandoned.
The duck boot plus chukka pairing that comes up constantly in r/malefashionadvice threads is the classic city answer: one for slush and snow, one for dry cold days and the office. Two narrower profiles are easier to wear than one bulky one.
Step 7: Break Them In and Reassess
Take the boots home and wear them indoors on carpet for a few hours a day for the first week, with the socks you will actually use. Do this before the deep cold arrives, since stiff new materials and cold feet are a miserable pairing, and cold stiffens leather and foam further.
What you are watching for is simple. Rubbing at the heel or the top of the forefoot means the volume is wrong and the boot should go back or be stretched. A heel that slips on stairs means the shaft is too tall or too narrow. Numb toes after twenty minutes means the insulation is too thin for your actual mornings, not that you need a heavier boot overall.
Use the return window for at least two real outdoor walks, one dry and one wet. After that, decide: treat and keep, add insoles and keep, or return. Wet spots on the sock tell you the waterproofing failed, and salt drying white on the upper tells you the upper needs cleaning, not that the boot is finished.
Common Mistakes
- Buying for looks before fit. The style always looks better in the shop than on a wet pavement at 6pm. Fix: try both shortlisted pairs indoors, in your socks, for twenty minutes before you look at anything else.
- Treating warm as waterproof. A thick lining keeps an already-damp foot warm for about ten minutes. Fix: check the membrane and seam sealing first, then judge insulation.
- Going too heavy on tread. Aggressive mountaineering lugs on smooth city pavement feel clunky and pick up grit. Fix: match lug depth to your surface, and go deeper only where you walk through snow.
- Wearing cotton or thin socks. Both stay wet and both feel colder afterwards. Fix: wool or synthetic mid-weight socks, always, and carry a spare pair if your feet run wet.
- Skipping the indoor walk. Standing in socks tells you about fit, not comfort. Fix: budget the half hour; it is the only way to catch a pressure point before the snow starts.
- Ignoring the return window. Boots feel wrong for the first wear and most people return them a season later, out of frustration. Fix: set yourself two outdoor walks inside the window, then decide.
- Never maintaining them. Salt left on leather and a damp lining left folded both shorten a boot’s life sharply. Fix: knock off salt, dry at room temperature with the laces loose, and re-waterproof every two to three months in a salted city.
Frequently Asked Questions
Are waterproof winter boots bad for city walking?
Not by themselves, but they can be. A waterproof membrane blocks liquid water and slows vapour, so feet that run hot get sweaty, and sweat cools faster than rain does. If your winter is slush and snow, a membrane is worth it. If your winter is mild rain and frost, unlined leather or a highly breathable membrane usually serves a long day better. Merino or synthetic socks change the outcome more than people expect.
What sole grip is safest for wet sidewalks and stairs?
Soft grippy rubber with siped lugs, spaced so slush and water escape, plus a defined heel for stairs. On genuine black ice, siping alone is not enough and pull-on overshoes with foldable crampon studs are the practical answer. Remove them indoors, since studs on transit tile and lobby floors end in a fall. Avoid smooth glossy rubber, which behaves like a roller skate when wet.
How much insulation do I need for walking in cold weather?
For most city walking, enough to keep a sock dry is all you need, because cold feet are usually damp feet. A synthetic fill or a thin shearling lining handles typical winter mornings down to well below freezing while you are moving. Ratings for extreme cold add bulk without adding warmth in a heated office. Match the boot to the coldest morning on your weather log, not to the worst day recorded in the city.
Should winter walking boots have a high or low ankle?
Match the height to the route. A mid or high shaft gives stability on stairs, kerbs and construction ground, and keeps warmth in when you stand still. A low cuff breathes better and works with slim trousers, which suits flat, well-cleared pavement. If your walk has stairs or uneven surfaces, favour the taller shaft. If it is flat and you care about how boots look at work, the low cuff is easier to wear.
How long should I test new boots before keeping them?
Give them at least two real outdoor walks inside the return window, one dry and one wet, after a few days of indoor wear with your usual socks. Twenty to thirty minutes indoors catches fit problems, while an hour of actual walking catches pressure points and heel slip. If the pair passes both, keep it. If a spot is consistently hot or your heel lifts on stairs, return it while returning them is still easy.
What socks should I wear with winter city-walking boots?
Wool or synthetic mid-weight socks, always cotton-free, worn as a system. Merino regulates temperature better than cotton and dries faster when damp. Skip heavy double-thickness pairs if your boots fit snugly, since the extra volume crowds your toes and causes cold toes anyway. Carry one spare pair for long days, and change out of damp socks at the office if you have been walking in slush.
Conclusion
The short version of how to choose boots for winter city walking: write down your route, your slush-to-freeze-thaw ratio and your daily distance, because those three facts decide waterproofing, outsole and shaft height. Then put your socks on, take the best two or three pairs home, and walk in them for half an hour before you decide anything about style.