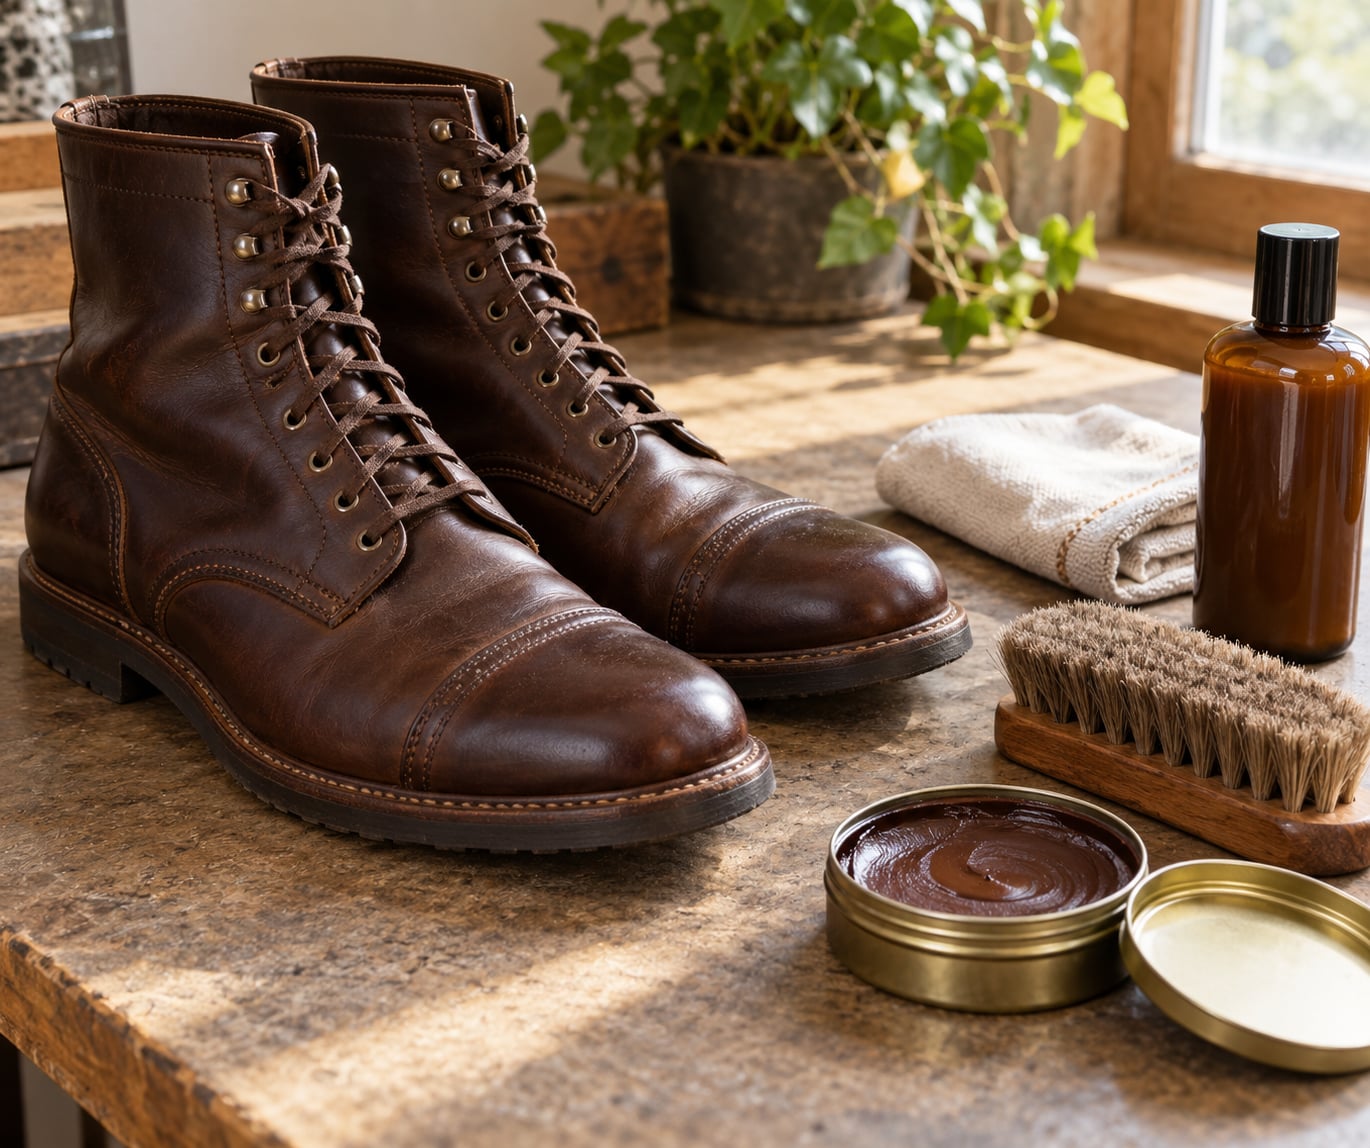
Polishing leather boots is a four-stage job: clean and strip away old polish, condition the leather to rehydrate it, build colour back with thin cream coats, then wax the toe cap and heel for shine and scuff resistance. A full session takes 40 to 90 minutes plus drying time, and it costs far less than a cobbler’s shine. Here is the process in the order that actually works.
The order is the whole trick. Polish put on dry, tired leather sits on the surface and flakes off in a month, which is why so many people decide boot care does not work. Get the conditioning step right and the rest gets easier.
A note on shine level before we start: a mirror shine on the toe and heel is a party trick, not a durability upgrade. Most boots look best with a soft, even gloss across the whole upper and a harder wax layer on the two high-wear areas. Both are covered below.
Table of Contents
- What You Need
- How to Polish Leather Boots Step by Step
- 1. Check the Leather and Choose the Right Products
- 2. Remove Dirt and Dry Mud with a Soft Brush
- 3. Clean the Boots Before Applying Polish
- 4. Let the Leather Dry Fully
- 5. Condition the Leather if Needed
- 6. Apply Thin Coats of Polish Step by Step
- 7. Buff to a Smooth, Controlled Shine
- 8. Finish the Edges and Do a Final Inspection
- Common Mistakes
- Tips
- Frequently Asked Questions
What You Need
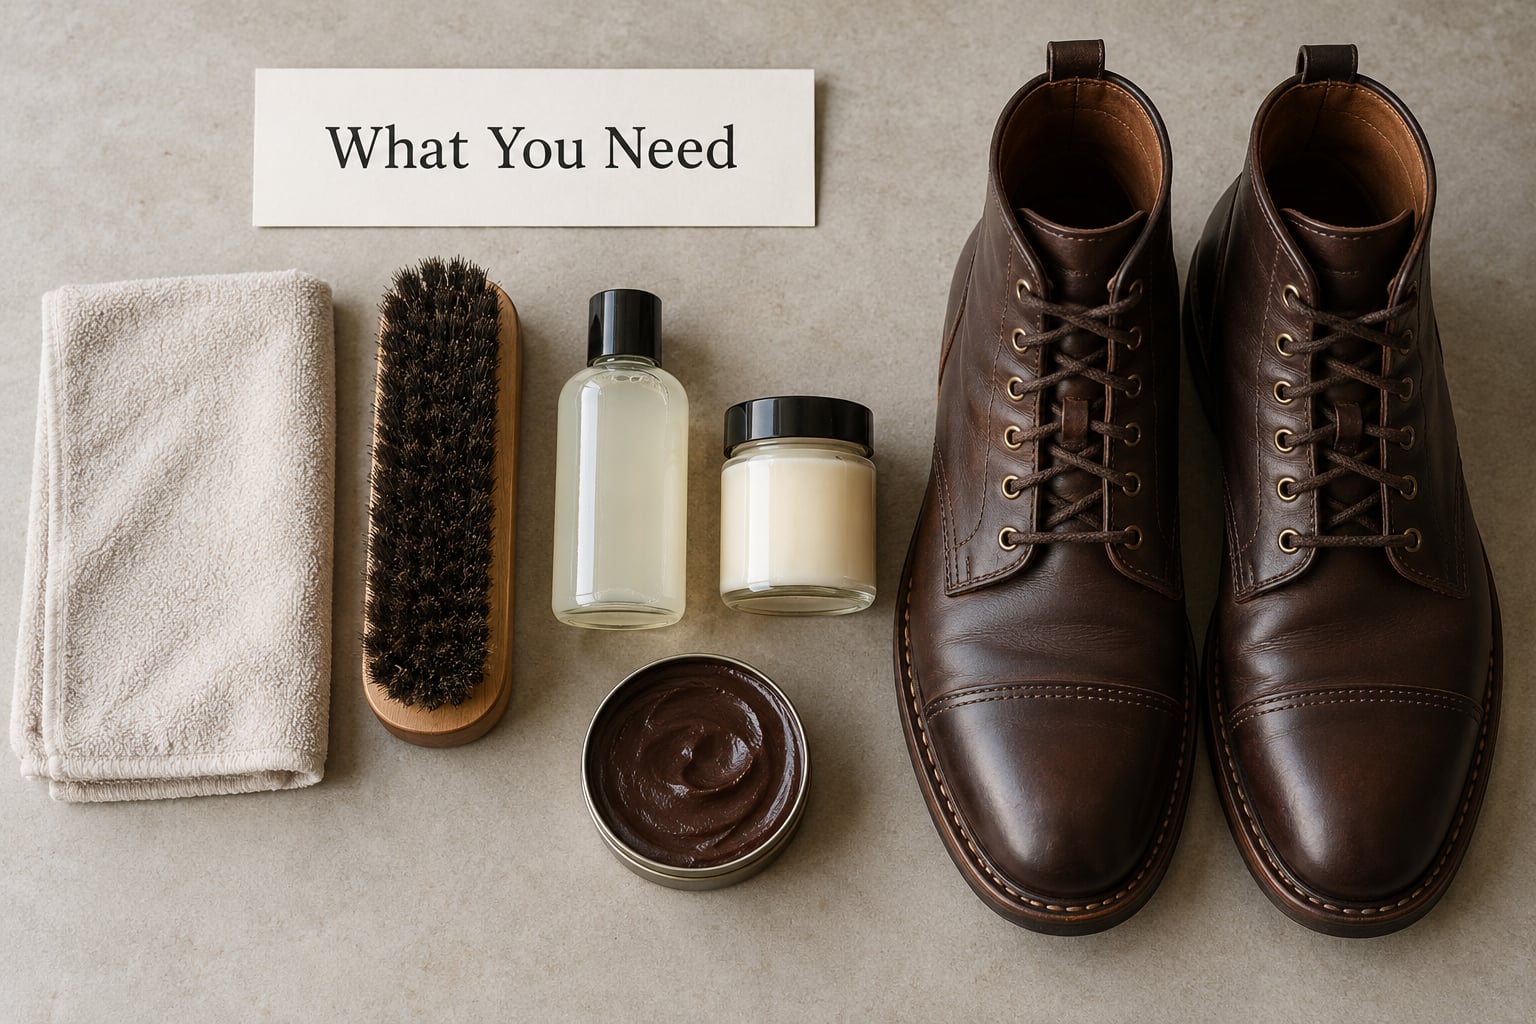
A decent shine needs very little: a horsehair brush, two soft cloths, a leather cleaner, a conditioner, cream polish, and wax. Everything else on the list is optional. What matters more than the brands is matching the product to your leather type, which is why step one is a check rather than a scrub.
- Soft bristle brush or horsehair brush — removes dried mud from seams and welts, and does the buffing at the end. A stiff brush is for suede; a horsehair brush is for smooth leather.
- Two soft, lint-free cloths — one for cleaning, one dedicated to polish. Never reuse a greasy kitchen rag on a boot.
- Leather cleaner — a mild, purpose-made cleaner lifts grime without stripping the finish. Soap flakes, diluted washing-up liquid or a drop of white vinegar in warm water work as substitutes.
- Leather conditioner — feeds the hide and brings back suppleness. Anything with lanolin or natural oils is a sensible pick.
- Cream polish — pigment suspended in wax and oil. This is the colour and base shine layer, and it does most of the visual work.
- Wax polish — a harder wax for the toe cap, heel and welts only. This is what resists scuffs and takes a high polish.
- Old toothbrush or foam brush — for stitching, the groove around the welt and the seam between upper and sole.
- Shoe trees — cedar if you can get them. They hold the boot’s shape and draw moisture out of the lining overnight.
- Edge rest or old newspaper — keeps polish off your work surface and stops a wet boot from sitting on raw wood.
Two things to leave out of the kit. Silicone-based polish is widely sold and regularly flagged on shoe-care forums as the wrong choice for smooth leather; it sits on top, goes grey, and stops leather breathing. And skip the WD-40. Both get their own explanation under Common Mistakes.
One more warning about polish colour. Match it to the darkest part of the boot rather than the lightest, because pigment transfers permanently and a pale cream on a dark brown boot will leave a mark you cannot buff out. Colourless polish exists, and it is the safe choice when you are unsure, though it only adds sheen and no colour correction.
How to Polish Leather Boots Step by Step
The full order is clean, strip, condition, cream polish, buff, wax, final buff. Eight steps, each with a sign that tells you it worked. Take your laces out first and stuff the boots with rolled-up socks or paper so the uppers hold their shape while you work on them.
Condition first, then polish. Conditioner rehydrates the leather so the polish absorbs into it instead of sitting on top. Polish applied to dry, unconditioned leather is the single most common reason a shine looks great on day one and looks terrible a month later.
1. Check the Leather and Choose the Right Products
Smooth or full-grain leather takes polish; nubuck and suede do not. Look at the surface under decent light. Full-grain and smooth leather show the natural grain pattern, absorb a drop of water, and take a cream polish well. Waxed or rough-out leather feels waxy and slightly textured, and prefers wax over heavy cream. Patent leather has a uniform glassy film with no visible grain. Nubuck and suede look fuzzy, suede more furry, and they must never touch polish or standard conditioner.
Run a fingertip across an area the colour hasn’t reached. Full grain has a slight warmth and texture, wax calf feels slick, patent feels cold and hard. That touch test catches more mistakes than any product label.
One cheap check for smooth leather: wait a few seconds after cleaning before polishing. Leather that absorbs water readily is full grain and will take polish well. Patent leather will bead and must be wiped, not polished. If it beads, you want a purpose-made patent cream and nothing else.
2. Remove Dirt and Dry Mud with a Soft Brush
Brush the boots before anything wet touches them. Take the laces out, then work the horsehair or soft bristle brush across the upper in long strokes from the toe toward the ankle. Pay attention to the welt, the stitching and the seam where the upper meets the sole, where dried mud sits hardest.
The sign it worked is simple: loose grit comes off as a visible dust cloud and the seams go from hard-crusted to flexible. If grit stays embedded, go round again rather than reaching for a wet cloth. You will grind that dirt straight into the grain when you start cleaning, and those grey scratches never come out.
For caked mud that has already dried on, tap the sole edge on a hard surface first. Most of it will shatter off, and you can brush away the rest.
3. Clean the Boots Before Applying Polish
Dirt left under polish is the main source of permanent grime and scuff marks. Test any cleaner on a small hidden area first, typically under the tongue or inside the ankle, and wait a minute to see whether the colour shifts.
Apply the cleaner sparingly to a soft cloth rather than to the boot. Wipe in overlapping strokes, and work a little at a time so you can see what is lifting. Use the damp toothbrush for stitching and the welt groove. On heavily soiled work boots, a second pass is normal.
Stop when the cloth comes away clean and the colour looks even. Over-wetting is the real risk: leather that soaks through takes days to dry properly and can go stiff or grow mildew at the seams. Wipe off standing water with a dry cloth rather than letting it soak in. If anything has been dampened, redampening with a barely damp cloth evens out blotchy patches before it dries.
4. Let the Leather Dry Fully
Dry at room temperature for several hours, ideally overnight. A boot that feels cool to the back of your wrist is dry enough; if there is any coolness or dampness left, polish will smear instead of staying put.
Keep leather out of direct sunlight, away from radiators and off the edges of dryers. Heat drives moisture out of the hide faster than it can follow, which is how cracks appear along the vamp. This is the advice most people get wrong, because a hairdryer feels like a shortcut.
There is one narrow exception. Forum advice on melting wax with a hairdryer does work, and experienced users do it, but they use a radial dryer on low, keep it moving, and warm the leather rather than scorching it. Hold the dryer a foot or more away. If you have never done this before, give the wax a longer set time instead.
5. Condition the Leather if Needed
Condition when the leather looks flat and pale, when it creaks rather than folds softly, or roughly every three to four months on regularly worn boots. If you just cleaned and the colour looks rich, a light coat is still worth it.
Apply a thin, even layer with a clean soft cloth. Work it in small circles until it disappears rather than sitting on the surface. Let it absorb for 20 to 30 minutes, then wipe off anything still sitting on top.
The sign it worked is tactile: the leather bends at the creases without cracking and feels slightly soft, not greasy. If it looks like it is sweating for a while afterwards, you used too much. That goes away with time but blotchy colour sometimes does not, so go light.
6. Apply Thin Coats of Polish Step by Step
Shoe-shine enthusiasts are blunt about this one: thin coats, never thick ones. A thick coat takes ages to dry, buffs out patchy, and cracks along the flex lines within weeks. Several thin layers also give you a better colour match than one heavy one.
Match the colour to the darkest part of the boot. Load a small amount of cream onto your cloth, not the other way round, and spread it in light even strokes covering a section about the size of a playing card before moving on. Lay it into the grain rather than scrubbing.
Stay off the painted or sealed edges and avoid heavy polish directly on stitching where it can wick in and leave a pale halo. If you polish in the creases, keep the layer thin there. Wax and leather both crack where the boot bends, and the flex lines are where the finish fails first.
Then buff each section before it fully dries, roughly two minutes after application. Let each coat dry for five to ten minutes and go again. Two or three thin coats is a normal good result. You are watching for even, slightly deeper colour with no streaks and a soft haze on the surface.
7. Buff to a Smooth, Controlled Shine
Holding a boot properly takes some practice: heel of the hand on the heel counter, fingers on the toe, support underneath. Buffing with pressure across the toe does more for the finish than speed.
Let the polish haze for a few minutes first, then use the horsehair brush in fast, light strokes, always in one direction, and switch to the soft cloth for the final pass. The brush generates the heat that melts the wax and levels the film. The cloth removes the wax dust the brush leaves behind.
How shiny should it be? Most boots stop at a soft gloss. For a harder shine, add the wax stage: work a thin layer of wax onto the toe cap and heel only with a damp cloth, leave it five minutes until it hazes, buff hard with the horsehair brush, then do a light cloth pass. Paste wax applied in this way takes noticeably more scuffing than cream alone, which is why enthusiasts keep it on those two areas.
For a true mirror shine, add water. A few drops spread over the wax with your fingertips, then buff with sustained pressure using the flat side of the brush to move the wax around rather than simply brushing it off. It takes practice and it is entirely optional. Creases and seams will never mirror, and that is normal.
8. Finish the Edges and Do a Final Inspection
Wipe the welt, the sole edge and the stitching with a barely damp cloth to lift stray polish. This is where excess builds up into grey smudges, and it also stops the boot creaking when you walk.
Check the whole boot at arm’s length in good light. Any patch that looks darker than its neighbours means you went over it more heavily, and the fix is to wipe back lightly rather than adding another coat on top. Look for missed areas near the tongue and inside the ankle, which people habitually skip.
Leave the boots to rest a few hours, ideally overnight, before wearing them. Insert the shoe trees. The polish keeps curing and hardening as it sits, so a shine finished at midnight will look better on Saturday morning than it did on Friday night. Then put waterproofing spray on if the boots will see rain, on a separate day so the two finishes do not fight.
Common Mistakes
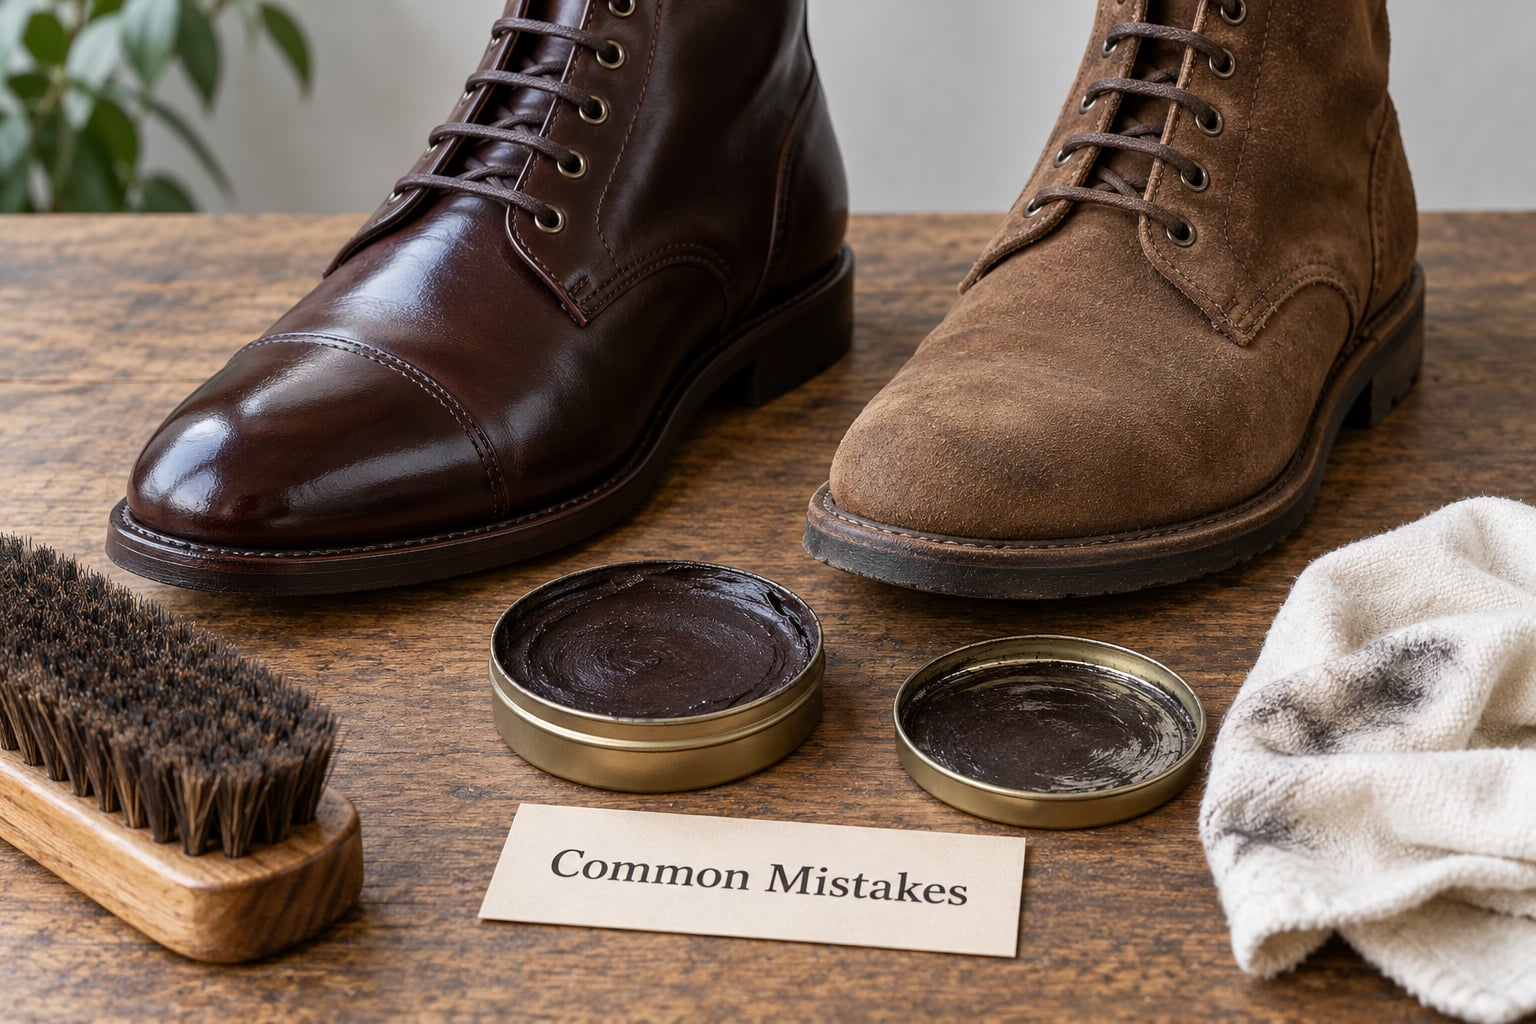
Almost every ruined pair of boots comes down to one of a handful of mistakes, and all of them have a simple fix. Here is what goes wrong and what to do instead.
Polishing before cleaning. You seal dirt under the wax, then grind it into the grain during buffing. Fix: clean first, every time, even when the boot looks fine.
Thick coats of polish. They dry unevenly, buff out streaky, and crack along the flex lines. Fix: three thin coats beat one heavy one every time.
Using WD-40 on leather boots. It is a petroleum solvent, not a leather treatment. It strips the natural oils and any existing finish, so the leather dries out and cracks sooner rather than later, and the greasy film it leaves repels the conditioner and polish you apply afterwards. WD-40 has a legitimate place on non-leather components such as zips and metal hardware. On the leather itself, leave it alone.
Using petroleum jelly or Vaseline as polish. It is occlusive, not a polish. It seals moisture in rather than feeding the hide, softens and goes grey over time, traps dust, and it adds no shine and no colour. If your only goal is to stop winter wind, a wax polish does the same job without the downside.
Water on nubuck or suede. Regular polishing water and any cream will darken the nap unevenly and leave permanent-looking blotches. Fix: a dry suede brush and a nubuck-specific cleaner, nothing more. Waterproofing sprays are safe on both once the nap is clean.
Wrong polish colour. Polish bleeds and pigments transfer permanently, so a tan cream used on a dark brown boot leaves a light mark you cannot buff out. Fix: test on an inside seam, match to the darkest area, and use colourless polish when you are unsure.
Silicone-based polish on smooth leather. It sits on top instead of bonding, goes chalky grey, blocks the pores and is very hard to remove later. Fix: use a traditional cream or wax.
Skipping the conditioner. Dry leather cannot absorb polish properly, so the finish sits on top and cracks off with use. Condition first, then polish.
Drying in heat or direct sun. A hairdryer held close, a radiator or a sunny windowsill drives moisture out too fast. The leather dries unevenly and cracks. Fix: room temperature, patient, overnight.
Polishing the entire boot with wax. Wax is hard and sits on the surface. On the vamp and the flexing quarters it cracks where the boot bends. Fix: cream across the whole boot, wax on the toe cap and heel only.
Over-polishing until build-up forms. This is a real worry on shoe-care forums and the answer is reassuring: polish build-up does not rot the leather. It just goes grey and flaky, and it dulls the colour. Fix: a thorough clean with a cloth and a little cleaner at the start of each session lifts it. If it has hardened, many thin layers with a cloth, left on for an hour and then wiped off, will shift it.
Tips
A routine beats a rescue. Most boots only need ten minutes after each wear and a proper session twice a year, so build the schedule rather than waiting for a scuffed pair to remind you.
- After each wear: knock off dust with the horsehair brush, wipe the toe and heel with a cloth, and insert the shoe trees. This alone stops most scuffs from ever forming.
- Monthly: a thin coat of conditioner if the leather looks tired, and a quick buff on the toe and heel if the shine has faded.
- Every three to four months: a matching cream polish, worked in and buffed. This is the interval that regular boot owners tend to land on and it holds up well.
- Twice a year or before winter: the full eight-step session, plus a separate day of waterproofing spray.
Spot clean early. Grime sits on the surface for months before it works its way into the grain, and a damp cloth and a touch of cleaner deal with fresh marks in seconds. Once it has soaked in, the fix is a full session or a re-dye.
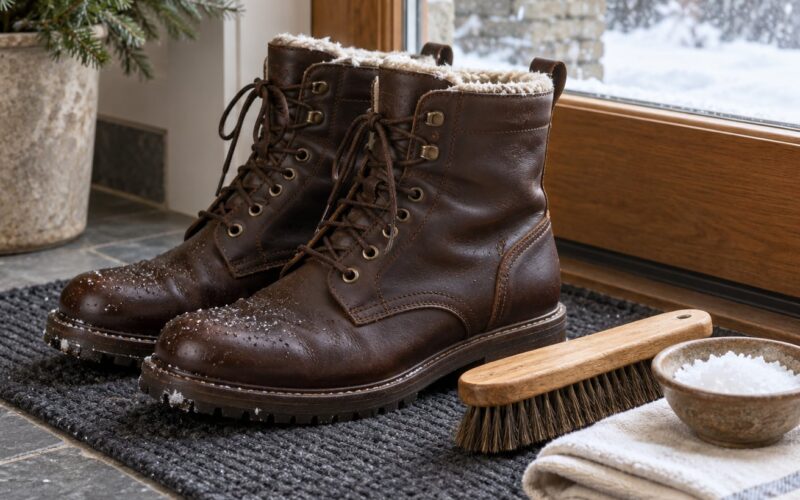
Treat salt and alkaline cleaners as urgent rather than cosmetic. Road salt is corrosive, and soda ash, the residue left by some cleaning products and alkaline concrete dust, is worse. Wipe boots down after a walk in a wet city rather than leaving them to dry in that state.
Be clear-eyed about waterproofing. Silicone and wax sealers keep water out but also stop the leather breathing, and repeated heavy coats can weaken adhesives at the sole join. A light coat once a season is sensible; painting them on every month is not.
Dry mud gets the brush, not a sponge. Let it dry completely, then knock and brush it off. Going at it wet spreads the muck deeper.
Store with care: clean and dry, never folded, stuffed with cedar trees, away from radiators and out of direct sun. Two cedar trees are worth the small spend, since they hold the shape and absorb the moisture that leads to odour and mildew.
Know when to stop and hand it over. Cracks that have gone all the way through the leather, a separated sole, a sole worn to the studs or heavy redye work are cobbler jobs. Polishing will not fix any of them, and trying can make the colour match worse.
Frequently Asked Questions
What does WD-40 do to leather boots?
It is a petroleum solvent, and on leather it strips the natural oils and any existing finish, leaving a greasy film that repels conditioner and polish. The hide then dries out and cracks sooner than it would have done untreated. WD-40 is useful on non-leather parts such as zips and metal hardware, but keep it off the upper itself and use a leather conditioner instead.
Does Vaseline work as boot polish?
No. Petroleum jelly is occlusive rather than a polish: it traps moisture in the leather instead of feeding it, softens and turns grey over time, and attracts dust. It adds no shine and no colour. If you want to seal winter wind out, a wax polish applied to the toe cap and heel does the job without breaking down like petroleum jelly will.
Should I condition or polish leather boots first?
Always condition first. Conditioner rehydrates the hide so polish absorbs into the grain and bonds. Polish applied to dry, tired leather sits on the surface, looks shiny for a few weeks, then cracks and flakes off with use. The full order is clean, strip any old build-up, condition, apply thin cream coats, buff, then wax the toe cap and heel.
Can I polish suede or nubuck boots?
Not with regular polish. Nubuck and suede have a raised nap that cream and wax will darken unevenly and blotch permanently. Clean them with a dry suede brush or a nubuck-specific cleaner, use a waterproofing spray made for those materials, and leave polish out of it entirely. Do put shoe trees in when they are not being worn, since creases set quickly in suede.
How often should I polish leather boots?
Brush and wipe them after each wear, apply a thin coat of conditioner roughly every three to four months, and give them a full clean-and-polish session twice a year or before winter. Heavy scuffing on the toe and heel can be touched up between sessions with a thin wax layer on those areas only. Daily wearers rarely need more polish than that.
How do I get a mirror shine on leather boots?
Apply a hard wax to the toe cap and heel, let it haze for about five minutes, then buff hard with the horsehair brush under firm pressure. Add a few drops of water with your fingertips to thin the wax and buff again, using the flat side of the brush to work it around rather than off. Creases and seams will never mirror, and a soft gloss elsewhere is perfectly acceptable.
Start where this guide starts: identify the leather, clean it properly, let it dry, condition it, then add thin cream coats a section at a time. Get that sequence right and the shine takes care of itself. Wax the toe and heel last, insert the trees, and leave the boots to rest overnight before you wear them.