You can tell if sneakers are real or fake with three things: the codes on the box, the size tag and the shoe itself matching up, the craftsmanship holding up under a loupe, and the materials smelling and feeling right. If any one of those three disagrees with the other two, you have your answer.
That takes about five minutes and costs nothing. The failure mode is almost never one giant giveaway — it is three small details that each look fine alone and together mean nothing else.
The collector stakes explain why people bother. A counterfeit pair in a display case is worse than no pair, because it takes the credibility of everything around it with it. And for anyone buying on a resale platform, a social media seller or a market stall, the pair arriving is the same event whether you checked or not.
Here is the routine, in the order experienced checkers actually use it: seller and listing, then tongue, then sole, then laces, then the small print. Work through it in that order and you will not waste time on a pair that was never going to pass.
What You Need to Inspect Sneakers Properly
Almost every failed check comes down to bad lighting. A counterfeit pair inspected under a warm bulb in a shop corridor looks identical to a genuine one; the same pair under a bright window at home tells on itself.
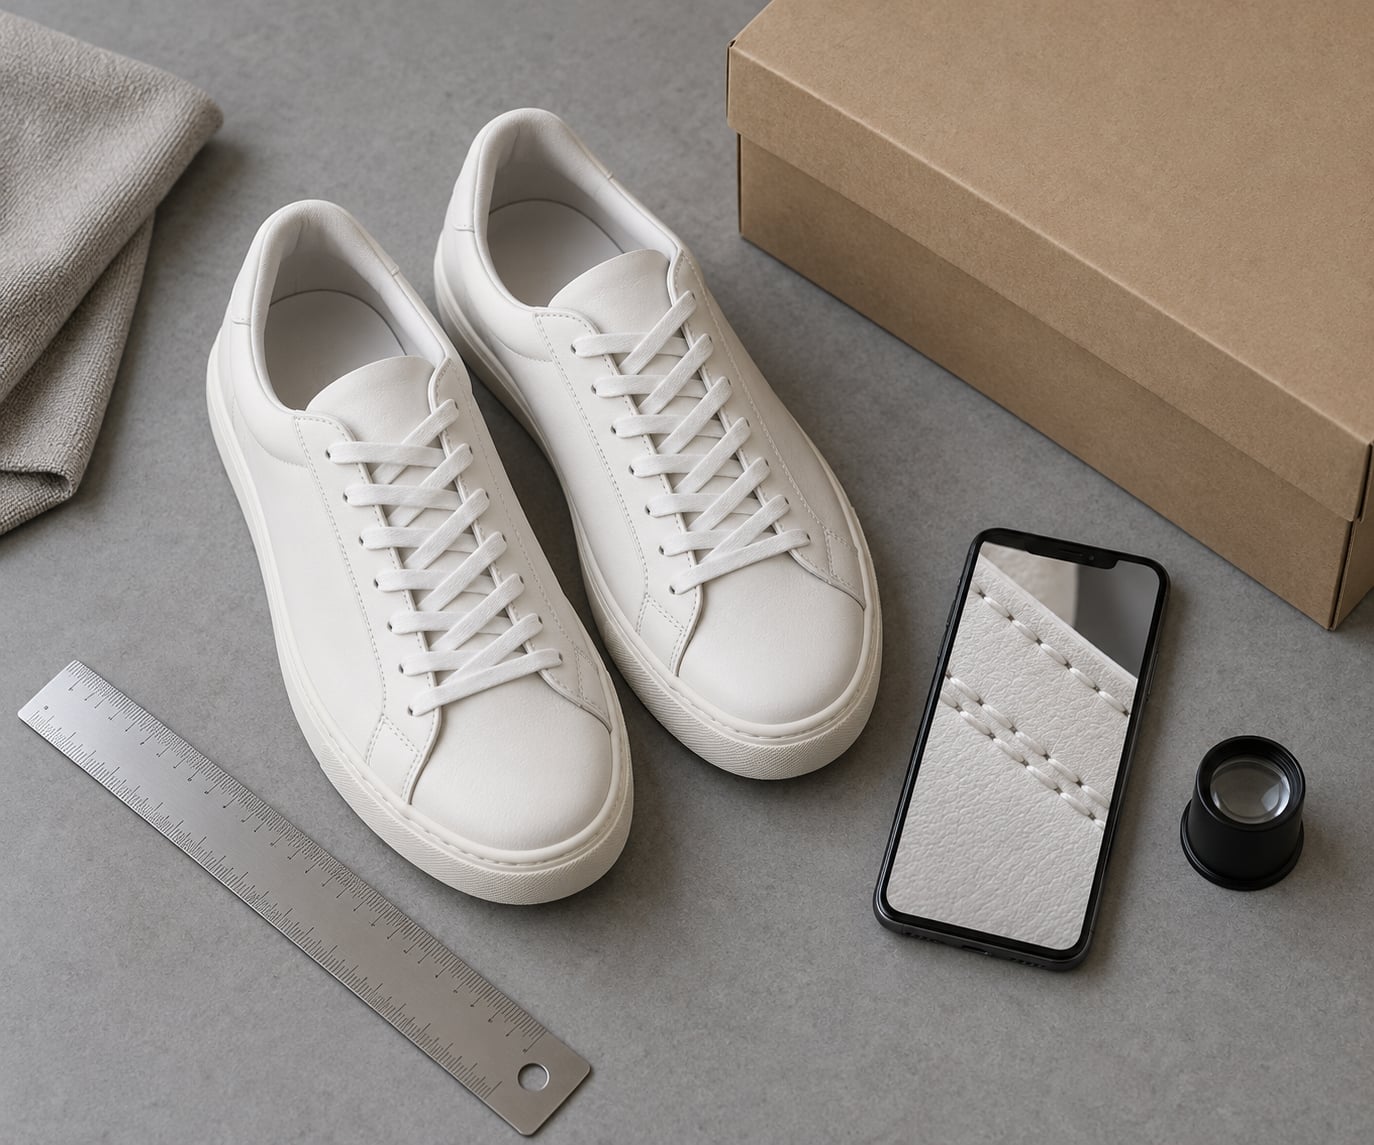
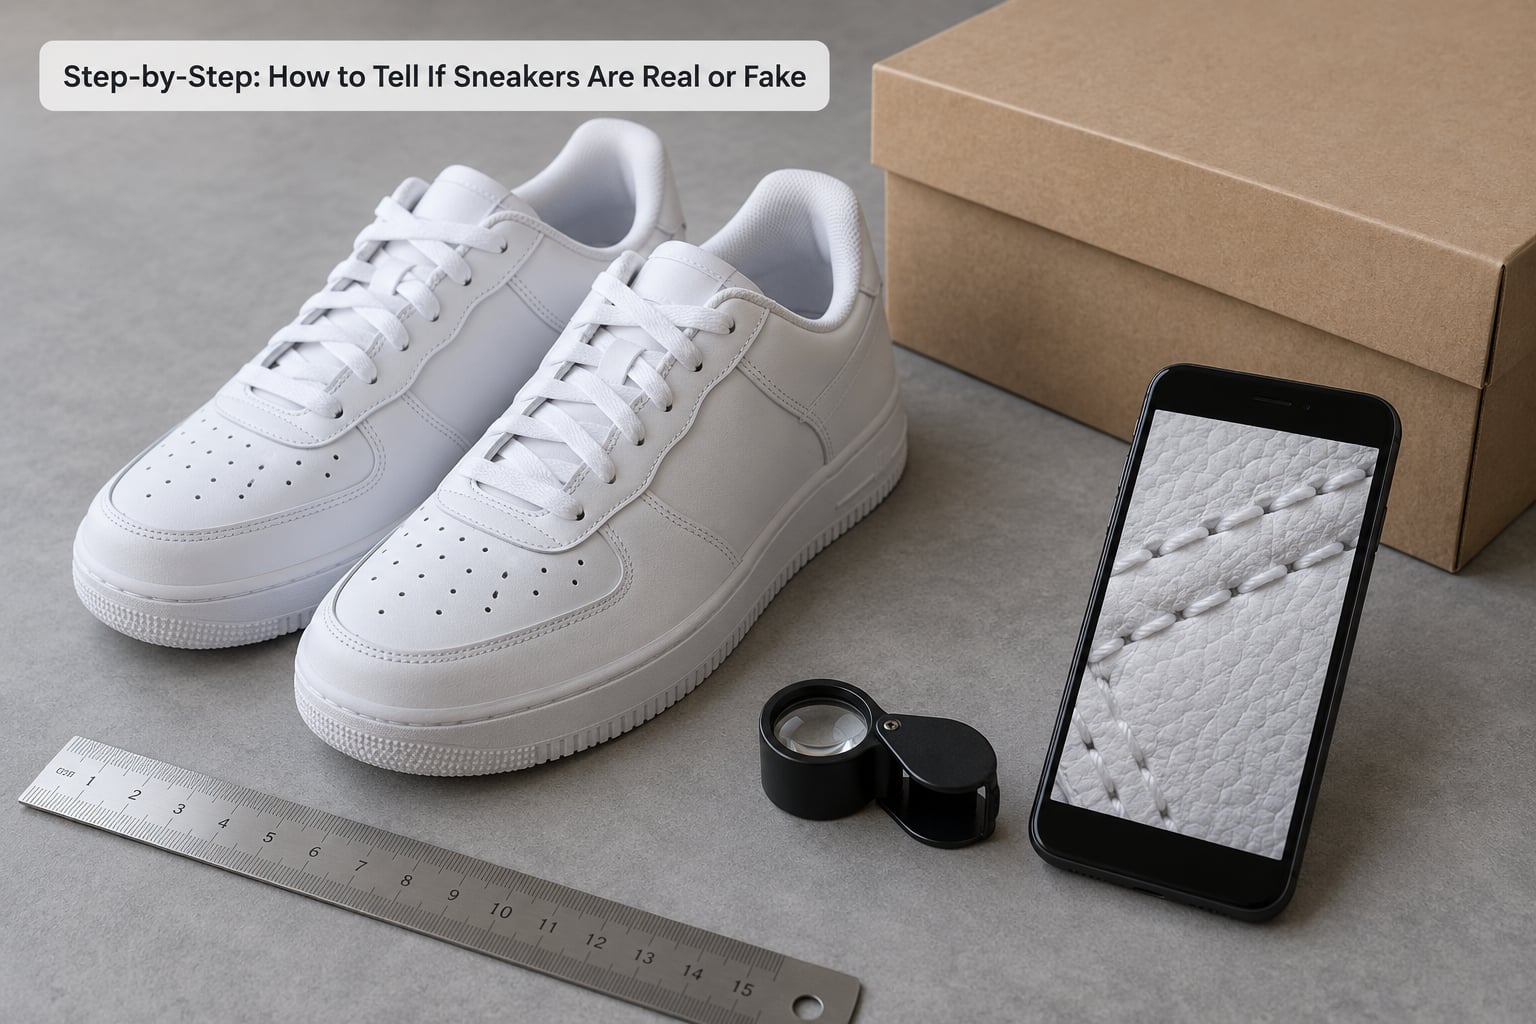
- Bright, neutral light. A window during daylight, or a desk lamp with a cool white bulb. Warm light hides yellowing, uneven dye and glue lines.
- A phone camera you can zoom in on. The macro lens on almost any recent phone beats the naked eye on stitching density and print quality. Take stills, not video.
- A small loupe or magnifying glass. Eyeglass-cleaning cloths work in a pinch. You are looking at stitch per-inch, ink dot edges and leather grain.
- A ruler or tape measure. For toe box height, heel height and midsole thickness. You are comparing proportions to a reference, not to your memory.
- The seller’s original listing photos. These are the only reference photos of this exact pair. Note how many there are, and whether any of them were taken outside the shoe box.
- The box and any receipt or packing slip. Not proof on their own, but the box label is where the style code lives, and that code is your lookup key.
Have the model’s genuine product photos open on a second screen or phone before you start. Comparing against a mental image of what a Jordan 4 should look like is how people talk themselves into a bad purchase.
Step-by-Step: How to Tell If Sneakers Are Real or Fake
Check the Seller and Listing First
The fastest way to avoid a counterfeit problem is to never reach the inspection stage. Spend thirty seconds on the seller and the listing, because that is where a genuine pair and a bad one usually look completely different.
Look at how the listing was made. Professional flat-lay photography of the actual pair, taken in daylight, with the sole and the size tag visible, is the profile of someone who owns the shoe. A single blurry photo, a picture lifted from a brand site, or a listing that shows only the toe box is a warning you should weigh heavily.
Read the release details. Sneakers have a release date and a retail price, and both are public knowledge you can check before you pay. A seller offering a pair months after release with no explanation, or describing a colourway that never existed in that combination, is describing something other than a genuine release.
Then do the one check nobody in the forums mentions enough: take the style code and search it on a marketplace database like StockX or GOAT before you commit. If the code comes back attached to a different colourway, a different model or nothing at all, you have your answer in ten seconds and you did not even have to pay for the shoes.
Offers that arrive by direct message, off-platform payment, or a link to a “verification service” that the seller recommends are the standard route for a bad outcome. Peer-to-peer transfers and gift cards are the two payment methods that leave you with no way back.
Compare the Shape, Proportions, and Construction
Counterfeiters copy the photograph. They do not copy the pattern, the die or the last the shoe was built on, so the silhouette drifts even when every label matches.
Start with the toe box. Genuine pairs hold a consistent curve from the tip back to the vamp, with the leather or mesh sitting flat and no collapse. Copies tend toward either a boxier, more squared tip or a thin, pinched one. Height matters more than width here: an unusually tall toe box that holds its shape stiffly is a known tell.
Then the heel. Stand the pair on a flat surface and look at them from the side. Genuine heels sit level and slope forward slightly. In counterfeit pairs the heel often rises noticeably higher at the back, which is exactly the observation sneaker groups keep pointing out in side-by-side photos.
Check the midsole proportions next. The gap between the upper and the outsole should be even from heel to toe. If the midsole looks thin at the arch and thick under the forefoot compared with the product photos, the tooling is wrong, and no label is going to fix that.
Now the details that reward a loupe. Authentic stitching sits tight and even, with a consistent stitch count per inch and thread ends tucked rather than left trailing. Loose threads, uneven seam spacing and a stitch line that wanders are all signals. Genuine glue lines are thin and continuous, not a wet-looking smear.
Most guides only tell you about excess glue. Under-applied glue is the quieter tell and collectors have flagged it for years: dry-looking edges, a hairline gap where the upper meets the midsole, a sole that flexes slightly near the ball of the foot when it should be rigid. Long-time sneaker forum regulars compiling tells for B-grade and irregular pairs list excess glue, glue shortage, disturbed stitching, odd markings, frayed laces and a torn heel together, because in practice the failing ones tend to have two or three at once.
Weight is the underrated check. Hold a pair you already know is genuine, then the pair in question. Good copies land close; bad ones are noticeably lighter, usually because the leather is thinner and the foam is compressed. Your hand knows the difference faster than your eye does.
Finally, smell. Freshly glued synthetic and foam-heavy pairs carry a sharp chemical adhesive scent. It is strongest out of the box and fades over a couple of weeks, so a faint whiff is not a verdict, but a strong one that does not fade is.
Inspect Logos, Fonts, Labels, and Soles
This is where the highest-yield tells live, because printed detail is what a small production run struggles to fake and what a high-resolution copy usually gets wrong at the edges.
Zoom in on the logo itself. On a genuine swoosh the taper is smooth, the points are sharp, and the edge is clean. Copies tend toward blurriness, a thickened tip, or an edge that looks slightly ragged when magnified. The Jumpman tells you the same way: the figure’s proportions, the shape of the head, the position of the ball relative to the hand. Getting a logo exactly right is hard, which is why a well-executed logo is worth less than a mediocre one on a bad shape.
Typography on the box label, the size tag and the insole print is where fakes fall apart fastest. Check the weight of the font, the spacing between letters, the way a character is formed, and whether small text is readable or turns to grey mush. Genuine print has sharp edges on the dot of an i. Anything that looks slightly soft or slightly heavy at that magnification is worth a second look.
Now open the shoe and read the internal labels. The size tag should show the same size as the box, the same country of manufacture, and a style or SKU code that matches what the seller listed. The date or production code on the tag should fall inside the production window for that colourway. Sizes that disagree between the two shoes, a date code far outside the release window, or a font that does not match the branding on the box all point the same direction.
Look at the insole print and the embossing as well. Debossed or embossed branding should have depth and a defined edge. Flat printing where the pattern calls for pressed material is a shortcut.
Check the outsole pattern against the product photos, and check the colourway in neutral daylight. Fakes lean toward a slightly different shade, and dyed white materials yellow unevenly or not at all compared with a genuine pair that has been worn.
Here is the honest verdict on the tools people ask about most:
- Legit check apps. They compare a submitted photo against crowdsourced examples of the same model. Useful as one more signal, never as a verdict. Buyers report replicas passing and genuine pairs failing, and a photo cannot show you a heel height.
- Scanning a QR or NFC tag on the box. It reads whatever the brand encoded at the factory. Decisive when a tag is present and resolves to a product page. A missing tag proves nothing, because plenty of legitimate earlier releases never had one.
- Serial or style number lookup. This matches a code against brand and marketplace databases. The strongest single check you can do from a phone. Codes are also easy to copy, so confirm the match and then check construction.
- Paid third-party authentication. A specialist inspects the pair in person and issues a verdict. Worth it for a high-value pair. It is still a human opinion, so ask what markers they actually checked.
- Online shoe scanners advertised on social media. Quality varies wildly, and some are just a link to a paid authentication resale service. Read who operates it and what the refund policy is before you send anything.
Community checkers are consistent about the order they work in: tongue first, then sole, then laces. It is not superstition, it is triage. The tongue tells you about the shape and the label, the sole tells you about the tooling and the glue, and the laces tell you about finishing detail, which is the first thing to get cut when a factory is economising.
Use Packaging, Receipts, and Seller Verification
The box is a useful document and a poor certificate. People replace boxes, sellers swap outer packaging, and a genuine pair regularly travels in the wrong one.
What the box does give you is the printed label. Compare the code on the box against the code on the size tag and against the seller’s listing. All three should agree. Genuine labels print with clean edges and even, dark ink, and the barcode scans. Blurry, misaligned or slightly-off logos on a Jordan 4 box are a commonly reported tell, and print quality on the box is a strong hint about where the rest of the pair was made.
Receipts and packing slips matter for a different reason. They do not prove authenticity, but they give you a trail for a refund claim or a platform dispute, and a seller who cannot produce one for a supposedly new pair is telling you something.
Before you pay, you are also entitled to ask for more verification. Request a photo of the size tag, the insole print and the outsole in daylight, taken in the current message rather than forwarded from an earlier listing. Ask the seller to state the production date. A genuine seller answers immediately. Someone who deflects is already telling you.
One false-alarm warning, because it causes unnecessary panic: many legitimate older releases and certain regional or outlet colourways shipped without a scannable tag at all. Their absence is not evidence of a counterfeit. Judge on the construction, which is where the truth lives anyway.
What to Do If the Sneakers Look Suspicious
No page-one guide covers this part, and it is the part that decides whether you lose the money. If you are still before payment, you have the full set of options. If the pair has already arrived, you have fewer, and speed matters.
Before you pay: ask the seller one direct question about the specific marker you are unsure of. A vague reply about quality or a guarantee is an answer. If the doubt survives that, walk away. A good deal that vanishes is easier to replace than money already gone.
After delivery, before you wear them: photograph everything. Wide shots of the pair, close-ups of the size tag, the box label, the logos, the glue lines, the outsole and the tongue. Take the photos while the packaging is intact and before the shoes leave the box, because that is your evidence if the seller asks you to send them back.
Then stop wearing them. Wearing a counterfeit pair makes it harder to argue a return, and wearing a disputed pair you still own is the fastest route to losing both the money and the shoes.
File the dispute in the channel that protects you. On a marketplace, use the platform’s own “not as described” process, because the platform guarantee only applies to transactions that happened on it. Through a payment provider, open a case there. Whatever the route, attach the photographs, name the specific marker that is wrong, and ask for a refund rather than a partial credit.
For a high-value pair, get an independent authentication service involved before you return anything, so the verdict is not yours alone. For a low-value pair, weigh the cost of the authentication against the amount and decide quickly rather than sitting on the decision for months.
One last thing: do not quietly resell a counterfeit pair, and do not pass one on as a gift. Selling counterfeit goods carries legal consequences in many jurisdictions, and gifting one costs you the friendship that the gift was supposed to buy.
Common Mistakes That Cost Buyers the Pair
Almost every bad outcome traces back to one of these, and each has a simple fix.
Judging the pair by the box. A genuine box with a counterfeit pair inside is common, and a counterfeit box with a genuine pair is not unheard of. Treat the box label as a lookup code, never as the verdict.
Trusting one clean logo. A well-made logo proves the maker had a good reference image for one detail. It says nothing about the shape the shoe was built on or the glue holding it together. Every check has to pass before the pair passes.
Reading odd glue as automatically fake. Factory excess glue and dry-looking edges appear on plenty of genuine pairs, and a repairer leaves exactly the same marks. Look for the combination of tells, never a single one.
Buying with no protection at all. Wire transfers, gift cards, crypto and peer-to-peer payments leave you no route back. Keep the transaction on the platform that offers a guarantee, even if the price looks slightly better elsewhere.
Treating an app verdict as final. Buyers have reported replicas passing a legit check and genuine pairs failing one, with no visible difference between the two. An app is a second opinion from a photo, and photos miss heel height, glue lines and weight.
Taking a social proof hit list at face value. Curated review threads and comment sections on resale posts are the easiest thing in the world to fake, and sellers do it routinely. Seller history, transaction count and independent feedback tell you more.
Skipping the code lookup. It takes ten seconds and it settles the question that no amount of visual inspection can. Search the style code on a marketplace database before you pay, not after the pair arrives.
Frequently Asked Questions
How can I check if my sneakers are original?
Start with the codes: the style or SKU number on the box label should match the tag inside the shoe and the seller’s listing, and you can search it on a marketplace database to confirm the model and colourway. Then work down the physical markers: toe box and heel proportions, even stitching, clean glue lines, crisp logo edges and readable print on the size tag. A pair that passes all of those is original.
What are the common signs of fake shoes?
The most common signs are mismatched codes between the box, the size tag and the listing, a toe box or heel that sits at the wrong height, stitching that wanders or leaves loose threads, glue smeared along seams or missing where the upper meets the midsole, logos with blurred or thickened edges, and size tag print that is soft or hard to read. Weight noticeably lower than a pair you know is real is a good supporting signal.
Is there an app to identify fake sneakers?
There are apps, and they are worth using as one signal among many. They compare photos you submit against crowdsourced examples of the same model, which means they can only judge what is in the picture. A photo rarely captures heel height, glue lines or weight. Buyers have reported replicas passing and genuine pairs failing, so treat an app result as a second opinion rather than a verdict.
How do I scan a QR code on sneakers?
Find the small square or rectangle label on the side of the box, open your phone camera and point it at the code, then tap the notification that appears to open the brand’s product page. You can also long-press the code in the camera app to get a plain link. If the code resolves to a product page that matches the colourway you bought, that is a strong signal. If nothing is there, check whether the release shipped with a tag at all.
Can a Nike QR code tell me if shoes are real?
A QR or NFC tag that scans and resolves to the matching product page is one of the stronger signals available, because the codes are assigned during production. It is not proof on its own, since the same code can be printed on a copy, and a missing tag means nothing because plenty of legitimate older releases never shipped with one. Use it as confirmation alongside the construction checks, never as a replacement for them.
What shoe is the most faked?
The most counterfeited sneakers are the ones with high resale value. Nike Air Force 1 colourways, Air Jordan 1 and Jordan 4 retro releases, Travis Scott collaborations, and Nike Dunk and SB Dunk pairs lead the list, with New Balance 550 and some Adidas silhouettes close behind. Check those models most carefully, especially collaborations and long-wait releases.
Conclusion: Start With the Codes, Then the Build
If you do three things, do these. Look up the style code on a marketplace database before you pay, so you know the pair is even real. Read the internal size tag against the box label, because two codes that disagree end the argument. Then hold the pair in daylight and check the toe box, the heel height, the stitching and the glue lines in that order.
One clean logo means very little. Real signals stack: codes that agree, a silhouette that matches the reference photos, tight stitching, clean glue, crisp print and a weight that feels right. Experienced checkers work tongue, sole, laces for a reason.
And if the seller verification is weak or the construction still leaves you unsure, walk away. The market is full of the next pair, and a bad one is not a story you get to tell twice. This routine is current as of 2026 and holds up on any model, on any marketplace, in any light.