Most sneakers become uncomfortable for standing all day because of three fixable problems: a thin factory footbed, a heel that slides up and down, and tight spots that rub. Swap the insole, re-lace the shoe so your heel stays put, and line the rubbing area. Those three changes cover most of what people complain about, and none of them changes how the sneaker looks.
The whole job takes about an afternoon. The order below runs from the change that helps most to the one that helps most over time, and each step ends with the sign that it worked, so you can tell quickly whether to keep going or move on.
Worth knowing why the pain builds. Standing still is harder on your feet than walking, because walking lets your weight roll from heel to toe and stretches the calf. Standing locks you in one position for hours, and the arch and the tissue along the bottom of the foot take the load continuously. Add a hard floor and no arch support, and by hour eight the foot is tired in a way that no amount of sitting fixes.
Feet also swell over a long shift, often enough that a fit which feels right at 8 a.m. is snug by 4 p.m. Anything you do has to leave room for that change. Keep a thumb’s width of space in front of your longest toe and the swelling has somewhere to go.
Table of Contents
- What You Need
- Step-by-Step: Making Sneakers More Comfortable for Standing All Day
- Step 1: Check the fit and rule out a sizing problem
- Step 2: Choose socks that reduce friction and moisture
- Step 3: Add the right insole support
- Step 4: Lace the sneakers to reduce pressure points
- Step 5: Break in the upper and sole naturally
- Step 6: Stretch the upper when a specific spot pinches
- Step 7: Protect your feet and maintain the sneakers
- Step 8: The common mistakes that make it worse
- Frequently Asked Questions
- What type of insole is best for standing all day?
- How should I lace sneakers to make them more comfortable?
- Do thicker insoles help shoes feel more comfortable?
- What socks should I wear with sneakers during long shifts?
- How do I stop new sneakers from rubbing my heels?
- When should foot pain from standing make me see a doctor?
- Start With the Insole and the Laces
What You Need
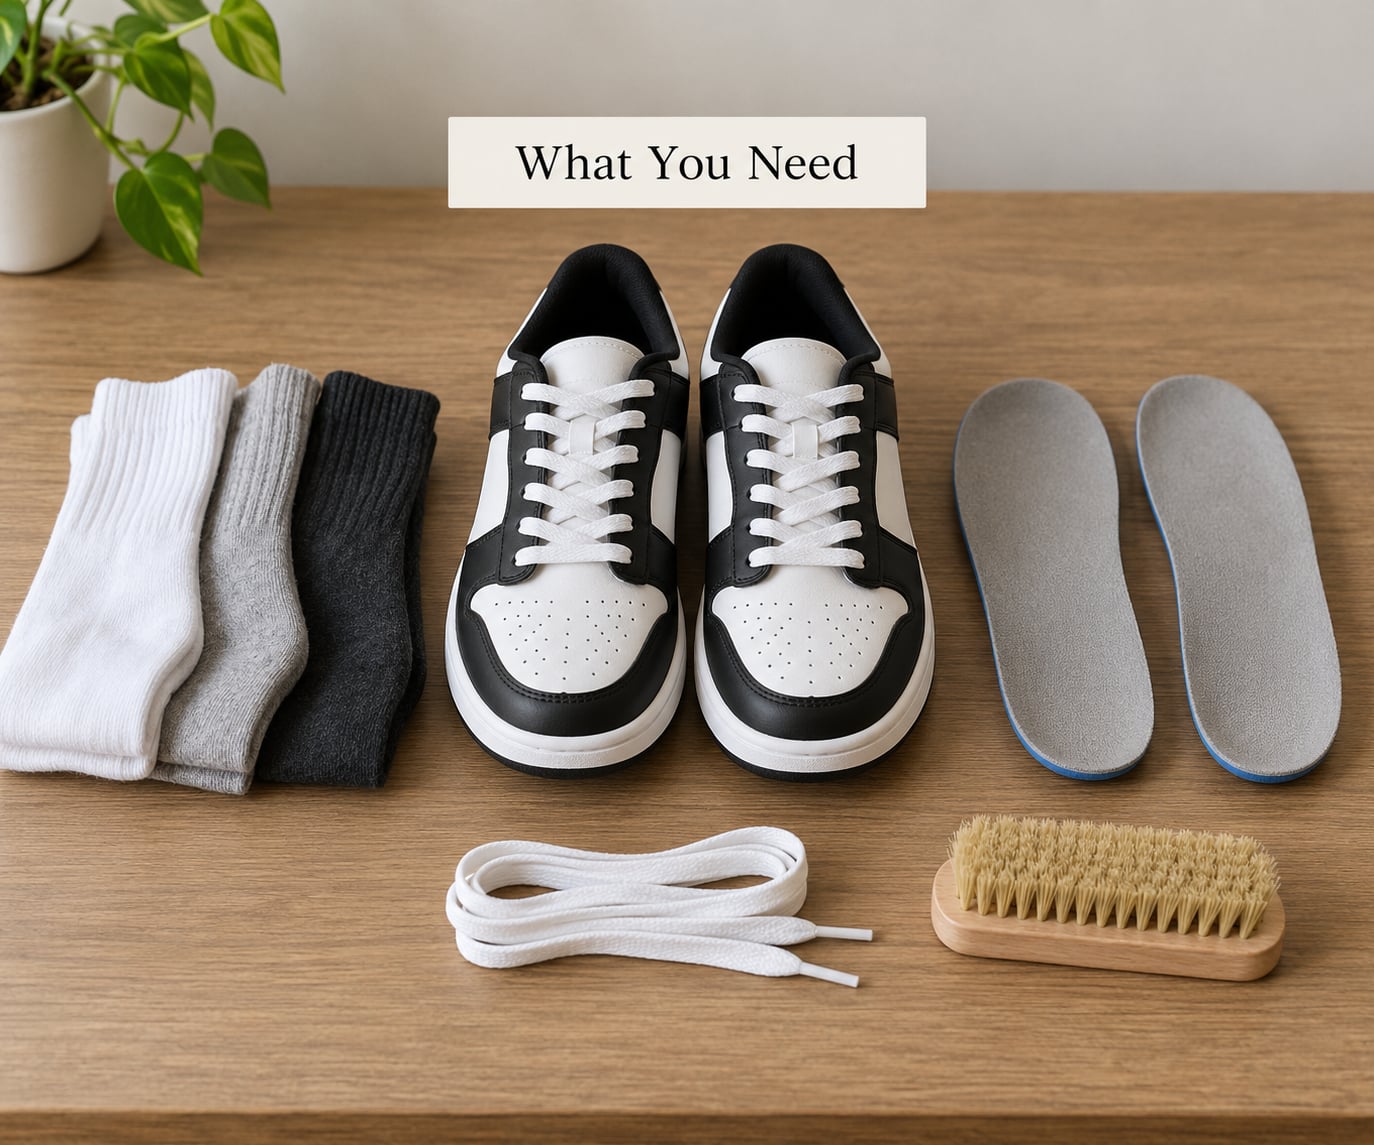
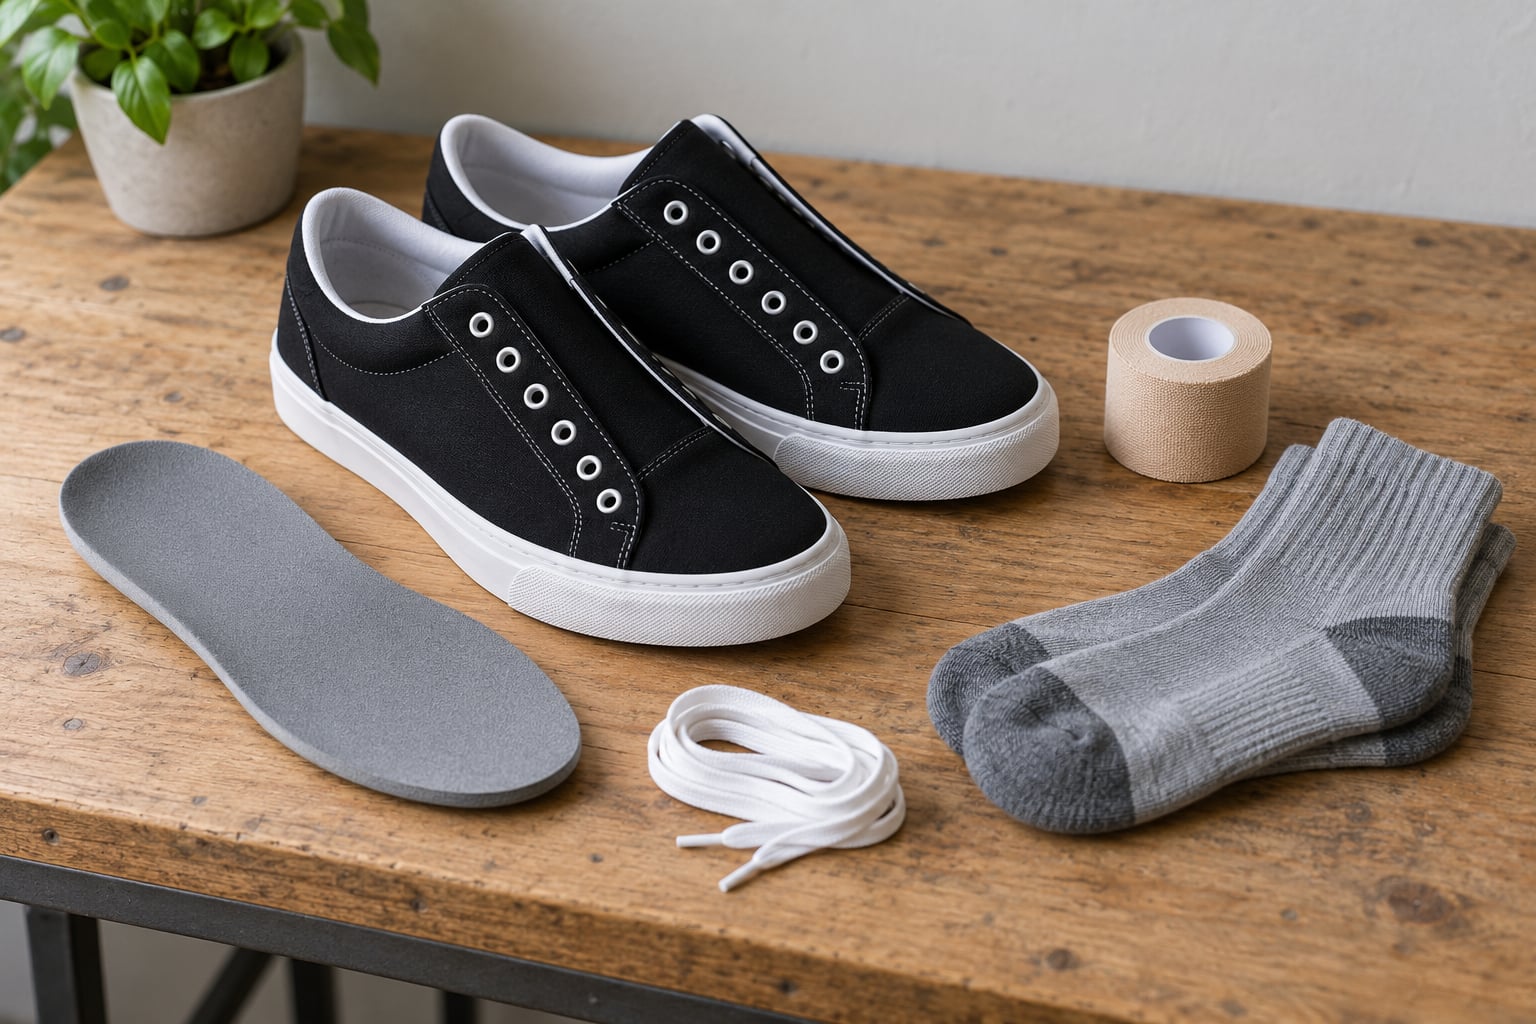
You do not need anything specialized for the first three steps, and you can leave the shoe looking exactly the way it did. The full kit for the process, in the order you will reach for it:
- Socks — moisture-wicking, seamless at the toe, and no elastic cuff that bites into the Achilles tendon.
- A removable insole — a cushioning insole for shock absorption, or an orthotic with a firm arch section if the arch is your weak point.
- Heel grips or an anti-chafing liner — adhesive patches for the back of the heel and the sides of the toe box.
- A spare pair of flat laces — useful for threading a heel loop, and for a tighter feel if your laces have gone soft.
- Shoe trees or rolled-up socks — these hold the shape of the collar and let the shoe dry overnight.
- A soft brush and mild soap — for keeping the footbed and upper clean, since trapped grit is a common source of blisters.
- Blister protection — moleskin or hydrocolloid tape, kept in a bag or a locker.
- Optional, for a tight upper — a hair dryer, shoe trees, and a weight such as a bag of rice to hold a stretched shape.
Step-by-Step: Making Sneakers More Comfortable for Standing All Day
Step 1: Check the fit and rule out a sizing problem
Put on the socks you would wear on shift, then stand in the shoes and check four things: room in the toe box, security at the heel, width across the ball of the foot, and whether your toes sit straight instead of being pushed inward.
For toe room, you want roughly a thumb’s width between your longest toe and the front of the shoe while standing. For the heel, lift the shoe off the floor and set it down without your foot in it — if it settles flat and the collar no longer grips, the heel counter is done and no amount of lacing will fix it. Across the ball of the foot, the leather or mesh should not pinch on the outer edge when you stand, because that is the spot that produces the blister that ruins a pair for you.
Sizing up is a real fix when the problem is length, and a common mistake when the problem is width. A longer shoe gives your toes more room but adds length for the heel to slide across, so you trade a toe squeeze for heel rub and a new hot spot. If the shoe pinches across the middle but has room at the front, that is a width problem, and a half size up will make it worse.
Wide and long feet deserve a note here, because most sizing advice assumes the standard last. If your toes touch the sides of a shoe that is technically your size, look for a wide-width pair rather than stretching leather over the ball of the foot. The signal that fit is fine: after an hour of standing, the shoe has relaxed rather than tightened.
Step 2: Choose socks that reduce friction and moisture
Socks are the cheapest comfort lever you have, and they matter more than most guides admit. A moisture-wicking, seamless sock moves sweat off the skin before it turns into the warm damp layer that softens your heel and midsole and doubles the friction. A seam across the toe box is a direct rubbing line. An elastic cuff is worse than no sock, because it grips the Achilles and creates a pressure point right where the shoe collar already presses.
Thicker socks are the standard advice, and they are right for a roomy shoe and wrong for a snug one. Extra volume in a tight sneaker crowds your toes, blocks circulation, and increases the heel movement that causes the rubbing in the first place. Socks also add height, so a mid or ankle length matters if the shoe collar is already tight. If your toe box feels tight after switching to thicker socks, that is the answer, not a reason to try harder socks.
The signal it is working: a sock pulled off at the end of the day is dry at the heel and slightly damp at the arch, rather than soaked through. A thin, quick-drying crew or ankle sock in a breathable fibre is usually the right answer for a long shift.
Step 3: Add the right insole support
This is the single biggest upgrade most people can make, and the reason is usually the stock footbed. Sneakers ship with a thin foam or fibre layer shaped to hold the shoe together, not to support an arch. A real insole adds a heel cup, an arch section and a top layer that spreads pressure instead of letting it concentrate under two spots. That difference is what people mean when they say the insoles that came with the shoe were wimpy.
Cushioning and correction are different jobs, and you want to know which one you need. A cushioning insole is a softer foam or gel layer for shock absorption, best when your arch feels fine and the tiredness is general. An orthotic has a firmer arch post that stops the arch from flattening and helps keep the foot neutral, best when you feel the ache along the inside edge of the heel or the arch by mid-shift. A metatarsal pad sits under the ball of the foot and takes pressure off the joint that flexes hardest when you shift your weight while standing.
| Insole type | What it does | Best when | Watch out for |
|---|---|---|---|
| Cushioning insole (foam or gel) | Absorbs shock and spreads pressure | General tiredness across the whole foot, hard floors | Too soft under the arch gives no support at all |
| Arch-support orthotic | Holds the arch up and keeps the foot neutral | Aching arch or inside edge of the heel after a few hours | A wrong arch height can create a new pressure point |
| Metatarsal pad | Shifts load off the ball of the foot | Pain under the toes or forefoot when you shift weight all day | Can feel like a lump if it sits too far forward |
| Heel cup insert | Cups the heel and steadies the strike | Heel slippage, tender heels, a lot of walking | Too deep and the heel lifts, which worsens rubbing |
| Full-length replacement footbed | Replaces the factory layer entirely | Most all-day standing jobs, especially on tile or concrete | Must be trimmed to the exact inside of the shoe |
Toe room is the thing people get wrong here. Take the stock footbed out, put the new insole in, and check the space in front of your longest toe again. A thick insert in a shallow shoe is the second most common reason a sneaker suddenly feels worse, right after a pair worn past its life. If the toes are compressed, thin the insole with scissors along the top surface at the toe end, or pick a thinner profile.
Because an insole is removable, you can swap it between a working pair and a casual pair. That is useful because foam needs roughly a night to recover its shape, and a rotation of two insoles across two pairs of shoes means neither set is compressed when you put it on in the morning. The signal: you can stand for an hour without thinking about the bottom of your foot.
Step 4: Lace the sneakers to reduce pressure points
Lacing is free, takes two minutes and no purchase, and it is the fix that changes comfort the same day. The default criss-cross leaves the top eyelet unused, so the collar can spread and your heel slides forward and back with every small shift of weight.
A heel lock closes that gap. Lace as normal from the toe up to the second eyelet from the top, then take the lace ends and cross them over the top of the tongue as if you are about to tie. Push each end under the loop it just made, pull outward to tighten, and then tie as usual. The little loops act as anchors against the upper eyelet and stop the foot from travelling inside the shoe. The result feels obvious: the shoe no longer lifts at the heel, and the rubbing that comes from that movement largely stops.
Two simpler changes also help. Skip the top eyelet pair entirely and lace to the second one, which pulls the collar in slightly and stops the heel from lifting. Or, if you feel a sharp pressure point on the top of the foot, move to a lacing pattern that leaves that eyelet unused so the tongue lies flat rather than being pinched.
Distribute the tension too. A knot tied too tight, or tight at the top and loose at the toe, creates a bruise you can feel for an hour after you take the shoes off. Aim for snug enough that the foot cannot slide inside, loose enough that you could insert a finger under the laces. The signal: when you lift your foot off the floor, the shoe stays on the way it was sitting.
Step 5: Break in the upper and sole naturally
Breaking in is real, and it is also smaller than most people assume. Leather uppers soften, foam midsoles take a set, and a stiff midsole stops rebounding the way a new one does. What is not real is the idea that you should walk through pain until the shoe surrenders. Pain means tissue damage, not adaptation, and a blister you earn on day one is the reason you never finish the break-in.
A workable schedule looks like this. Day 1: 30 to 45 minutes at home, in socks, on carpet, with a pair of thin socks so you can stop at the first hot spot. Day 2: one to two hours of normal wear. Day 3: half of a real shift. Day 4: a full day, but keep the blister kit with you. Most leather-upper sneakers are there in a week. Foam-heavy models and anything with a stiff, high midsole can take three to four weeks and never feel like a leather shoe, which is a clue about which shoes suit long days on your feet.
The sign of progress: the shoe gets through a full day with no hot spot, and you find yourself forgetting you are wearing it. The sign to stop: the same spot still hurts after a week, which means the fit is wrong rather than the break-in unfinished.
Step 6: Stretch the upper when a specific spot pinches
Stretching only works where something is genuinely tight, and only on a material that will move. Leather and suede respond well. Knit mesh barely does, and a heavily glued or rubber-stiffened heel will not stretch at all.
For a tight leather spot, the damp-and-wear method is the most reliable. Wear thin socks, wet them lightly, put them on, and walk around the house for 20 to 30 minutes until the socks are nearly dry. The leather stretches to the shape of your foot, then holds some of that shape. Repeat two or three times a week. Damp is the right target, not soaked — water left in a shoe takes a day to dry and breeds the smell and grit that cause blisters.
A hair dryer on a cool setting aimed at the tight area for 60 to 90 seconds loosens the material first, then you put the damp socks on and wear them. For a wider job, put shoe trees or a rolled magazine in the toe box and leave a weight inside for a few hours. Slightly damp newspaper left in the shoe for about an hour is the old-fashioned version of the same idea and works on a stubborn forefoot.
There is a question that comes up constantly about the freezer trick. Chilling a shoe makes the rubber and glue temporarily stiff and brittle, which is the opposite of what you want, and it can cause the flex point to crack permanently. Skip it. Stretching a shoe cold is how you get a permanently worse shoe.
The signal: the spot that used to catch the skin now lets a finger slide under the edge with the shoe laced.
Step 7: Protect your feet and maintain the sneakers
Blisters are friction plus heat plus a wet foot, and you can break that chain at any of the three. Dry the foot properly, reduce the movement that creates the friction, and cover the spot before it opens.
For heel rub specifically, the order that works is: heel grip or anti-chafing liner on the back of the collar first, a heel lock lacing second, socks that stay dry third. A mole of petroleum jelly or an anti-friction balm on the dry heel before you put the shoe on takes the stickiness out of the equation, and it is worth carrying in a locker. Cover an existing hot spot with hydrocolloid tape before the skin breaks and it usually heals before the end of the shift.
Then look after the shoe, because the shoe is part of the fix. Remove the footbed and let it air overnight, wipe grit out of the interior, and use a soft brush on the upper so trapped debris is not the thing rubbing you. Do not wash a leather or suede sneaker in a machine; a damp cloth and mild soap is enough. Use shoe trees or rolled socks to hold the collar so the shape does not collapse over weeks.
Watch the two numbers that decide when a pair is finished. If the midsole is visibly compressed, the shoe no longer rebounds when you press it, and your heel is sitting low in a shoe that used to hold you higher, the cushioning is gone and no insole fully replaces a dead midsole. And if the heel counter has gone soft and the shoe lifts off the floor on its own, the structure that held your heel is finished. At that point, replacement beats further fixing, and the money goes further on one good pair of standing shoes than on three rounds of inserts.
Between those two lines, a simple routine beats a single long day: alternate two pairs, roll the calves and stretch the sole of the foot at the end of a shift, and check your feet every evening. Hard callused skin and an overgrown toenail get blamed on the shoe constantly, and both are quick to address.
Step 8: The common mistakes that make it worse
Each of these feels like a fix and reliably makes the next day worse.
Forcing a narrow shoe to stretch. A shoe that pinches across the ball of the foot will not be saved by wearing it more. Choose a width or a size that fits instead.
Stacking a bulky insole into a shallow shoe. You lose toe room and gain a new pressure point at the front. Pick the insole to the shoe, and trim it if needed.
Wearing cotton socks for a long shift. Cotton absorbs sweat, holds it against the skin and dries slowly, which is exactly the warm damp surface that produces blisters. Switch to a wicking synthetic or merino blend.
Wearing thicker socks in an already snug sneaker. More volume means less circulation and more heel movement. Thicker socks help in a roomy shoe only.
Using pain as a break-in method. Pain is tissue damage, not adaptation. Pull back the time, change the socks, and go back up the schedule.
Masking the pain and ignoring the hot spot. Taking something for the pain and finishing the shift means the same spot gets hit again tomorrow. Fix the friction point first.
Everything above is reversible, which is the useful part. You can pull the insole out, unlace the shoe, peel off a heel grip, and go back to how it was before a shift.
Frequently Asked Questions
What type of insole is best for standing all day?
A full-length insole with a deep heel cup and a moderate arch section suits most people, because a firm heel and a supportive midfoot spread pressure across the whole foot instead of two small areas. If your arch is the weak point, choose an orthotic rather than a pure cushioning insole, which is soft under the arch and gives little support. On hard tile or concrete, a slightly firmer insert beats a very soft gel one that bottoms out by midday.
How should I lace sneakers to make them more comfortable?
Use a heel lock: lace to the second eyelet from the top, cross both ends over the tongue, tuck each under its own loop, pull outward, then tie. The loops anchor against the top eyelet and stop the foot sliding forward and back inside the shoe, which removes most of the rubbing that causes heel blisters. You can also simply leave the top eyelet unused, which tightens the collar, and keep the knot snug rather than tight.
Do thicker insoles help shoes feel more comfortable?
Sometimes, but only if the shoe has room for them. A thicker insole adds cushioning and a better heel cup, and in a roomy sneaker that is a clear improvement. In a shallow or snug shoe it takes away toe room and lifts your foot closer to the top of the toe box, which creates a new pressure point and makes the shoe tighter. Check the space in front of your longest toe after inserting it, and trim or thin the insole if the gap is gone.
What socks should I wear with sneakers during long shifts?
A moisture-wicking, seamless sock in a synthetic or merino blend is the practical answer. It moves sweat away from the skin and dries fast, so your heel and midsole stay dry and friction stays low. Avoid cotton, which holds moisture against the skin, and avoid socks with a seam across the toe or a thick elastic cuff, which rub directly where the shoe presses hardest. Skip mid-crew lengths if the shoe collar is snug.
How do I stop new sneakers from rubbing my heels?
Work in this order. First, put a heel grip or anti-chafing liner on the back of the collar, or cover the spot with petroleum jelly before you put the shoe on. Second, use a heel lock lacing so the foot stops sliding up and down. Third, wear socks that stay dry. Repeated heel blisters across brand-new pairs usually mean the heel counter shape does not suit your heel, so if it continues, a different model in a wider width is the real fix.
When should foot pain from standing make me see a doctor?
See a healthcare professional or a podiatrist if the pain is sharp, or if it is worsening day by day instead of easing after a change in footwear. Pain that lasts into the morning after a long shift, pain that wakes you at night, numbness, tingling, swelling in one foot, or a hot, red area all need checking. Pain under the heel that improves with the first steps of the day is worth mentioning too, since it can point to plantar fasciitis. No shoe fix should be needed forever.
Start With the Insole and the Laces
If you only have an hour, do these in order: pull the factory footbed out and put in a supportive insole, run a heel lock lacing, and switch to a wicking sock. Those three cover the largest share of the complaints people bring to this problem, and all of them can be undone in a minute.
Then give the pair a week of graded wear before judging it. If a specific spot still hurts after that, stretching the upper or protecting the spot is the next move, and if the midsole or heel counter has gone soft, no adjustment to the shoe is going to bring it back. Knowing when to make sneakers more comfortable for standing all day by fixing them, and when to replace them, saves you a lot of slow trial and error.
This is general comfort information, not medical advice. Feet that hurt every day, swell, or go numb deserve a proper look from a podiatrist or other healthcare professional.