Can peeling leather on sneakers be fixed? Partly, yes — a dry finish that has gone chalky usually comes back with cleaning and conditioner in an evening, and a lifted flap of material can be re-bonded in about a day. What nobody tells you up front is that the fix depends entirely on which of three different failures you have, and a delaminating synthetic coating will never look new again, only stable.
So the honest version of how to fix peeling leather on sneakers starts with diagnosis, not product. Most guides go straight to shoe polish, and polish will happily sit on top of a problem that is still spreading underneath.
The work is cheap and takes 30 to 60 minutes of active time, plus 24 to 48 hours of cure. If you have a nylon brush, a soft cloth and a conditioner made for the material on your shoe, you can handle most of it yourself. If your uppers are synthetic, you can handle most of it without the conditioner.
Untreated, peeling is progressive rather than cosmetic. It spreads outward from the toe box and flex creases, the upper loses water resistance, and the pair eventually becomes unwearable. Catching it while the damage is still confined to the edges is the difference between a colour-matched touch-up and a replacement.
What You Need to Fix Peeling Leather on Sneakers
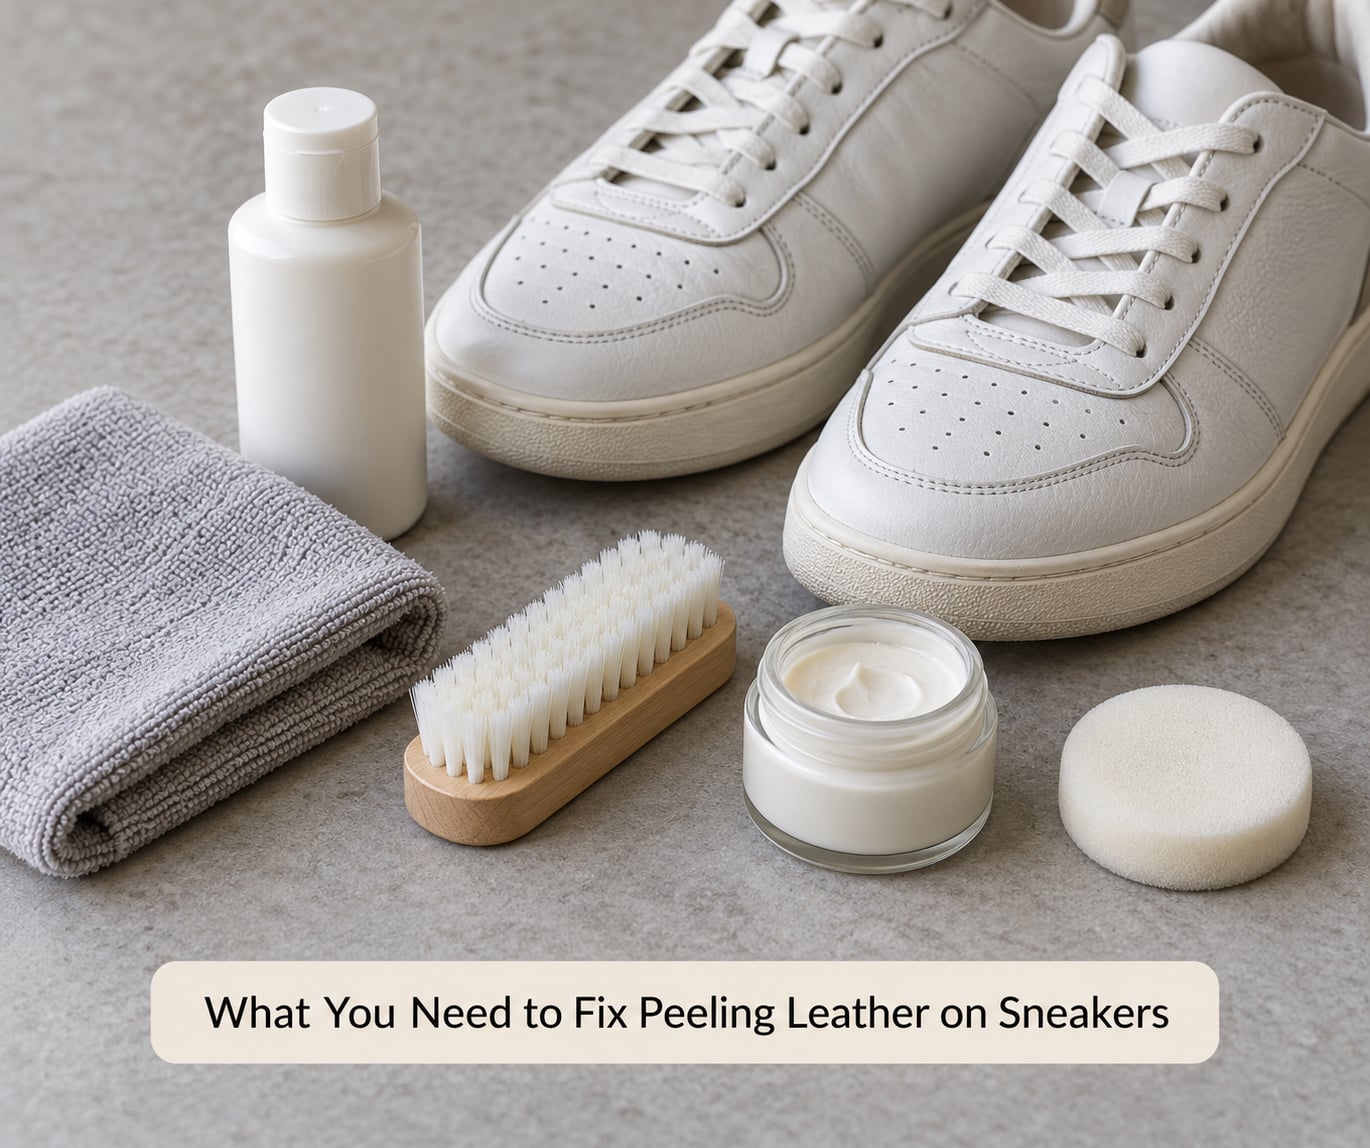
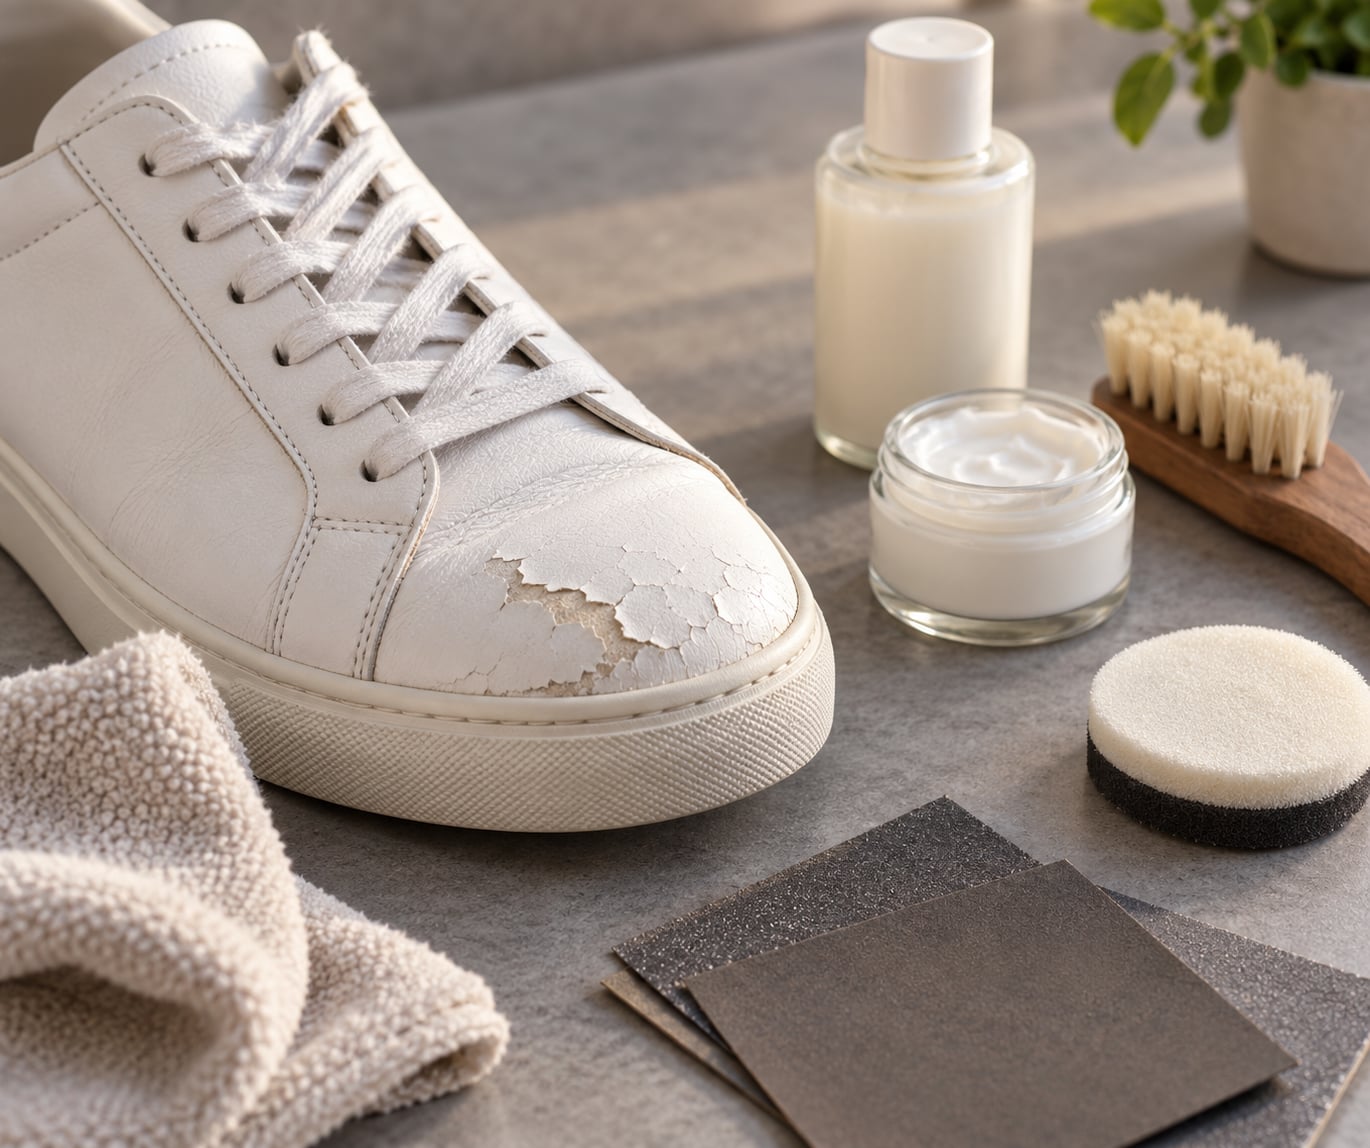
You need very little, and the wrong item does more damage than no item. Here is what each supply is actually for.
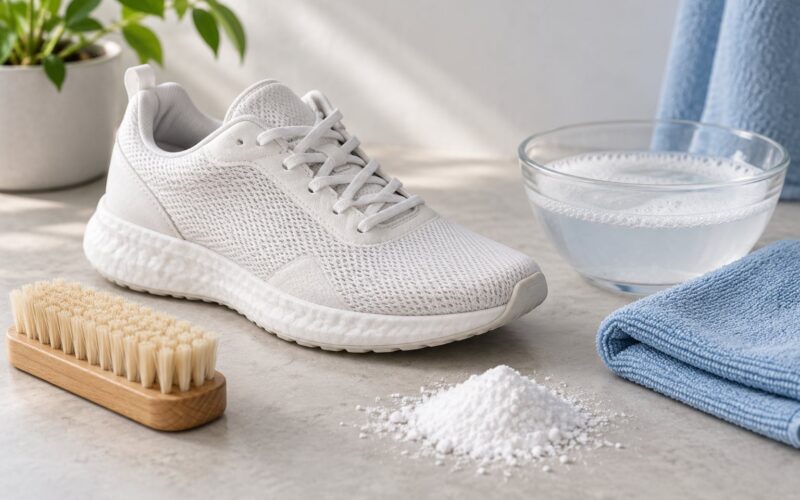
- Soft white cloth or microfibre towel. For buffing and for the damp clean. Never use a coloured rag on white leather.
- Small nylon or horsehair brush. Loosens dried mud and surface grit before anything wet touches the shoe.
- Leather cleaner. Only for genuine leather. Skip it entirely on PU-coated and faux uppers, where a damp cloth does the job.
- Leather conditioner or balm. For dry, genuine leather only. Options people actually use include mink oil, neatsfoot oil, a beeswax and lanolin balm, or a commercial conditioner such as Obenauf’s Heavy Duty LP or Otter Wax.
- Colour-matched repair cream or leather dye. This is what reseals a peeled patch. Cream sits on the surface; dye soaks in and recolours.
- Contact cement or shoe goo. A solvent-based shoe adhesive for re-bonding a lifted edge. Barging cement is the same family of glue.
- 120-grit and 220-grit sandpaper. To feather a torn edge so glue has something to grip.
- Shoe trees and a heavy book or clamp. Pressure while the adhesive cures.
- Protector spray. Waterproofing, applied only after the repair is fully cured.
For suede or nubuck uppers the list is completely different: a suede brush, a suede-safe cleaner, and a nubuck or suede water repellent. Oils, waxes and gloss polish will flatten the nap and leave a permanent shiny patch. Suede rarely peels, but when the backing separates you need the suede kit, not this one.
A full repair kit is unnecessary if the damage is one small scuffed patch on the toe box. That is a clean, a dab of cream and a buff. Buy the adhesive and the sandpaper only when you have a flap that is genuinely lifting.
Step-by-Step: Repairing Peeling Leather on Sneakers
1. Identify the Leather and Test the Finish First
Start by working out what material you are actually holding, because every later step depends on it. Coat your thumb and index finger with petroleum jelly, press them together, then press firmly onto an unpeeled area of the upper. Real leather absorbs the grease and leaves a darker, temporary mark. Synthetic PU or faux leather will not absorb it at all.
Next, run a water droplet on a discreet spot. Genuine full-grain leather beads the water and slowly absorbs it. A coated upper sits on top of the water with a slick edge and barely wets. Suede and nubuck darken immediately and stay dark.
Patent leather is a different animal entirely: a plastic film over the material, glossy and hard, and it cracks rather than peels. Mesh, nylon and TPU panels are not leather and none of the leather products below belong on them.
Finally, always run a 24-hour patch test with whatever product you plan to use. A dab on an inside seam or under the tongue costs you a day and saves the whole panel. Cobblers and sneaker restorers keep repeating the same advice: test on a toe, and if you do not like how it looks, stop there.
2. Clean the Peeling Area Without Soaking the Sneaker
Any repair applied over dirt will lift again within a week, so cleaning is not optional. Take the laces out and brush the upper dry first, working the nylon brush into the seams and the creases where grit sits.
Then wipe with a cloth that is barely damp, not wet. For genuine leather, use a dedicated leather cleaner sparingly and wipe the residue off straight away. For coated synthetic, damp cloth only, with no cleaner.
Sneaker uppers never get soaked. Water drives into the seams, wets the foam in the midsole, and if that foam is glued rather than stitched, you can turn a cosmetic peel into a full separation. Dry the shoe at room temperature with the laces loose and the tongue pulled forward.
3. Apply a Leather Conditioner or Repair Cream
This is the step people get backwards. Conditioner always goes on before polish, never after, because polish and cream need something underneath them to bond to and to spread evenly.
For dry, genuine leather, work a conditioner in with a clean cloth. Let it sit about 30 minutes so it soaks into the grain, then buff off the excess. Leather that has gone pale and brittle from sun exposure usually darkens back toward its original tone as it takes the oil back up.
Skip the oils completely on PU-coated and faux leather. The coating is not dry, it is delaminating, and oil under a lifting coating traps more water in there. For synthetic peel you want a colour-matched repair cream or a leather dye instead, applied thin to the peeled area only, and blended outward into the intact finish with a soft cloth.
Match the colour on the inside of the tongue first if you can. Matched cream is forgiving; dye is not, and the colour code has to be right or the patch will read as a scuff of a different sneaker.
4. Press Down Loose Leather Flaps and Re-bond Them
For a flap that has lifted but not torn away, work on a flat surface with a towel under the shoe. Trim a ragged edge with small scissors so it sits flat. Feather the loose edge with 120-grit sandpaper, then finish with 220-grit so the surface is smooth enough to take glue.
Wipe both surfaces — the flap and the panel underneath — with a cloth dampened with the cement’s own solvent. Let them dry until tacky, which for contact cement is the point. That is not too long; if you touch them before they grab, the bond fails.
Line the flap up and press it down firmly from the middle outwards, then clamp it or set a heavy book on the shoe overnight. Shoe goo and other flexible shoe adhesives behave differently — they need full cure time rather than clamping, so follow the tube rather than the clock.
That is the honest ceiling of the DIY route. You can glue down one long loose piece with barge cement, and anything past a single flap is a professional job.
5. Protect the Repair and Let It Cure
Leave the sneaker untouched for 48 hours after any adhesive work, then 24 hours if you only applied cream or dye. Wear something else. This is the least fun part of the whole process and it is the part people skip, which is why so many DIY repairs peel off in a week.
Once cured, check the repair by dripping a little water on it. A beaded surface means the finish has sealed; leather that drinks the water straight in needs another coat. This water-beading check takes ten seconds and tells you straight away whether the repair worked.
Afterwards, apply a protector spray, keeping it away from the midsole and outsole glues. Keep the pair out of rain and off any heat source, and take the pressure off the flex points where possible. Treating the toe box crease area every four to six months is what keeps a repaired pair from going back to how it looked today.
Common Mistakes That Make Peeling Leather Worse
Most peeling sneakers are not ruined by neglect. They get made worse by something well-meant, and here is what to stop doing, along with what to use instead.
- Machine-washing the sneakers. This is the single most common self-inflicted cause. The detergent strips the finish and the agitation lifts it. Clean by hand with a soft brush and mild soap instead.
- Soaking the upper or filling the shoe with water. Sneakers do not get soaked, ever. Water migrates into the midsole glue and the seams.
- WD-40. It is a solvent and a lubricant. It will strip what finish is left, deepen the cracks and leave the leather permanently stained and stiff. There is no safe version of this on a sneaker upper. If someone already used it, apply conditioner to real leather and expect staining; on coated uppers there is nothing to save but the panel.
- Super glue. It turns leather brittle, yellowing, and impossible to re-bond later. Use contact cement or shoe goo, which stay flexible.
- Baby oil, coconut oil or mink oil on coated synthetic. Synthetic upper coating is not dry. Oils under a lifting film just accelerate the lift and darken the panel unevenly.
- Rubbing alcohol as a cleaner. It is aggressive enough to dissolve coatings and dye, and it removes print in seconds. It belongs nowhere near a coloured panel.
- Saddle soap on aniline or finished leather. Aniline is finicky, and heavy saddle soap leaves a pale, uneven bloom across the panel.
- Scrubbing the flake off. You take the healthy finish with it. Trim and feather instead.
- Repairing over dirt and old polish. The glue bonds to the dirt, not the leather.
- Leaving conditioner on for hours. Excess conditioner does not soak in further; it sits on the surface and goes tacky, attracting dirt. Wipe off what has not absorbed after about 30 minutes.
When a Sneaker Is Too Far Gone to Repair
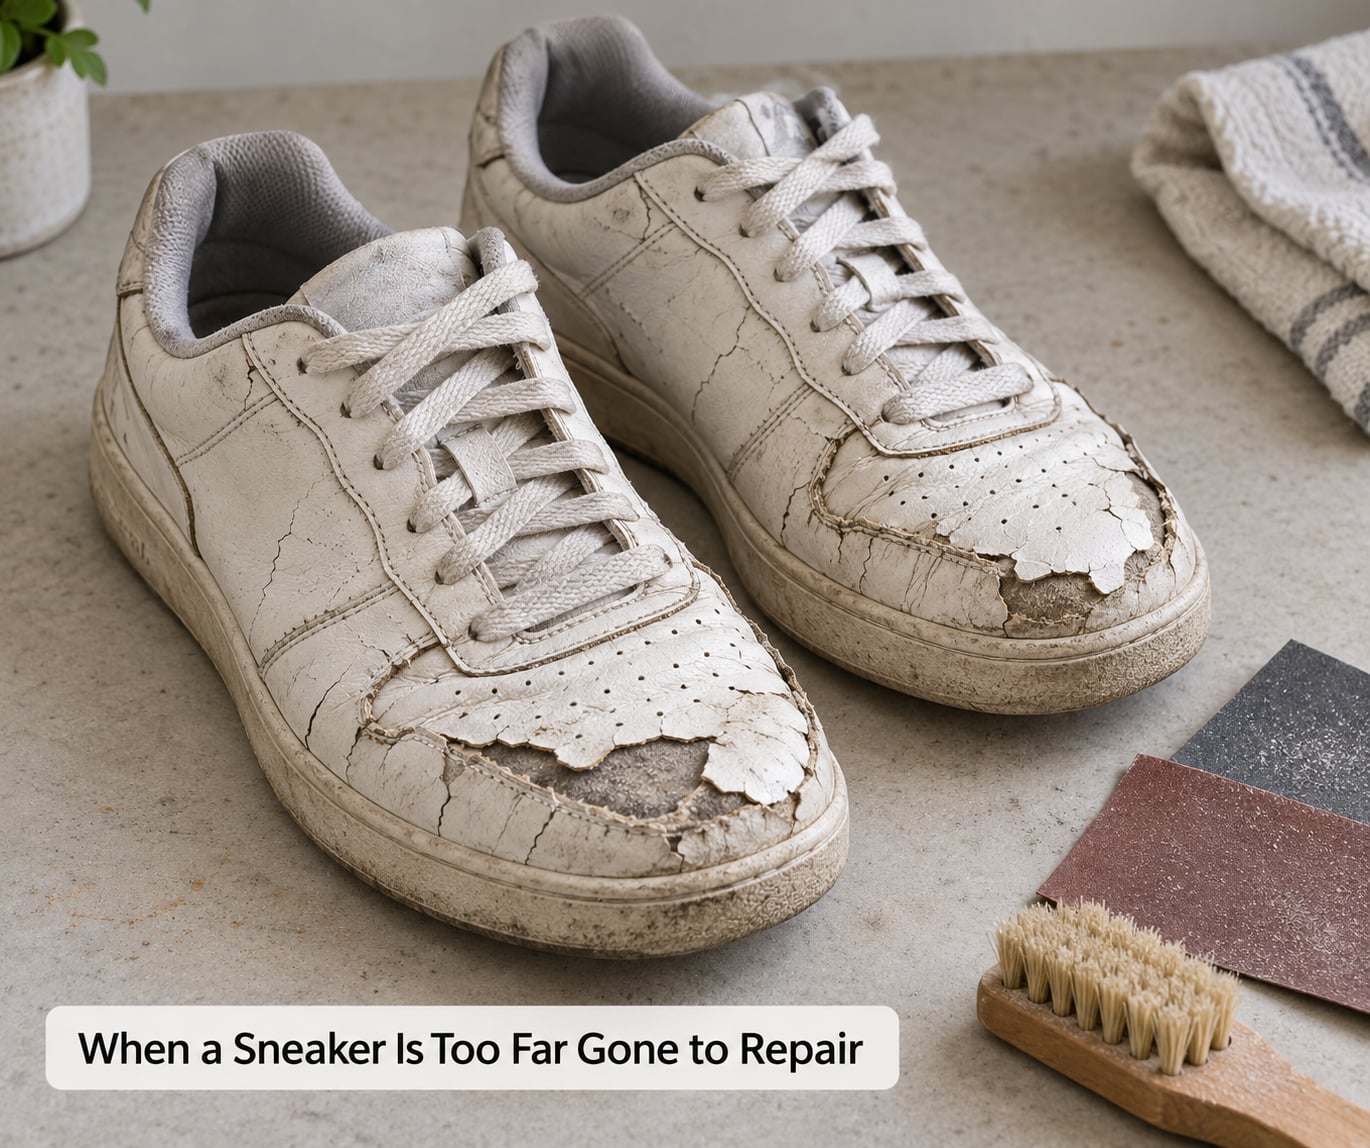
Some damage is past the point where anything you apply at home will help. Go to a cobbler or a sneaker restoration specialist when you hit these signs.
- The peel has spread across most of the toe box and quarter panel rather than staying at an edge.
- The upper and sole are separating at the stitch line, or the midsole foam is visibly softening and crumbling.
- Cracks go all the way through the material and you can feel daylight through them when held to a window.
- The whole panel feels papery and tears like paper when you flex it.
- The colour is too far gone to match, or the pair is worth more restored professionally than replaced.
A cobbler can replace a panel, re-dye a whole upper and recondition the flex areas properly, and for a decent pair that is usually worth it. Professional work costs several times more than a weekend of DIY, but a fraction of a new pair.
Before you pay anyone, check whether it is a defect. Peeling concentrated at the flex point on a relatively new pair, with the rest of the upper intact and undamaged by sun or water, is often a bonding failure between the coating and the base material rather than wear. Manufacturers differ on whether they cover that, but it costs one email to ask, and photos of the peel plus the box help.
Keep wearing them in the meantime if the upper is intact. Peeling on its own is not dangerous. Once cracks are open to the ground, wipe and protect them so dirt does not work into the material, and stop wearing the pair in the rain.
Frequently Asked Questions
Can peeling leather on sneakers be fixed?
Partly, and the honest answer depends on the failure. A dry, chalky finish on genuine leather comes back well with cleaning and conditioner. A lifted flap can be trimmed and re-bonded with contact cement. A delaminating synthetic coating cannot be made to look new again, but it can be re-dyed, sealed and stopped from spreading further. Fix it early, while the peel is still at the edges.
Is leather conditioner safe for peeling sneakers?
Only on genuine leather that is dry. Conditioner rehydrates real leather and brings back suppleness and colour. On PU-coated or faux leather it is the wrong product entirely, because the problem there is a coating separating rather than leather running out of oil. Oils under a lifting coating trap water and make the panel lift faster. Patch test on a toe for 24 hours before going over the whole shoe.
What is the best way to repair cracked leather on shoes?
For dry cracks in real leather, clean the area, work in conditioner and leave it about 30 minutes, then buff the excess off and follow with a colour-matched polish or dye. For cracks that have split open, rehydrate first and skip polish on the first pass. Flex-point cracks recur because the leather bends with every step, so a protector spray and conditioning every four to six months matter as much as the repair.
Can I use super glue to fix peeling leather sneakers?
No. Cyanoacrylate glues turn leather brittle and yellow, and they make the area impossible to repair or re-dye later. Use contact cement, barge cement or a shoe repair adhesive, which stay flexible enough to move with the upper. Let the adhesive reach full tack before you press the flap down, and leave the shoe undisturbed for 48 hours. A cobbler is the better call on a large flap.
How do I stop leather from peeling again?
Condition genuine leather every four to six months, keep it out of prolonged direct sun, and spray a protector after any repair has fully cured. Clean by hand rather than machine-washing, and never let the upper soak. If the peel started at the toe box, the flex point is doing the damage, so shoe trees and avoiding damp storage help. Treat lifting edges as urgent rather than cosmetic.
Should I repair peeling sneakers or replace them?
Repair them if the peel is still at the edges and the upper feels supple underneath. Once the panel goes papery, cracks all the way through, or the sole starts separating from the upper, a cobbler can re-dye or replace the panel but the result will never be factory-new. If the midsole is crumbling or the whole upper has gone, replacement is the honest call. For a recent pair with flex-point peeling only, ask the manufacturer first.
What to Do First
Drop a drop of water on an unpeeled panel and press a finger into the finish. That one minute tells you whether you are dealing with dry leather that needs conditioner, or a synthetic coating that needs trimming and re-dyeing, and every other step branches from that answer.
Then clean it, condition or dye it depending on the material, and give the repair 48 undisturbed hours. If the peel is already across most of the toe box, or the upper is tearing like paper, take it to a cobbler rather than adding another layer to a panel that has nothing left to hold onto.