To clean sneaker midsoles, mix a small amount of mild dish soap with warm water, scrub the foam or rubber with a soft brush in short circular strokes, wipe it down with a damp microfiber cloth, and air-dry away from heat. Most shoes take 10 to 20 minutes of actual scrubbing, plus drying time overnight.
The midsole is the wedge of foam or rubber between the footbed and the outsole, and it is usually the first thing to look dirty and the first thing people notice. Getting it back to a clean white is easy. Keeping it that way without wrecking the foam takes a little restraint.
Two problems get mixed up constantly, and using the wrong fix is why so many people give up. Grime sits on the surface and lifts with soap and a brush. Yellowing usually comes from oxidation in the foam or rubber itself, which means you are removing a thin discoloured layer rather than reversing a stain. More scrubbing does not fix that one.
Table of Contents
- What You Need
- Step-by-Step: How to Clean Sneaker Midsoles
- Common Mistakes
- How do you remove yellowing from sneaker midsoles?
- Frequently Asked Questions
- Does hydrogen peroxide actually unyellow shoes?
- Can I use baking soda and hydrogen peroxide to clean white shoes?
- Is Dawn dish soap good for cleaning sneakers?
- Should I take the insoles out of shoes before washing them?
- What should you never clean with hydrogen peroxide?
- How long does it take to clean sneaker midsoles?
- Conclusion
What You Need
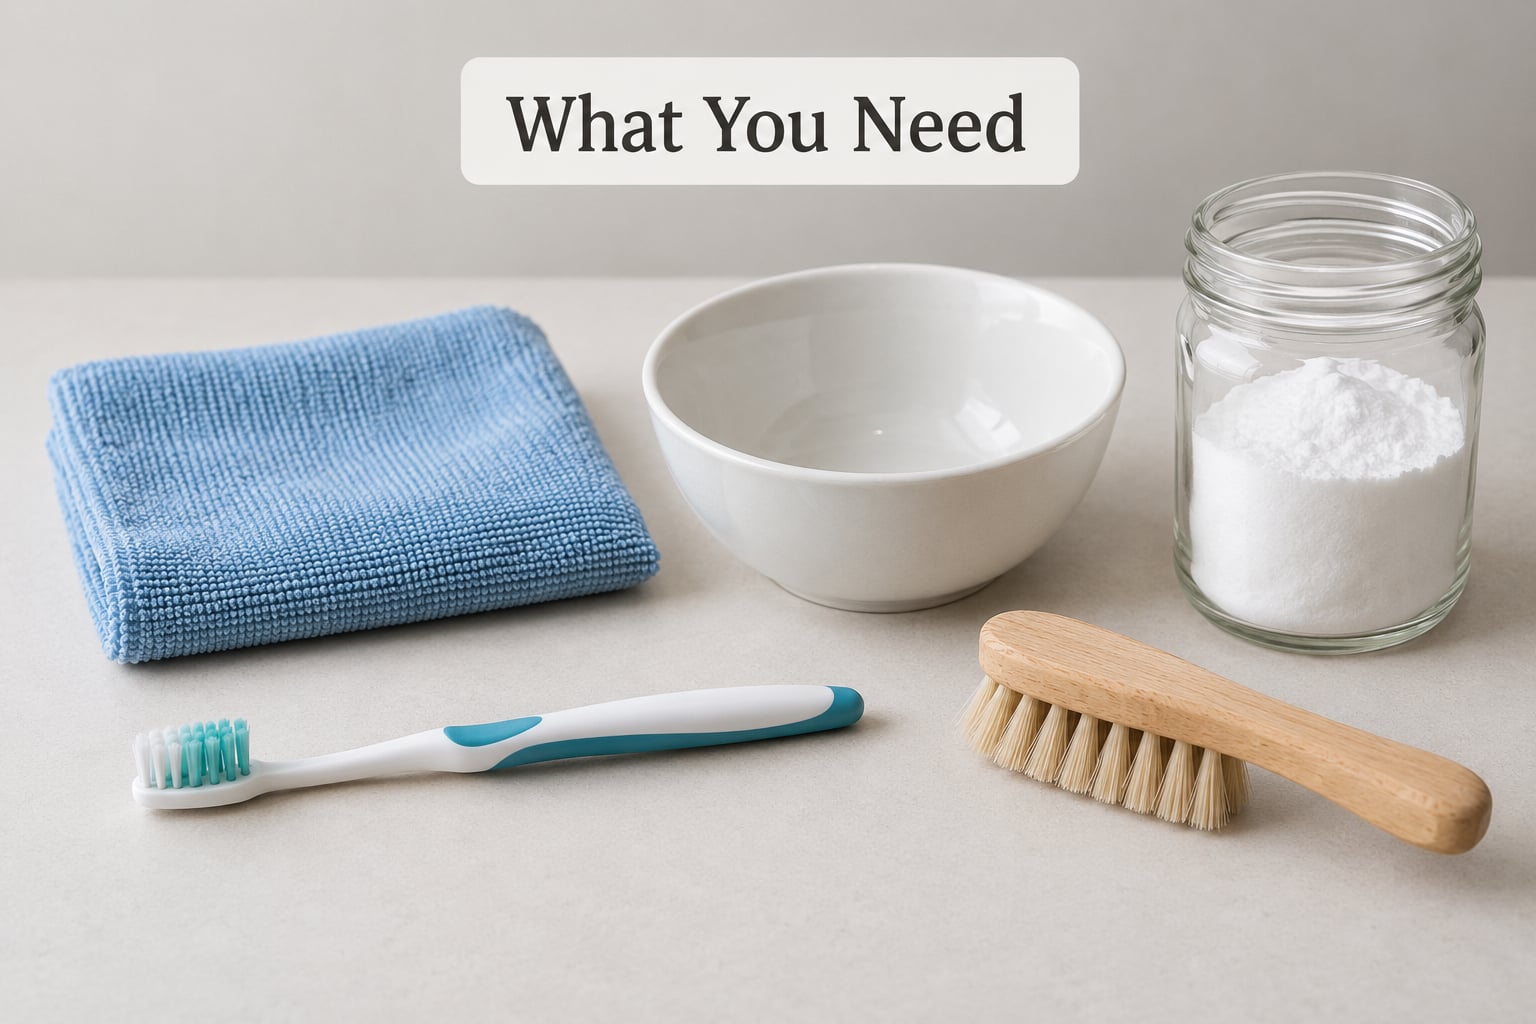
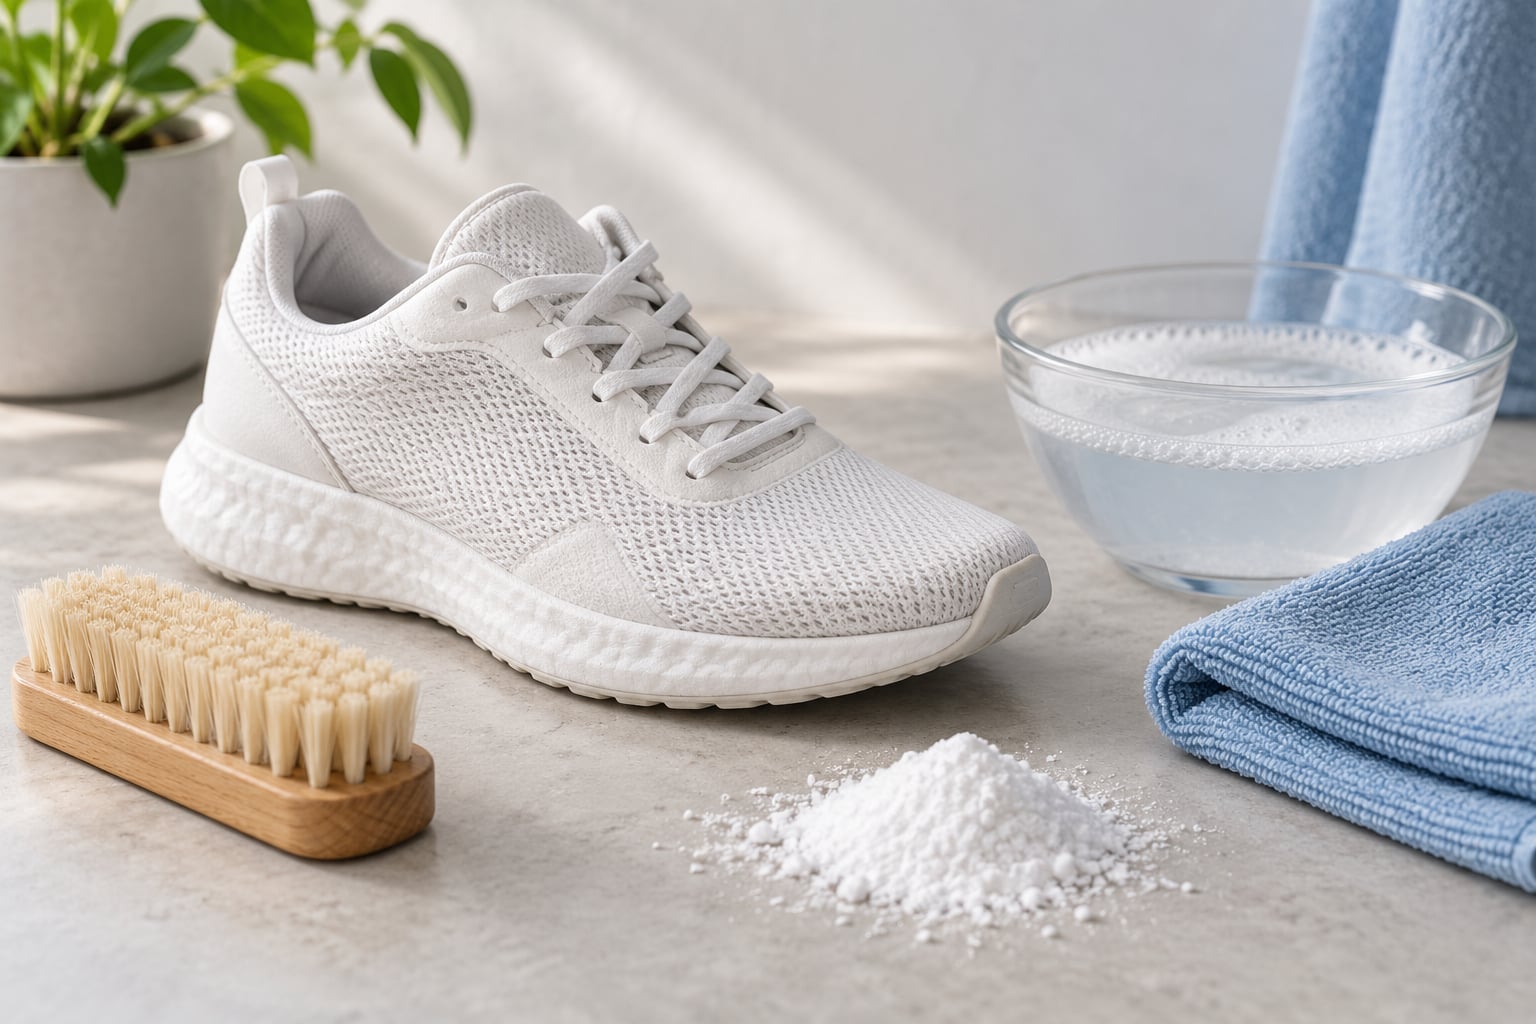
Gather everything before you start so you are not halfway through with a soaked shoe and nothing to dry it with. Most of it is already in the kitchen cupboard.
- A soft-bristle brush or an old toothbrush. Firm bristles scratch rubber and flatten the nap on foam.
- Mild dish soap. A clear, unscented type works best because scented varieties leave a film.
- A small bowl and a toothbrush. For mixing and for tight corners around the outsole edge.
- A microfiber cloth. Two if you can, one damp and one dry.
- Baking soda. Useful as a gentle abrasive and as the base of a whitening paste.
- Optional: 3% hydrogen peroxide. Only for yellowing, never for plain grime.
- A drying rack or shoe tree, plus newspaper. Newspaper stuffed in the shoe holds its shape while it dries.
Keep bleach, acetone, nail polish remover, paint thinner and abrasive melamine sponges in a different drawer. Magic erasers have their place, but they are a last resort rather than a first one. I will explain why below.
Step-by-Step: How to Clean Sneaker Midsoles
1. Check the material and test a small area
Look at the midsole before you wet it. Dense white foam like a basketball midsole behaves differently from moulded rubber, translucent icy rubber or a crepe sole, and a shoe with mixed materials needs the gentlest treatment of the group.
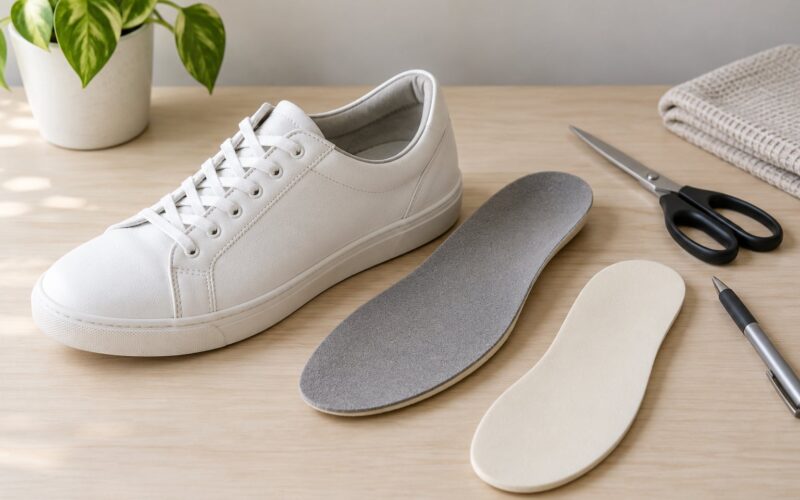
Pull the laces out and take the insoles out if they come loose, since trapped moisture under the footbed is the fastest way to get a smelly shoe. Then dab the solution onto a spot near the heel that nobody will see, wait a minute, and check for fading or a sticky patch. If anything changes, stop there and use plain water and a dry brush only.
2. Prepare a mild cleaning solution
Mix one part mild dish soap with about ten parts warm water in a bowl. You want something that feels slimy, not soapy, because too much foam is what leaves that greasy film people complain about afterwards.
For heavier grime, stir baking soda into a thicker version until it has the consistency of toothpaste and add water a drop at a time. Do not reach for bleach. Straight bleach or a strong peroxide solution breaks down polyurethane foam into something dry and crumbly, and it bleaches the upper and the stitching right next to it.
3. Scrub the midsole gently
Dip the brush in the solution and work in small circles, one section at a time. Start at the heel, where grime collects in the seam between the midsole and the outsole, then move toward the toe. Short strokes beat long fast ones because you keep control of the pressure.
Follow the texture of the material rather than fighting it. On a smooth rubber midsole, back-and-forth strokes along the curve are more efficient. On a bumpy foam midsole, small circles push the soap down into the dimples. Keep the brush damp, not dripping, and hold the shoe over the sink so water runs down the sole instead of into the upper.
4. Remove residue and let the shoe dry
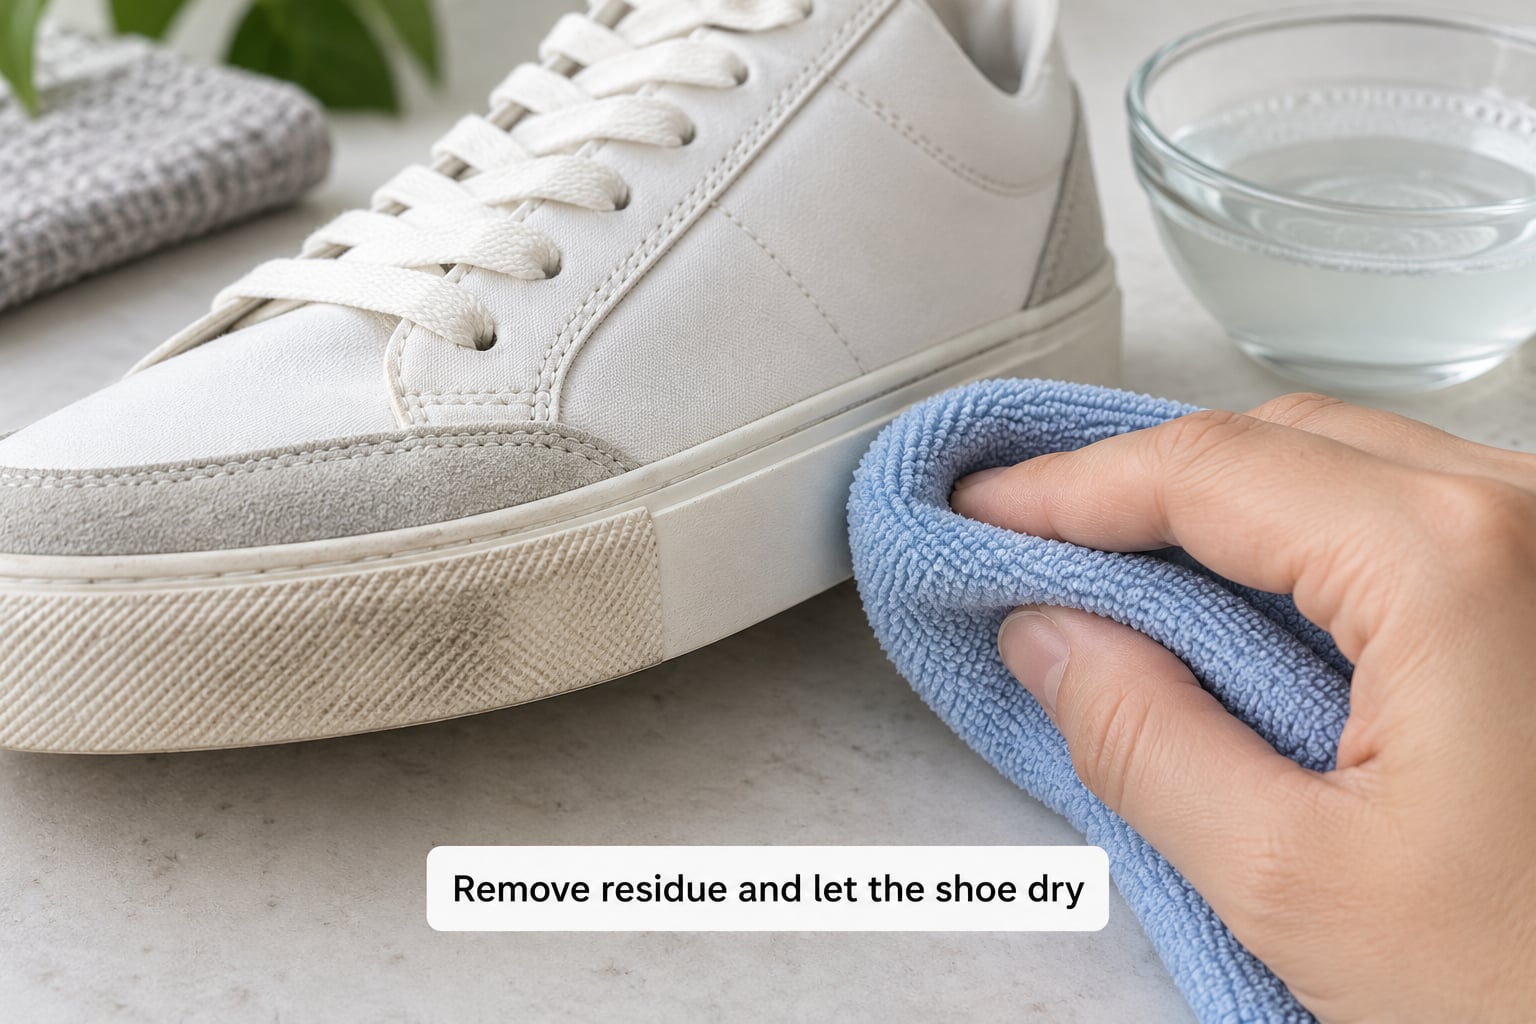
Wipe the loosened dirt away with a damp microfiber cloth before it dries into the foam. Then go over the midsole a second time with the dry cloth. If the foam is not fully waterproof, skip the rinse and keep working with damp cloths instead.
Fill the shoe with newspaper, set it on a rack away from radiators and hair dryers, and give it overnight. Heat speeds up yellowing rather than preventing it. Before you call it done, run a dry finger along the midsole edge: if it feels tacky or leaves a mark, there is still soap there and you should wipe again.
Common Mistakes
What not to use when you clean sneaker midsoles
Most midsole damage I see is not caused by the cleaner. It is caused by one of five habits, and each has a simple correction.
- Soaking the whole shoe. Water seeps into the glue line and up into the upper. Clean the midsole with damp tools instead of a submerged shoe, unless the manufacturer explicitly allows a full wash.
- Straight bleach. It fades the upper, eats into stitching and dries foam out over time. Skip it entirely and use mild dish soap.
- A magic eraser used repeatedly. A melamine sponge does lift surface yellow fast, but it works by sanding the surface away. A few gentle passes are fine; heavy scrubbing leaves the rubber porous, and porous rubber yellows again faster than the dense stuff.
- Scrubbing hard to speed things up. Pressure is not what removes grime, contact time is. If the brush is dragging and skipping, ease off and let the soap do more of the work.
- Heat drying. A hairdryer, radiator or tumble dryer bakes the oxidation in. Air-dry at room temperature with airflow instead.
One more that is easy to miss: cleaning a wet midsole. Grime suspended in water just spreads around the seam. Let the shoe dry fully between passes, and the dirt will come away much faster on a dry surface.
How do you remove yellowing from sneaker midsoles?
Yellowing splits into two kinds, and only one of them responds to cleaning. Surface yellow sits in an outer film and will come off with the right treatment. Oxidation is a chemical change inside the polyurethane or rubber itself, and it means the material is permanently discoloured. No cleaner reverses that, which is why a shoe can look four shades whiter and still be yellow underneath.
For removable surface yellow, a peroxide paste is the most reliable home method. Mix 3% hydrogen peroxide with baking soda to a toothpaste consistency, spread it only over the midsole with a small brush or cotton swab, and leave it for 30 to 60 minutes. Rinse or wipe with a damp cloth, and repeat once for stubborn areas.
For permanent oxidation, you are buying appearance rather than reversing chemistry. Shoe-safe whitening creams and gels from sneaker cleaning brands handle this better than a paste, mainly because they sit on the surface as the oxidised film gives up. Test it on the heel first, and remember it is cosmetic.
Two things decide how long the white lasts. Drying does, and so does what you do afterwards. Air-dry fully, then apply a midsole protector or water-and-dirt repellent every few weeks. The coating slows UV exposure, which is the biggest driver of oxidation in the first place. Skip it and expect to repeat the treatment within a couple of months on a pair you wear weekly.
Frequently Asked Questions
Does hydrogen peroxide actually unyellow shoes?
It can, but only on the surface layer. 3% hydrogen peroxide breaks down oxidised material on the outside of the foam or rubber, so a baking soda paste applied for 30 to 60 minutes will lift surface yellowing. Yellowing that has soaked into the foam cannot be reversed this way, and stronger concentrations dry the foam out and can fade the upper.
Can I use baking soda and hydrogen peroxide to clean white shoes?
On the midsole, yes, and that is the classic method. Mix 3% hydrogen peroxide with baking soda to a toothpaste consistency, keep it off the upper, and wipe it off after 30 to 60 minutes. Keep the paste away from suede and nubuck, and never test it on a spot you cannot see first.
Is Dawn dish soap good for cleaning sneakers?
Yes, it is one of the safest and most effective options for grime. A small amount mixed with plenty of warm water cleans midsoles without the risk that bleach or harsh sprays bring. Use a clear or unscented version, since strongly perfumed formulas tend to leave a residue on foam.
Should I take the insoles out of shoes before washing them?
Yes, take the insoles out and pull the laces if you can. It gives the shoe more airflow while it dries and stops water soaking into the footbed. For a midsole clean where you are not soaking the shoe, remove them anyway so you can reach the foam underneath.
What should you never clean with hydrogen peroxide?
Avoid suede, nubuck and untreated canvas, since peroxide can lighten or spot them permanently. Keep it off any coloured or dyed midsole, and off unpainted leather. It does not belong on mesh uppers either. Foam midsoles are the one surface it suits, and only at 3%.
How long does it take to clean sneaker midsoles?
Budget 10 to 20 minutes of scrubbing for a normal pair and a longer drying time, ideally overnight. A light grime clean takes less. Whitening a yellowed midsole adds another 30 to 60 minutes of paste contact time per application, and it is worth doing one panel at a time.
Conclusion
Start with the simplest possible move: check the midsole material, test a mild dish soap solution on a hidden spot, then scrub gently with a soft brush and wipe it clean. That handles almost all everyday grime without any risk to the foam.
For yellowing, work up from soap to a baking soda and 3% peroxide paste, and accept that deep oxidation is cosmetic rather than fixable. Air-dry the shoes away from heat, add a protector coating afterwards, and you will not be cleaning them again for a while. Updated for 2026.