How to stop sneakers from squeaking when you walk comes down to one thing: friction between two layers that move against each other with every step. Usually that pair is the insole and the footbed, the tongue and the collar, or the outsole and whatever smooth floor you are standing on. Find out which pair is moving first, because the fix is different for each one. Most of these take under ten minutes and cost nothing but a bit of scrubbing.
The reason most guides fail is that they hand you a pile of tricks without telling you which one applies. Powder is the first thing people try, and on plenty of shoes it does nothing at all, because the noise was never coming from the inside. If the squeak started after you stepped in a puddle, in something sticky, or out of the box on brand new sneakers, the cause is completely different from a worn foam insole.
Read the diagnosis step below before you touch anything. It takes a minute and saves you from ruining a good pair of leather or suede shoes with a spray that was never meant for them.
Table of Contents
- What You Need
- Step-by-Step: How to Stop Sneakers from Squeaking
- Frequently Asked Questions
- Why are my sneakers squeaking when I walk?
- Can I use baby powder or talcum powder to stop squeaky shoes?
- How do I fix squeaky insoles without damaging the shoes?
- Is it safe to use WD-40 inside sneakers?
- Can leather sneakers squeak, and what treatment is safe?
- What should I do if the squeak continues after cleaning and drying?
- Conclusion
What You Need
You can do every fix in this guide with things already in your house. Having them laid out before you start means you are not halfway through a repair when you realise the brush is in the bathroom.
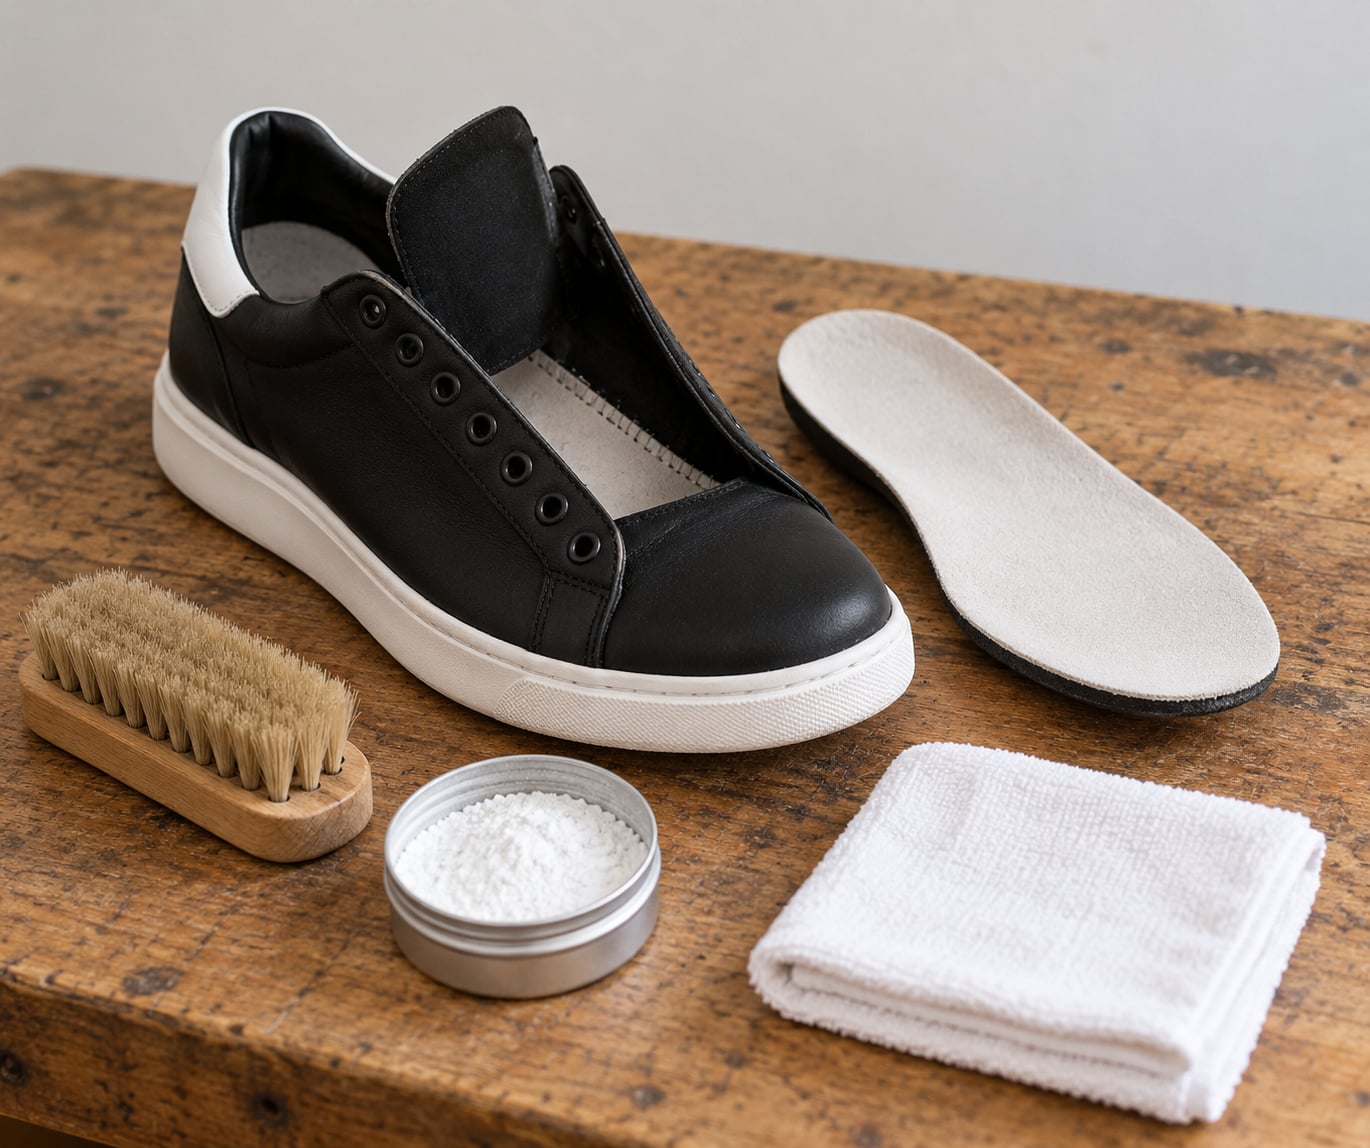
- A clean, lint-free cloth — an old cotton shirt works better than a terry towel, which leaves fibres in the footbed.
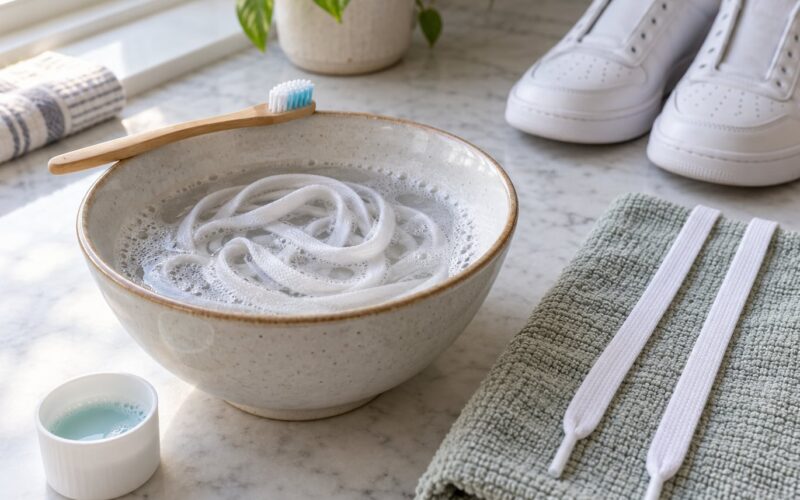
- Mild dish soap and a bowl of lukewarm water — for wiping out grit and damp lining. Not hot water, and not a soaking.
- A soft-bristled brush — an old toothbrush is perfect for the gap between the midsole and the upper.
- A dry lubricant — baby powder, talcum powder or cornstarch from the bathroom cabinet.
- A shoe-safe lubricant or conditioner — petroleum jelly, a silicone shoe spray, or a leather conditioner for leather uppers.
- Newspaper or paper towels — for wicking moisture out of the lining while the shoe dries.
- Masking tape or shoe repair tape — for a raised outsole edge that peels on tile.
- Fine-grit sandpaper, around 400 to 800 grit — for a slick plastic shank that has nothing to grip.
- A dry, ventilated spot — a fan, a shoe rack, somewhere with moving air and no radiator underneath.
Skip the hairspray, the WD-40 and the cooking oil for now. The reasons why are in the mistakes section, and they are the three things that turn a squeak into a ruined shoe.
Step-by-Step: How to Stop Sneakers from Squeaking
Four stages, in order: find the noise, clean and dry the inside, treat the exact spot that moves, then test. Do not jump to the lubricant stage before you know where the friction is, because lubricating the wrong part just makes the sole slippery.
Identify the source of the squeak
Take both insoles out and put them aside. Walk on a hard floor in just your socks, then put the insoles back and walk again. If the noise drops away when the insoles are out, you have an insole problem and you can skip ahead to the footbed treatment.
If the noise is still there, put the shoe on and flex it by hand in a few places. Squeeze the midsole from both sides at the arch. Press down on the toe box. Tug the tongue forward and rub it against the collar. Wiggle the shoe with your hand closed, squeezing the heel counter. Each of those isolates a different pair of layers.
For the floor-facing squeak, dab a little soapy water on the outsole and flex it. Bubbles appearing at a joint mean air is being squeezed in and out through a gap, and that gap is your friction point.
Feel under the outsole with a clean cloth. Often there is nothing wrong with the shoe at all — it is a pebble, a bit of dried mud, or chewing gum flattened into the tread. Forum posts about one squeaky shoe out of a pair almost always turn out to be exactly this.
If only one shoe in the pair squeaks, compare the two closely. Look for an insole sitting at a different angle, a heel worn smooth on one side, or a spot where something has stuck to the outsole. One-sided wear usually means your gait pushes that shoe harder, so the fix has to go on that specific spot.
Clean and dry the inside of the shoe
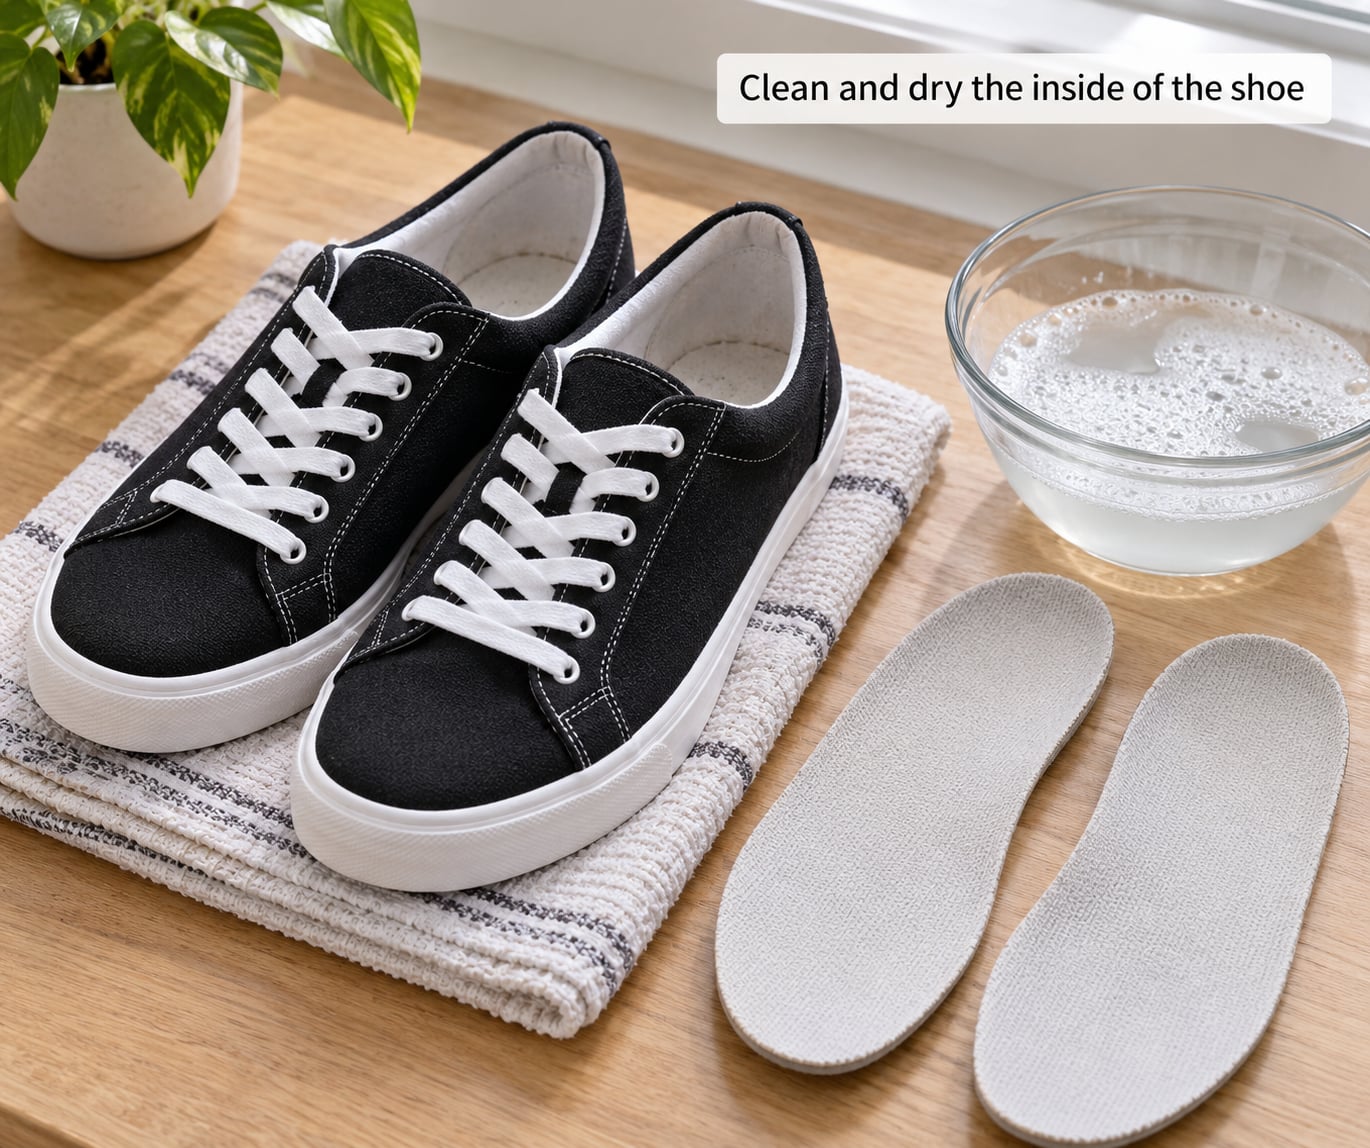
Pull the insoles out and brush loose grit off them. Wipe the footbed and the inside of the lining with your cloth and a drop of mild soap, then go over it again with a clean damp section to remove the residue. Damp fabric against foam is what makes an insole stick and release with every step, so this stage matters even when the shoe looks clean.
Open the laces wide and turn the shoe upside down so air moves through it. Crumple newspaper or paper towels and pack them into the toe box for an hour, then swap for dry paper. The paper is doing the work the fan cannot — pulling water out of the fabric rather than just moving the air around it.
Give leather and mesh uppers a wipe, never a soak. Saturating either one takes an hour to dry properly and can shrink or stiffen the material. If the shoe smells inside, leave the insoles out overnight with a silica gel packet or two tucked in the toe box; those packets are reusable if you keep them in a warm place between uses.
Treat the area causing the friction
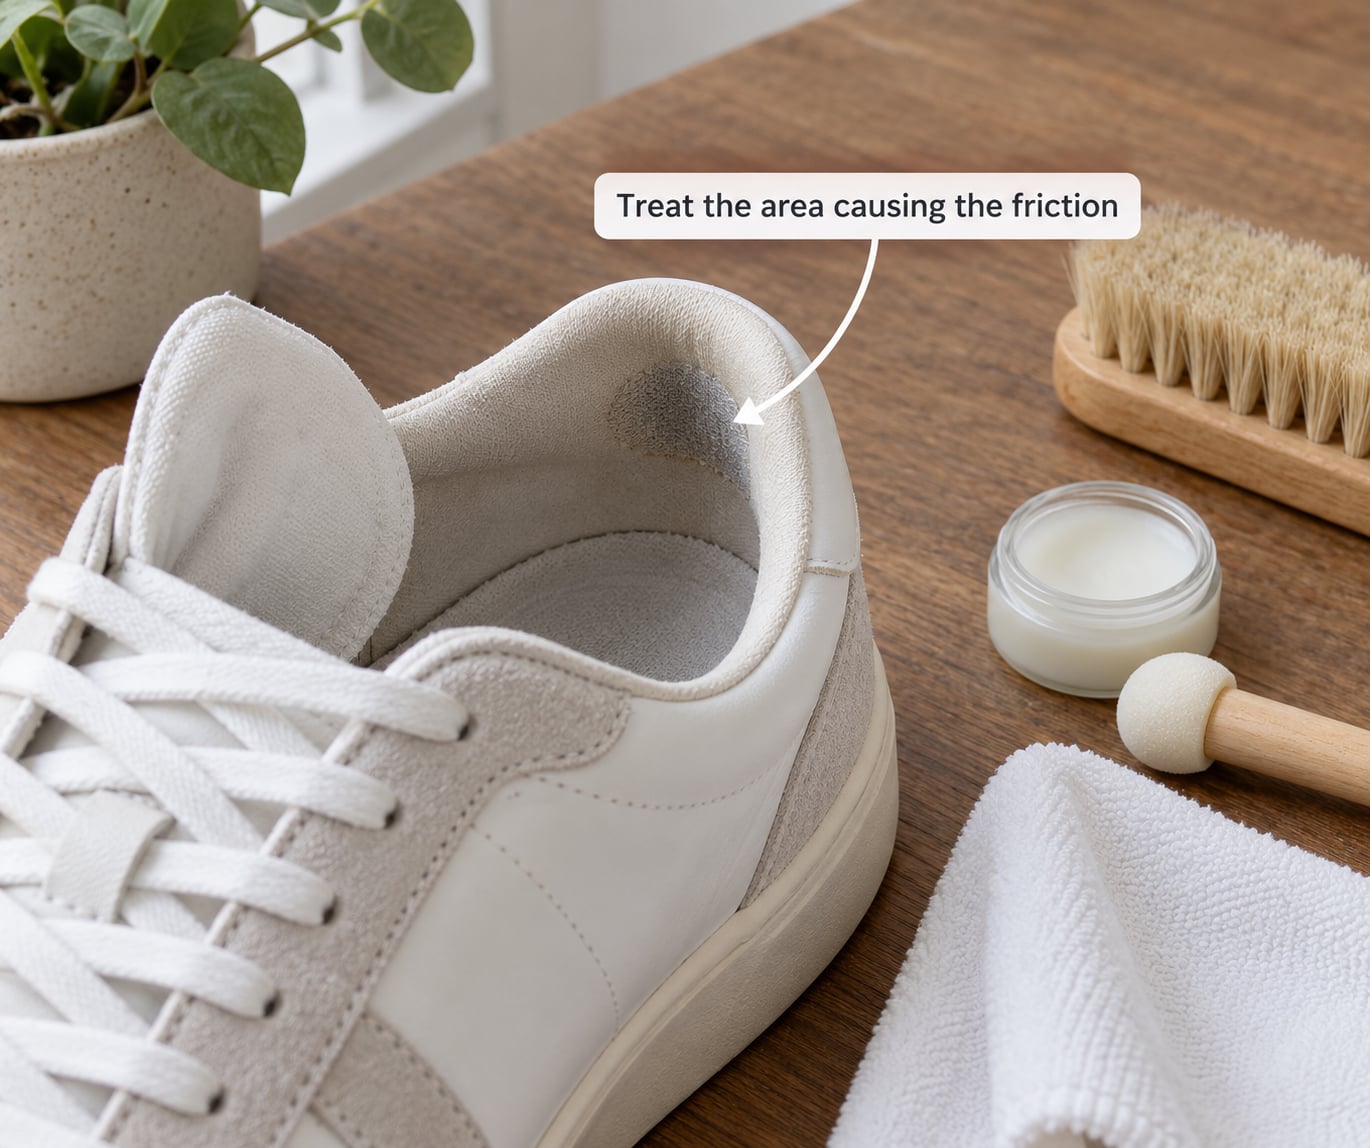
Match the treatment to the location you found:
- Insole shifting or sticking — a thin film of petroleum jelly along the edge of the footbed, or two short sprays of a silicone shoe spray under the insole. The goal is to stop the insole moving, not to grease the whole shoe. Wipe off anything that squeezes out.
- Rough or bubbled footbed — dust a thin, even layer of cornstarch or baby powder over the dry footbed. Cornstarch has less of a perfumed scent and does not cake as badly in a damp shoe. Reapply every week or two.
- Midsole joint popping — a fingertip-sized amount of petroleum jelly worked into the crease where the upper meets the midsole. A cotton swab reaches into the groove without soaking the foam.
- Slick shank or plastic plate inside the shoe — rub it once with 400 to 800 grit sandpaper over a cloth, then wipe off the dust. You are scuffing the surface so the insole has something to grip.
- Dry, stiff leather tongue or collar — work a small amount of leather conditioner or saddle soap into the leather with a cloth, then buff it while it is still slightly damp. Leather squeaks most when it is stiff and dry, so softening it is the fix, not coating it in oil.
- Outsole gripping a smooth floor — rub a dryer sheet across the contact area, or take the shoe onto rough asphalt and scuff it a dozen times. Taping down a lifted edge with shoe repair tape stops the flap that catches on every step.
On Air Force 1 style sneakers the noise usually comes from the padded tongue sliding against the collar, not the sole. A dryer sheet on the tongue, or a thin layer of lubricant under the tongue edge, fixes it without touching the sole at all. For models with a visible air unit that pops when you roll your foot, treat the outsole joint where the unit meets the midsole and skip anything inside the shoe.
Reassemble and test the sneakers
Let the treatment settle. Lubricants need 15 minutes or so, powders need a few hours to work into the surface, and conditioner needs a full night before it stops feeling tacky.
Put the insoles back in the correct way round, pressing along the arch so they lie flat rather than bunching at the toe. Then walk about twenty steps on a clean hard floor. Listen through a full stride, heel to toe, not just the first step.
Check that the sole still grips. If your heel skates on tile, you used too much lubricant — wipe it back with a dry cloth and leave a thin film rather than a wet one. Check the upper too for any dark smudging where the lubricant seeped out.
If the squeak is still there after one careful round, you are almost certainly treating the wrong layer. Go back to the diagnosis and flex a different part of the shoe with your hand. Never stack three products on one pair hoping one of them works; that is how shoes get stained.
Common Mistakes to Avoid When You Stop Sneakers From Squeaking
Almost every ruined pair I have seen came from one of these. Each has a simple correction.
- Using too much lubricant. A generous smear softens the shoe, transfers to socks and floors, and stops working within days. Correction: use a fingertip amount, wipe the excess, and reapply rather than flooding.
- Soaking suede or nubuck. Water and soap leave pale patches and stiff nap that brushing will not undo. Correction: brush dry with a suede brush and use powder sparingly, never a wet cloth.
- Applying household oils. Cooking oil, olive oil and coconut oil darken leather permanently and go rancid on the footbed. Coconut oil gets recommended constantly online; it is not a shoe product. Correction: use a leather conditioner if the upper is leather, and nothing at all if it is not.
- Drying with heat. A hairdryer or a radiator cracks synthetic uppers, warps foam midsoles and weakens the glue holding the sole on. Correction: fan them at room temperature for 12 to 24 hours.
- Forcing a stuck insole. Tearing the foam out means the footbed behind it never gets treated. Correction: press a rolled cloth into the toe box to lift the edge, and work around the whole perimeter.
- Machine washing and tumbling dry. Sneakers do not come out of that intact. Correction: hand clean the insoles and upper separately, air dry only.
- Treating the wrong component. Lubricating the sole when the noise was the tongue is the most common wasted afternoon. Correction: sound out every joint by hand before applying anything.
To stop the squeak coming back within a week, deal with what causes it rather than what silences it. Air your shoes out after every wear instead of wearing them damp all day, keep a silica gel packet in each pair overnight, use an antiperspirant on your feet before long days, and wear socks thick enough to stop your foot sliding inside the shoe. If your feet sweat heavily, the foot is half the friction pair and no amount of shoe treatment holds.
If the pair is still noisy after cleaning, drying and one targeted treatment, the noise is coming from something structural. A separate insole costs less than a cobbler visit and solves a squeezed or collapsed footbed. A cobbler handles a separated sole, a cracked shank or a midsole seam that keeps popping. And if the shoes were noisy the moment you opened the box, contact the retailer rather than treating them at all.
Frequently Asked Questions
Why are my sneakers squeaking when I walk?
A sneaker squeaks because two layers rub, stick and release against each other with every step. The usual pairings are the insole and the footbed, the tongue against the collar, or the outsole against a smooth floor. Trapped moisture makes the surfaces grip and let go more sharply, which turns a small noise into a loud one.
Can I use baby powder or talcum powder to stop squeaky shoes?
Sometimes, but it is not the fix most people expect. Powder works as a dry lubricant when the insole is sliding over a footbed, and it helps a damp shoe by absorbing moisture. It does nothing for a tongue squeak, a midsole seam or a sole sticking to tile. Expect it to rub away within days and reapply weekly.
How do I fix squeaky insoles without damaging the shoes?
Lift the insole with a rolled cloth rather than fingernails, then dust the footbed thinly with cornstarch or apply a light film of petroleum jelly along the edge. Refit the insole so it lies flat from heel to toe. If the foam itself is crumbling or flattened, no treatment helps and a replacement insole is the answer.
Is it safe to use WD-40 inside sneakers?
Not inside. It is an oil-based solvent, so it will soak into foam and fabric footbeds, leave the insole slippery, and stain suede, nubuck and mesh permanently. On the outsole edge it is sometimes used, but it can also swell rubber and make the shoe grip worse. A silicone shoe spray or plain petroleum jelly is the safer choice.
Can leather sneakers squeak, and what treatment is safe?
Yes, and dry leather is one of the main causes. Leather stiffens when it loses moisture, and a stiff tongue or collar rubbing against the upper makes a noise that sounds exactly like a sole problem. A small amount of leather conditioner or saddle soap worked in with a cloth, then buffed, restores the surface without darkening or coating the leather.
What should I do if the squeak continues after cleaning and drying?
Stop treating the inside and re-diagnose. Flex the midsole, toe box and tongue by hand and find the joint that actually pops. If the sole edge is separating or the footbed is crumbling, replace the insole or take the shoe to a cobbler. New shoes that squeaked from the box should go back to the retailer instead.
Conclusion
Start with the least invasive move every time: find the noise, clear out debris and moisture, then treat only the point that moves. Powder first for an insole slide, a dry cloth and conditioner for a leather tongue, scuffing for a sole that grabs the floor. Test on a hard floor before you reach for anything stronger, and if one careful round changes nothing, the problem is structural and needs a new insole, a cobbler or the retailer.