The safest way to clean white sneakers without ruining them is mild dish soap, cool water, a soft-bristled brush and patient air drying. Skip the bleach, skip the dryer, and skip soaking the whole shoe. Most damage comes from three habits, not three products, and each one is easy to avoid.
That matters because white sneakers show every mistake twice: once on the surface and once months later when yellowing creeps in. I ruined a pair of canvas lows with a cap of bleach in a sink, and the yellow that showed up a week later was never coming out.
A careful hand clean takes 20 to 30 minutes for one pair plus drying time, and the difficulty is low once you know which material you are holding. If you have never cleaned a pair before, read the whole method first so you know where to stop.
Table of Contents
- What You Need
- Step-by-Step: How to Clean White Sneakers Without Ruining Them
- Common Mistakes
- Using bleach on the whole shoe
- Soaking the shoe
- Scrubbing hard to get a fast result
- Applying a leather product to suede or nubuck
- Using an oxygen bleach such as OxiClean on leather
- Reaching for nail polish remover on a canvas midsole
- Rinsing more than once
- Using a dryer, radiator or hairdryer
- Storing shoes before they are dry
- Assuming one cleaner suits every part of the shoe
- Keeping white sneakers white between deep cleans
- Frequently Asked Questions
- Conclusion
What You Need
The tool list is short, and almost everything is already in a kitchen drawer or a bathroom cabinet.
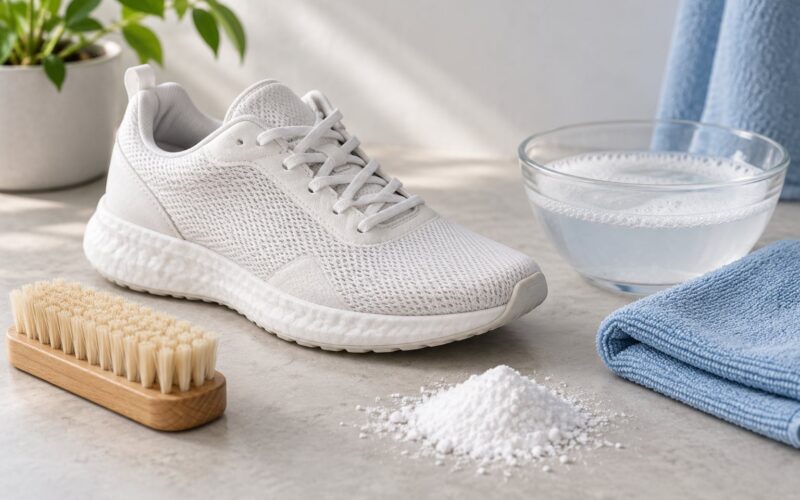
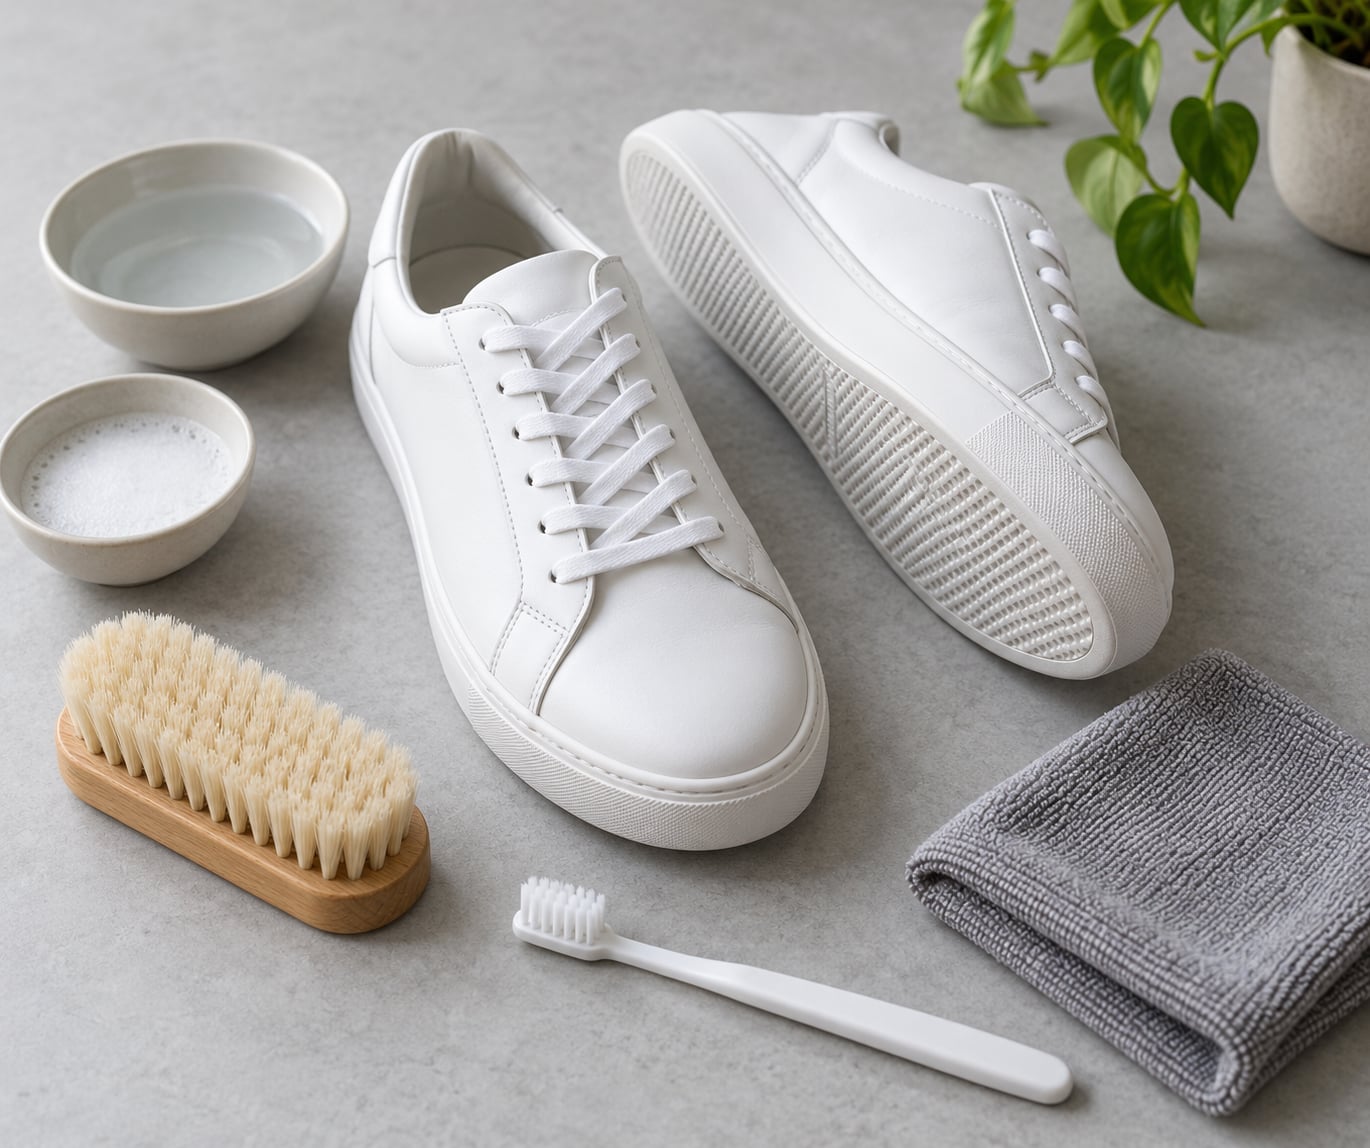
- A soft-bristled shoe brush or toothbrush for the upper, and a firmer toothbrush reserved for rubber midsoles and outsole grooves.
- Microfiber cloths or soft cotton towels, one damp and one dry, for blotting and for the patch test.
- Mild dish soap or a small amount of gentle laundry detergent. Skip anything labelled heavy duty, enzyme concentrate or bleach alternative.
- Two small bowls, one for your soapy water and one for clean water, so you never drag grit back across the shoe.
- A material-specific cleaner: a suede brush and suede cleaner if the upper is suede or nubuck, and a melamine eraser for rubber midsoles.
- A shoe tree or crumpled paper to hold the shape while the shoe dries.
You want separate products because one shoe is built from five surfaces that behave differently. The upper is fabric or leather that absorbs liquid, the midsole is dense rubber that scrubs clean easily, the outsole takes the most abuse, the laces can take far more agitation than the upper, and the glue seams where upper meets midsole are the fragile spot.
Water that would be harmless on a rubber outsole can soak into a leather upper, loosen the adhesive underneath it and leave a permanent crease. That is the actual mechanism of ruining a pair, and it is why almost every step below is about using less water than feels natural.
Step-by-Step: How to Clean White Sneakers Without Ruining Them
Step 1: Check the Care Label and Identify Each Material
Start on the tongue label or the box. A machine-washable symbol means the upper is almost certainly canvas or knit with no leather trim, and a dry-clean-only symbol means hand cleaning with barely damp cloths and nothing more.
Then take the shoe apart. Pull the laces out, take the insole out if it lifts out rather than being glued, and note any foam or paper pieces you removed so you can put them back in later. Removing parts before cleaning is what keeps water from wicking up into the shoe and staying there for weeks.
Now name each material out loud: smooth leather, suede, nubuck, mesh, knit, canvas or synthetic leather. If you cannot tell, look at the surface. Suede and nubuck have a soft, velvety nap that darkens when you brush it. Smooth leather has a slight grain and holds a drop of water on the surface. Mesh is an open woven grid you can usually see light through. Knit is a stretchy, sock-like fabric. Canvas is flat and tightly woven with a matte finish.
Treat glued, dyed, metallic, reflective or embellished areas with extra caution. Foil panels, glitter overlays and heat-pressed logos can lift, bleed or scratch with almost no pressure.
Step 2: Brush Away Loose Dirt Before Washing
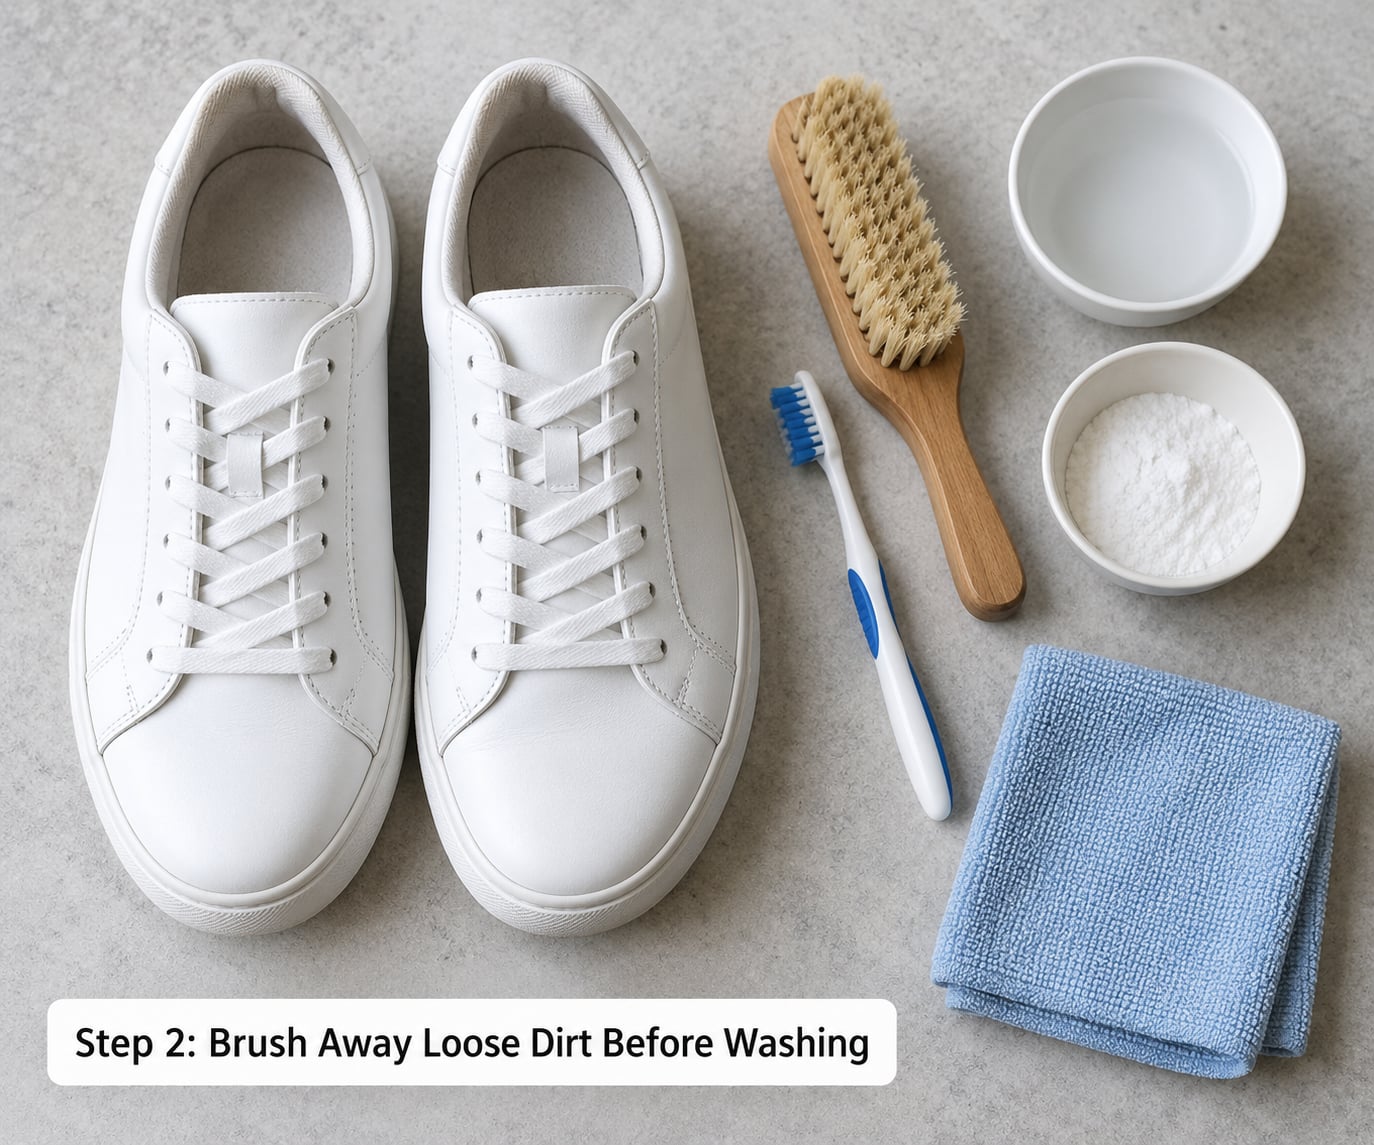
Dry brushing does more work than people expect, and it is the step that keeps grit from becoming a scratch later. Take the soft brush and move it in one direction across the upper, from the toe back toward the heel, with light pressure.
You know it worked when loose soil stops coming off and the brush starts dragging clean. Do not push hard enough to force particles into seams, eyelets or the weave of mesh, because once grit is embedded you will be grinding it into the fibres with every later stroke.
The firmer toothbrush is for the midsole and outsole only. Scrub the rubber edge, the toe bumper and inside the tread grooves where mud has dried hard. Stop immediately if the brush is fraying fibres or spreading a dusty cloud instead of lifting material.
Step 3: Choose a Cleaner for the Sneaker’s Materials
Mix your cleaner once and match it to the material. For canvas, mesh, knit and synthetic leather, a teaspoon of mild dish soap in a bowl of cool water is plenty. For smooth leather, use the same soapy water but keep the cloth barely damp rather than wet. For suede and nubuck, skip the dish soap entirely and use a dedicated suede cleaner with a suede brush, following the directions on the tin.
For rubber midsoles and outsoles, a melamine eraser is the fastest option and needs no liquid at all. For the laces, which can handle more than the upper, either the soapy water and a toothbrush or a mesh laundry bag later in the wash.
Never soak. A shoe that sits in a basin draws water deep into the foam midsole and under the glue line, and the shape you get back can be permanently flattened or warped. Work with damp cloths and a brush instead.
Patch test every cleaner in a hidden spot first, such as the inside of the tongue or the heel area, and give it a few minutes. You are looking for no colour lift and no change to the surface. If the patch goes stiff, shiny or blotchy, stop and use something milder.
Step 4: Clean the Upper, Midsole, and Laces Gently
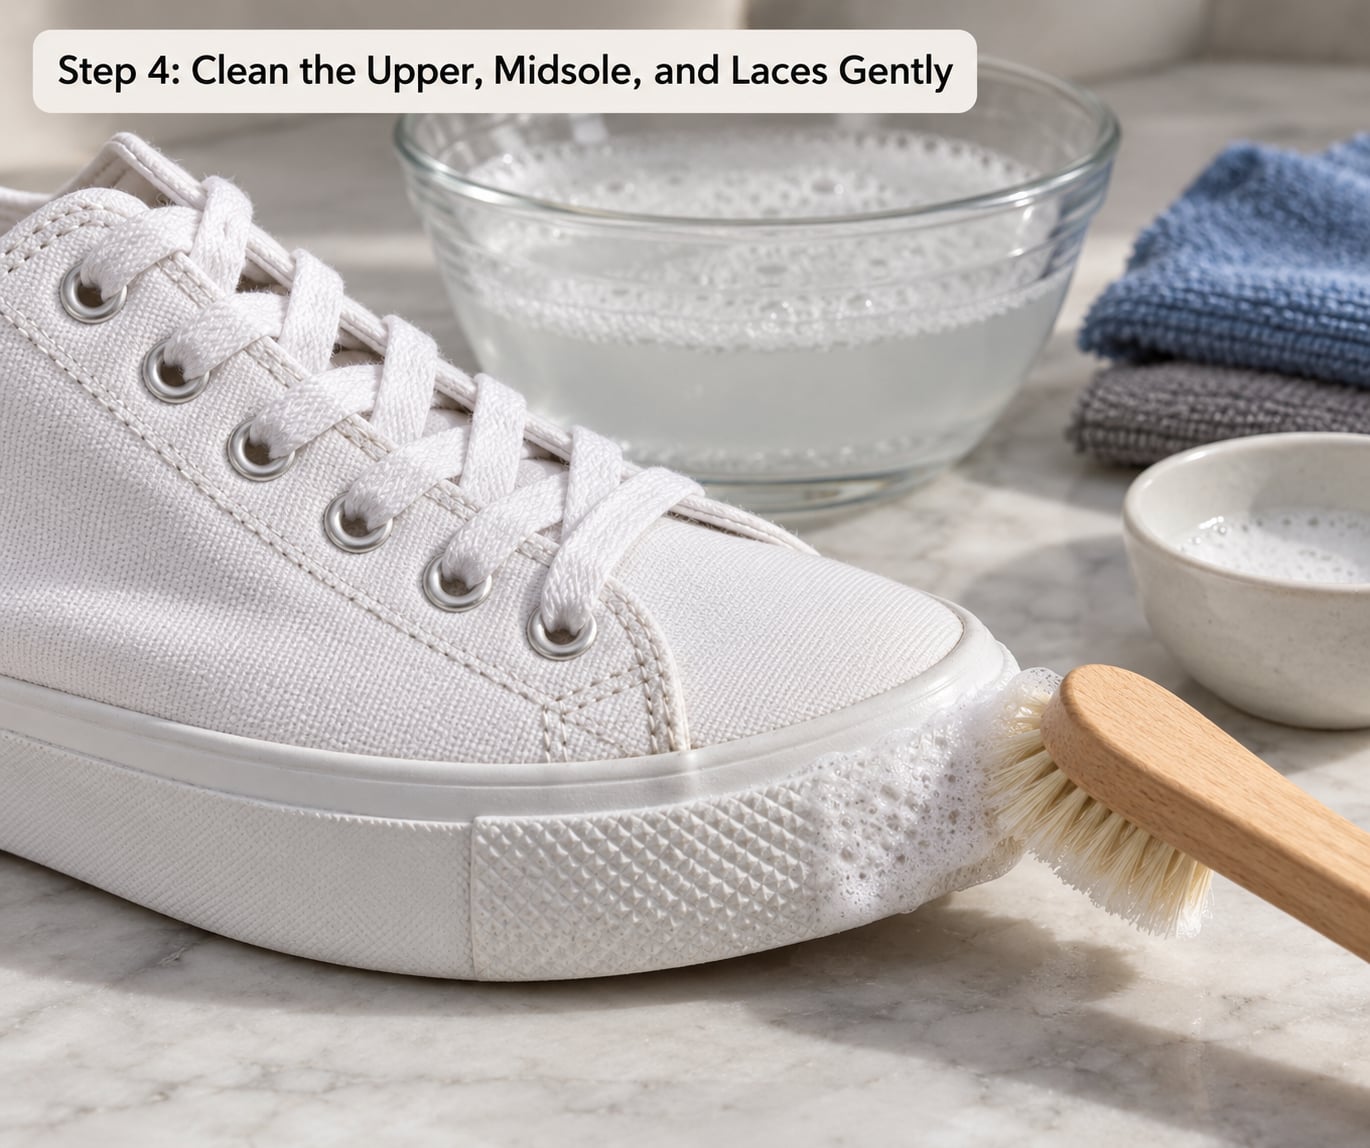
Work in sections rather than over the whole shoe at once. Dip your cloth in the soapy water, wring it until it barely drips, and wipe a small area. Follow with the soft brush to lift the loosened soil, then wipe again with a clean damp section of cloth.
Pay attention to where grime collects: the seam where the upper meets the midsole, the edge of any stripe or overlay, the perforations in the toe box, and the small lace holes where lace dye and dirt build up. Those four spots are what people see first on an otherwise clean shoe.
You have done enough when the surface looks clean and matte rather than dark and damp. If a wet patch spreads past the area you are working, you have too much liquid on the cloth. Stop, blot with a dry cloth, and let that area dry before continuing.
Clean the midsole separately with the melamine eraser or the soapy brush, keeping the eraser away from the upper and away from the glue seam. Then handle the laces on their own, either scrubbed by hand with a toothbrush or soaked for ten minutes in soapy water and rinsed.
Step 5: Rinse Sparingly, Blot, and Air-Dry Properly
Rinsing is where most people use too much water. Where the material permits it, wipe the area once more with a clean cloth dampened with plain cool water, and that is your rinse. You are removing soap residue, not flooding the shoe.
Blot, never rub. Rubbing while wet pushes dirt into the fibres and pushes pigment out of them, which is how a clean white panel turns grey. Press a dry microfiber cloth down, lift it, and repeat with a fresh section.
Put the shoe tree or paper inside, lace the shoe loosely so the tongue keeps its shape, and set the pair somewhere shaded with moving air. Not on a radiator, not in a dryer, not in direct sun on a windowsill. Heat warps foam and weakens the glue that holds the upper to the midsole, and that damage does not come back out.
Allow 6 to 12 hours for a canvas or knit shoe and closer to 24 for anything with leather or a thick suede panel. Before you wear or store the shoe, press a cool dry cotton cloth against the upper and check for a damp mark. No mark means it is ready; any coolness or softness in the foam means it needs more air time.
Store shoes only when they are fully dry. Damp leather sealed in a box smells within days, and mildew stains are harder to shift than dirt.
Common Mistakes
Using bleach on the whole shoe
Chlorine bleach does not pull a stain out of a white sneaker. It attacks the shoe itself, oxidising the polyurethane and nylon in the upper and the stretchy threads in knit panels. That is the yellowing people notice a week after cleaning.
Fix: leave it out. Dish soap and a soft brush handle almost every mark a white sneaker picks up in normal wear.
Soaking the shoe
A basin of water wicks into the midsole foam and under the glue seam, and the shoe can come out misshapen or with a loose bond.
Fix: damp cloth and brush work. If the shoe genuinely needs soaking, the care label has to allow it, and that is rare outside plain canvas.
Scrubbing hard to get a fast result
Pressure does not remove more dirt, it removes finish. Canvas develops fuzzy patches, mesh frays and suede loses nap in exactly the places you scrubbed.
Fix: let the cleaner do the lifting and use short light strokes. Repeated light passes beat one hard one.
Applying a leather product to suede or nubuck
Sneaker trees, conditioners and waxes are made for smooth leather. On suede they darken and flatten the nap permanently.
Fix: identify the material first, every time. Nubuck and suede get a dry brush and a dedicated cleaner, nothing else.
Using an oxygen bleach such as OxiClean on leather
Sodium percarbonate dries out and cracks leather, suede and faux leather. One user on a sneaker cleaning forum put it plainly: avoid oxygen bleach on those materials because it discolours and cracks them.
Fix: powdered oxygen bleach is for canvas, mesh and rubber only.
Reaching for nail polish remover on a canvas midsole
Acetone is brilliant on scuffed rubber and terrible on a canvas upper, where it bleaches colour out of the fabric and leaves a pale patch nobody can undo.
Fix: melamine eraser on rubber, damp cloth and soap on canvas, no exceptions.
Rinsing more than once
Each rinse pulls more water into the upper and pushes more soap residue deeper, which encourages yellowing later.
Fix: one careful wipe with a clean damp cloth is enough on everything except a fully canvas shoe that has been deliberately hand washed.
Using a dryer, radiator or hairdryer
Heat is the fastest way to warp foam and soften glue, and it also sets stains instead of lifting them.
Fix: shade plus fan plus patience. Speed the shoe up with a fan, never with heat.
Storing shoes before they are dry
Trapped moisture smells, then grows mildew, and the stain is harder to remove than the dirt you were cleaning.
Fix: the cool dry cloth test first, every time.
Assuming one cleaner suits every part of the shoe
The dish soap that is perfect for the upper is wasted on the midsole, and the melamine eraser that fixes rubber scuffs will wear a hole in suede.
Fix: treat the upper and the rubber as two separate jobs, with two separate products.
Keeping white sneakers white between deep cleans
The highest-rated advice on sneaker care threads is not a cleaning method at all. It is a damp cloth wiped over the shoe after every wear, plus a proper clean once a month. It costs thirty seconds and it is the difference between wiping a mark off and scrubbing one out.
A water and stain repellant spray applied to a clean, dry shoe adds a barrier that gives you a few days before grime sets, and a magic eraser on the midsole after each wear keeps the rubber bright between sessions. Keep shoes off the floor at home and never store them stuffed tight in a box while damp.
Frequently Asked Questions
Can I use baking soda to clean white sneakers?
Baking soda is a mild abrasive, so it is useful as a paste on canvas, mesh and rubber where you scrub first and rinse lightly. Mix one tablespoon of baking soda with two tablespoons of cool water, apply it, let it sit 10 to 15 minutes, then brush and wipe off. Never put a baking soda paste on leather or suede, and never leave it to dry fully on the shoe. It removes soil, but it does not whiten the material itself.
Is vinegar safe for cleaning white leather sneakers?
Diluted white vinegar can be used sparingly on smooth leather for stubborn grime, but it is not a good default. Acid dulls the finish and dries the leather over repeated use, and it is a poor choice for suede or nubuck. Most of the time a barely damp cloth with mild dish soap does the same job. If you do use vinegar, dilute it heavily, patch test first, and follow up with a leather conditioner.
Why are my white sneakers still yellow after cleaning?
Yellowing that appears after cleaning usually means bleach touched the shoe. Chlorine oxidises the polyurethane and nylon in the upper, and the yellow shows up days later as the material degrades. Other causes include protein and dye transfer from socks, cleaning and then drying in direct sunlight, and ageing adhesives. Once bleach has oxidised the material the yellow is permanent, so the fix is prevention: no bleach, shade drying, cool water only.
How long should I air-dry white sneakers after washing them?
Give a canvas or knit sneaker 6 to 12 hours and anything with a leather or suede panel closer to 24. The test is simple: press a cool dry cotton cloth against the upper. No damp mark and no coolness in the foam means it is ready. Speed things up with a fan or an open window, never a dryer or a radiator, since heat warps foam and weakens the glue holding the upper to the midsole.
What is the safest way to clean white sneakers without water?
Dry cleaning is the safest option and it handles most fresh scuffs. Use a soft-bristled brush on the upper, a melamine eraser on rubber midsoles and outsoles, and a dry suede brush on suede or nubuck, then dab any remaining grease with a dry cloth. Keep a damp cloth in a sealed bag for the parts that need it rather than carrying an open bowl of water around. Brush the whole shoe first, then spot treat.
Conclusion
Here is the whole method in five moves: name the material, patch test a mild cleaner, work section by section with a barely damp cloth, blot instead of rubbing, and air-dry in shade away from heat. Nothing in that sequence is aggressive, and nothing in it can warp foam or melt glue.
Start with dry brushing and spot treatment rather than soaking. Most dirt comes off with a soft brush and a little dish soap, and the shoes you clean that way are still wearable a year later.