Yes, you can replace sneaker insoles yourself in about ten minutes, and the whole job is four moves: lift the factory insole out, trace it on the new one, trim to size, and press the replacement flat from heel to toe. If your sneakers take a lift out without force, the rest is just measuring and cutting.
That matters more than most people expect. The thin foam sheet that shipped in your sneakers is usually the first thing to give up, and it gives up quietly — no cracks, just a heel that has gone flat and an arch that stopped holding your shape. Once that layer compresses, the shoe feels dead underfoot even though the midsole underneath is fine.
This guide covers how to replace sneaker insoles for better support, including which insole type actually suits your foot, how thick it should be, and when a swap is the wrong fix. Budget ten minutes per pair and a damp cloth. No special tools.
Table of Contents
- What You Need
- Step-by-Step: How to Replace Sneaker Insoles for Better Support
- Common Mistakes When Replacing Sneaker Insoles
- Tips for Getting More Support and Longer Sneaker Life
- Frequently Asked Questions
- Can I replace insoles in any pair of sneakers?
- How do I know which sneaker insole size to buy?
- Should I keep the original insole under the replacement?
- Will new insoles fix foot pain or an arch problem?
- How much space should there be between my toe and the end of the shoe?
- Can insoles make a sneaker fit tighter or make it smaller?
- Conclusion
What You Need
The job is small. Gather these before you pull anything apart, because the measuring step is the one you cannot redo.
- The replacement insole. Buy full-length, not a three-quarter footbed, unless your sneaker’s footbed is shallow enough that a partial insert will float.
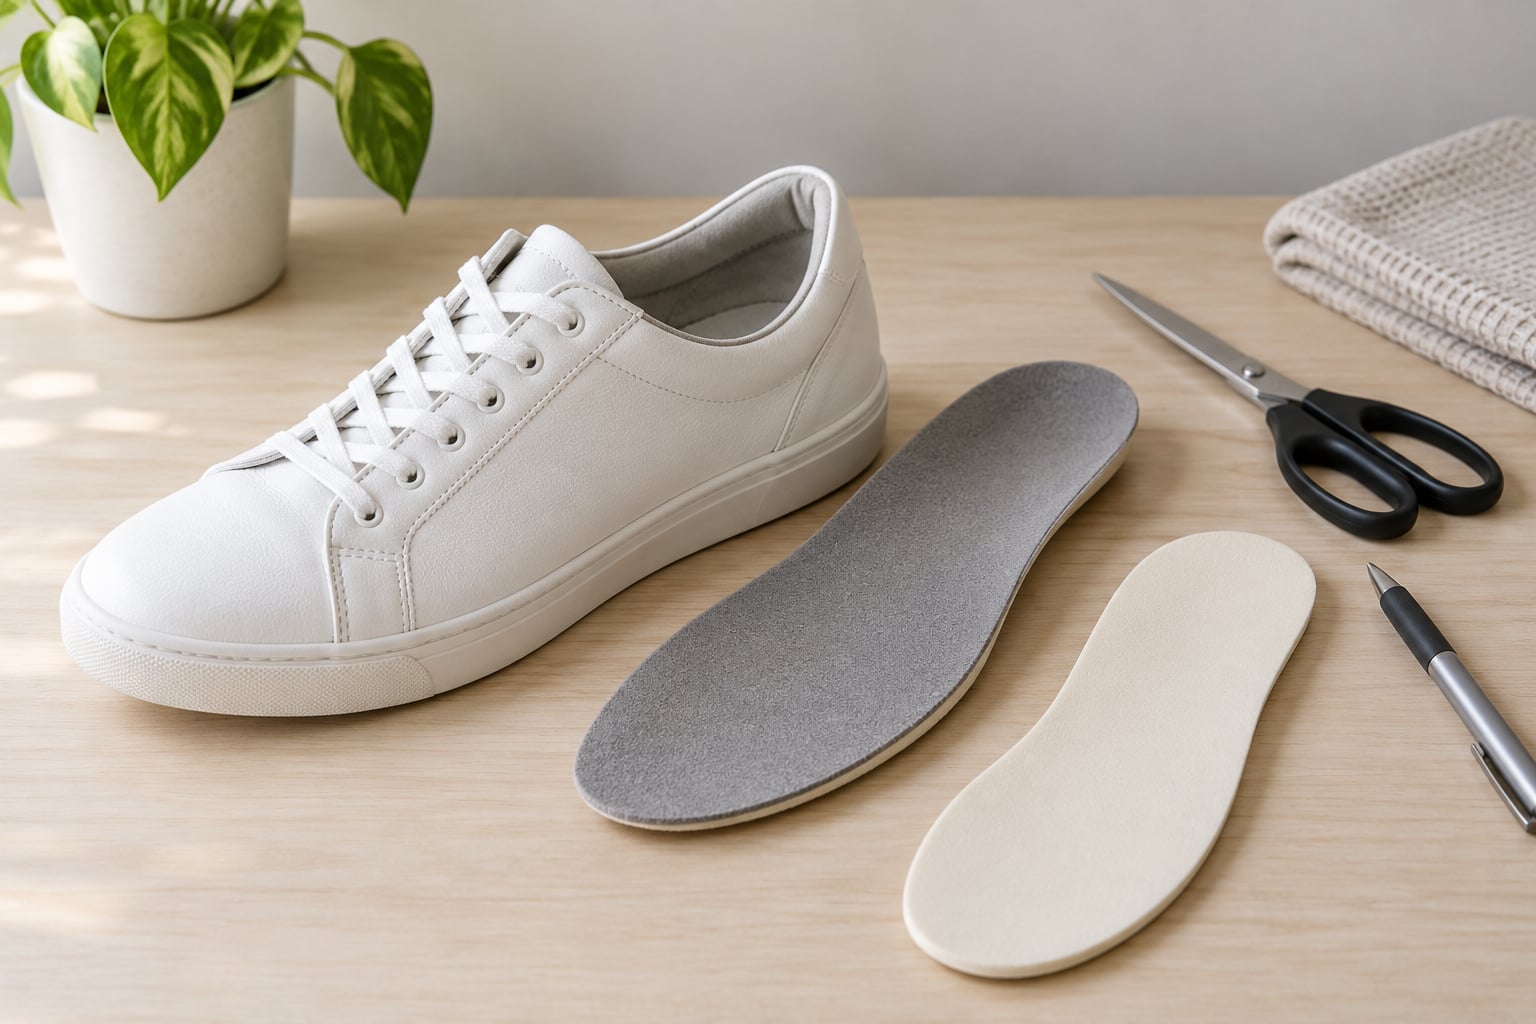
- A pen or marker. For tracing the old insole. A soft pencil works on foam; a Sharpie is fine if you trace onto a sheet of printer paper taped over the foam.
- Scissors, or a utility knife with a fresh blade. Scissors cut foam cleanly. A knife is better for dense rubber or plastic-backed inserts.
- The old insole. This is your template. Do not throw it away — keep it in the shoe box so you can size the next pair correctly.
- A damp cloth and mild soap. For wiping the footbed before the new insole goes in.
- Optional: painter’s tape or a strip of low-tack tape. It stops the new insole sliding while you trace it.
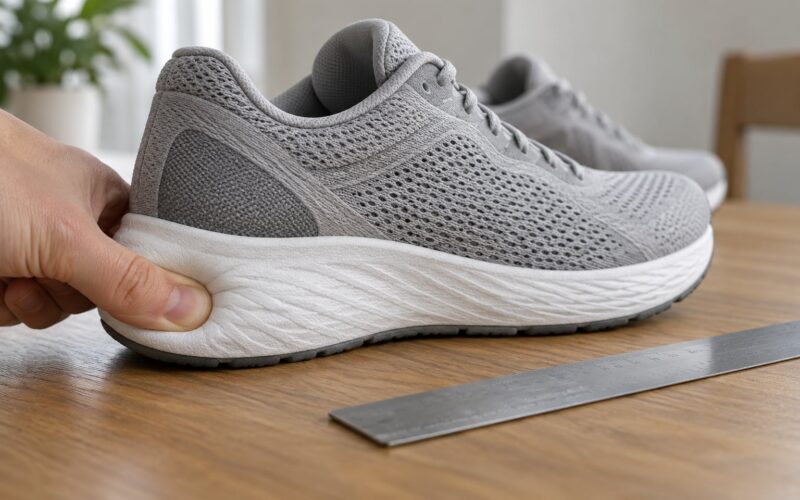
Before anything else, measure the original insole at the heel and at the forefoot with a tape measure or ruler, and note the thickness at the heel with a caliper if you have one. If the replacement is more than about 3 mm (1/8 inch) thicker at the heel, the shoe will feel tight and you should either pick a thinner model or size up a half size.
Step-by-Step: How to Replace Sneaker Insoles for Better Support
Six steps, in this order. The order matters: measuring first prevents the two mistakes that are impossible to undo, which are cutting too small and cutting through the heel cup.
1. Check That the Sneakers and Insoles Are Compatible
Compatibility is decided by three things — whether the insole lifts out, whether the shape matches, and whether your foot gets enough room. Check all three before you buy.
Start with the removal test. Open the shoe, grip the insole at the heel, and pull straight up with no tool. If it slides out with a light tug, the insole is loose-fit and you can replace it normally. If it resists, does not flex at the heel, or you have to dig a fingernail into the edge, it is lasted or glued to the strobel board, and you should read the section on glued insoles below before forcing anything.
Next, check the footprint. The replacement should match the original in length at the heel and follow the same width curve through the arch and forefoot. A wide shoe will swallow a narrow insole and let it rock; a narrow shoe will not accept a wide one at all. If your sneakers were designed for one foot shape, so should the insole.
Finally, check depth. Low-top court shoes and canvas sneakers have shallow footbeds, often under 5 mm of usable clearance. Running shoes with a tall stack have much more room but also a defined heel-to-toe drop you do not want to wreck. And check the maker’s care guidance before you start — some brands treat a damaged footbed as non-repairable and will not honour a warranty on a shoe you have cut into.
2. Remove the Old Insole Without Damaging the Shoe
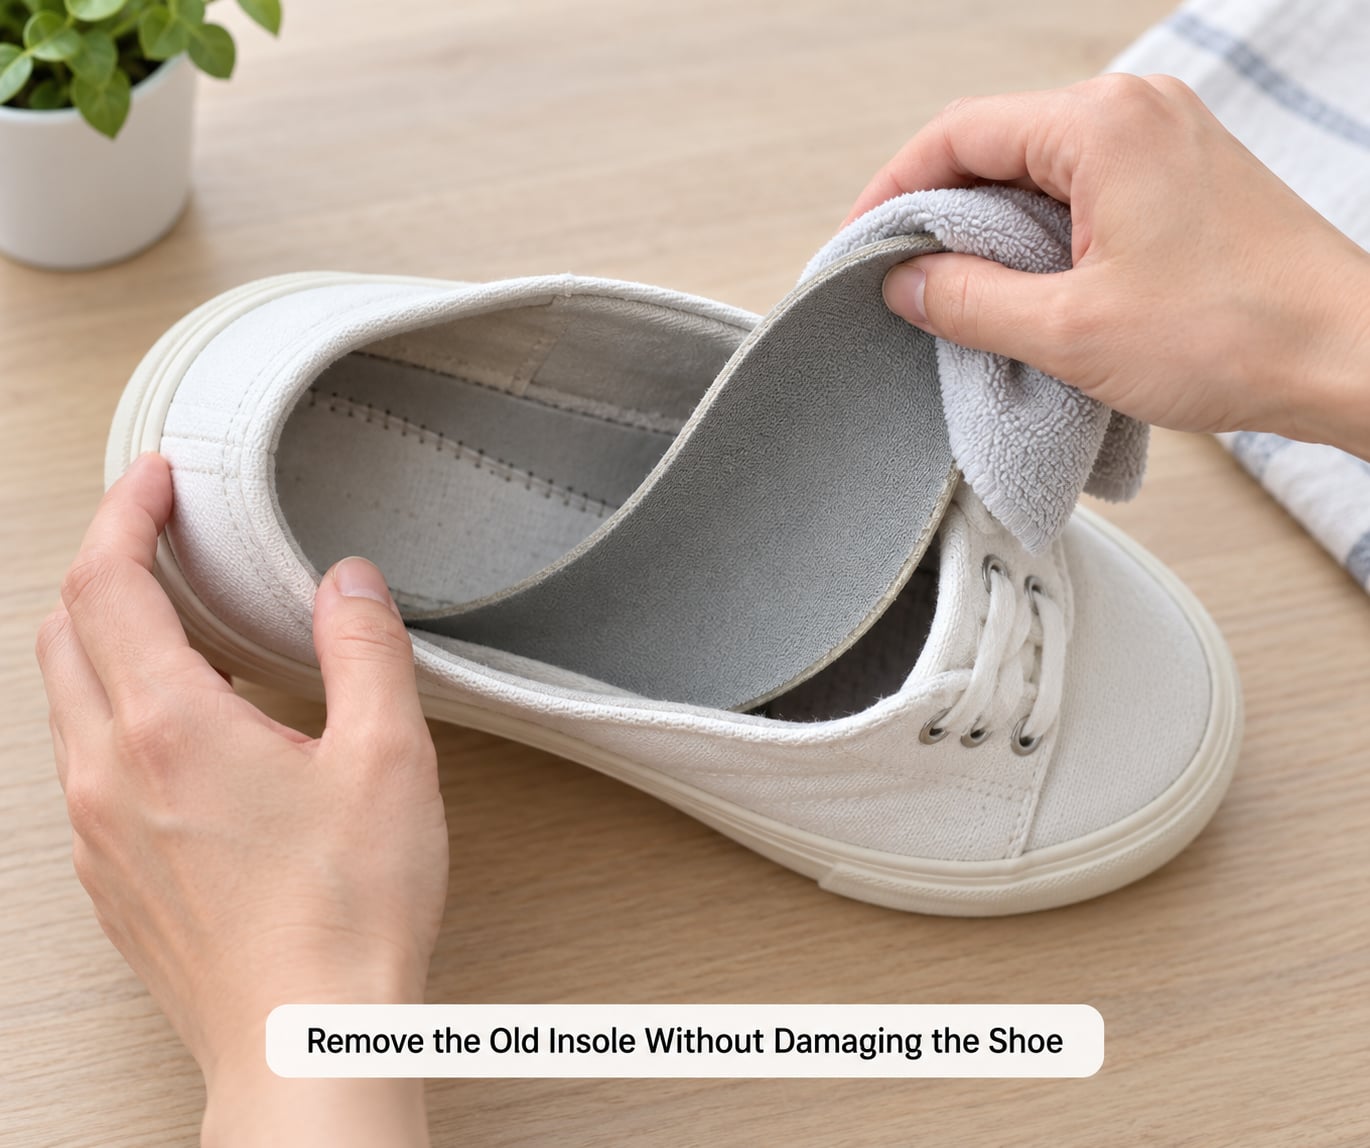
Lift from the heel, work forward, and never pull on the upper. That single rule prevents most of the damage people do to their own sneakers.
Grip the insole at the heel edge with a dry cloth for friction, then pull straight up and slightly toward you. Peel it along the length of the shoe rather than yanking one corner, which is what tears the strobel. If it catches halfway, stop and work the catch loose with a fingernail or the edge of a plastic card instead of adding force.
For a sticky or semi-glued insole, slide a plastic card — an old membership card or a gift card — under the heel and work it forward like a tiny spatula. A spoon works too. Keep the tool flat against the footbed so it cannot gouge the board.
Stop and reassess if you see the fabric strobel lifting, the upper separating from the sole, or a glue residue more than a millimetre thick. That is a lasted insole and the honest answer is to leave it and use a thin insert on top, which is covered under common mistakes below.
3. Clean and Inspect the Footbed
The footbed gets a wipe-down, not a deep clean, and while you are down there you are checking whether the shoe itself is still worth re-soling.
Brush out loose dust and dried skin with a soft brush, then wipe the board with a cloth dampened with lukewarm water and a drop of mild soap. Wipe again with clean water so no soap film is left, and let the shoe dry before the new insole goes in. Trapped moisture under a closed-cell foam insole turns into odour within a day.
While it is exposed, check four things: a heel cup that has lost its shape, a flattened or thin spot under the ball of the foot, a warped board, and any foam that has taken a permanent compression set. Press a thumbnail into each area. If the foam does not spring back, or the board flexes where it should not, a new insole will only mask a shoe that has lost its structure — and that shoe is not going to give you support no matter what you stack inside it.
4. Match and Position the Replacement Insole
Line the new insole up inside the old one so the shapes mirror each other, then check the heel, arch and toe before you pick up the scissors.
Lay the old insole on a flat surface. Put the new one inside it, same face down, so the curve of the big-toe side faces the same way on both. They are mirror images, not identical pieces, and putting the wrong one in place is the most common reason a fresh insole feels immediately wrong.
Heel first: the heel cup should line up with the original and sit inside the shoe’s heel without pushing the back of the shoe outward. Arch next: the highest part of the arch post should sit under the narrowest part of the arch, roughly a third of the way from the heel to the ball of the foot. If it sits under the heel or under the toes, the insole is rotated or the wrong shape.
Toe last: you want roughly a thumb’s width of space between the longest toe and the front of the insole. That is the gap readers ask about most, and it is the number to hold onto. If your longest toe already sits at the front wall of the shoe before you add anything, that shoe is a half size too small and no insole will fix it.
Trim the toe end first, following the marked line. Then trim the heel, staying outside the heel cup curve. Avoid cutting across the waist of the arch — a narrow cut there collapses the arch post and removes the support you paid for. Cut in short strokes and rotate the scissors rather than forcing a long cut through dense foam.
5. Install the New Insole Flat and Securely
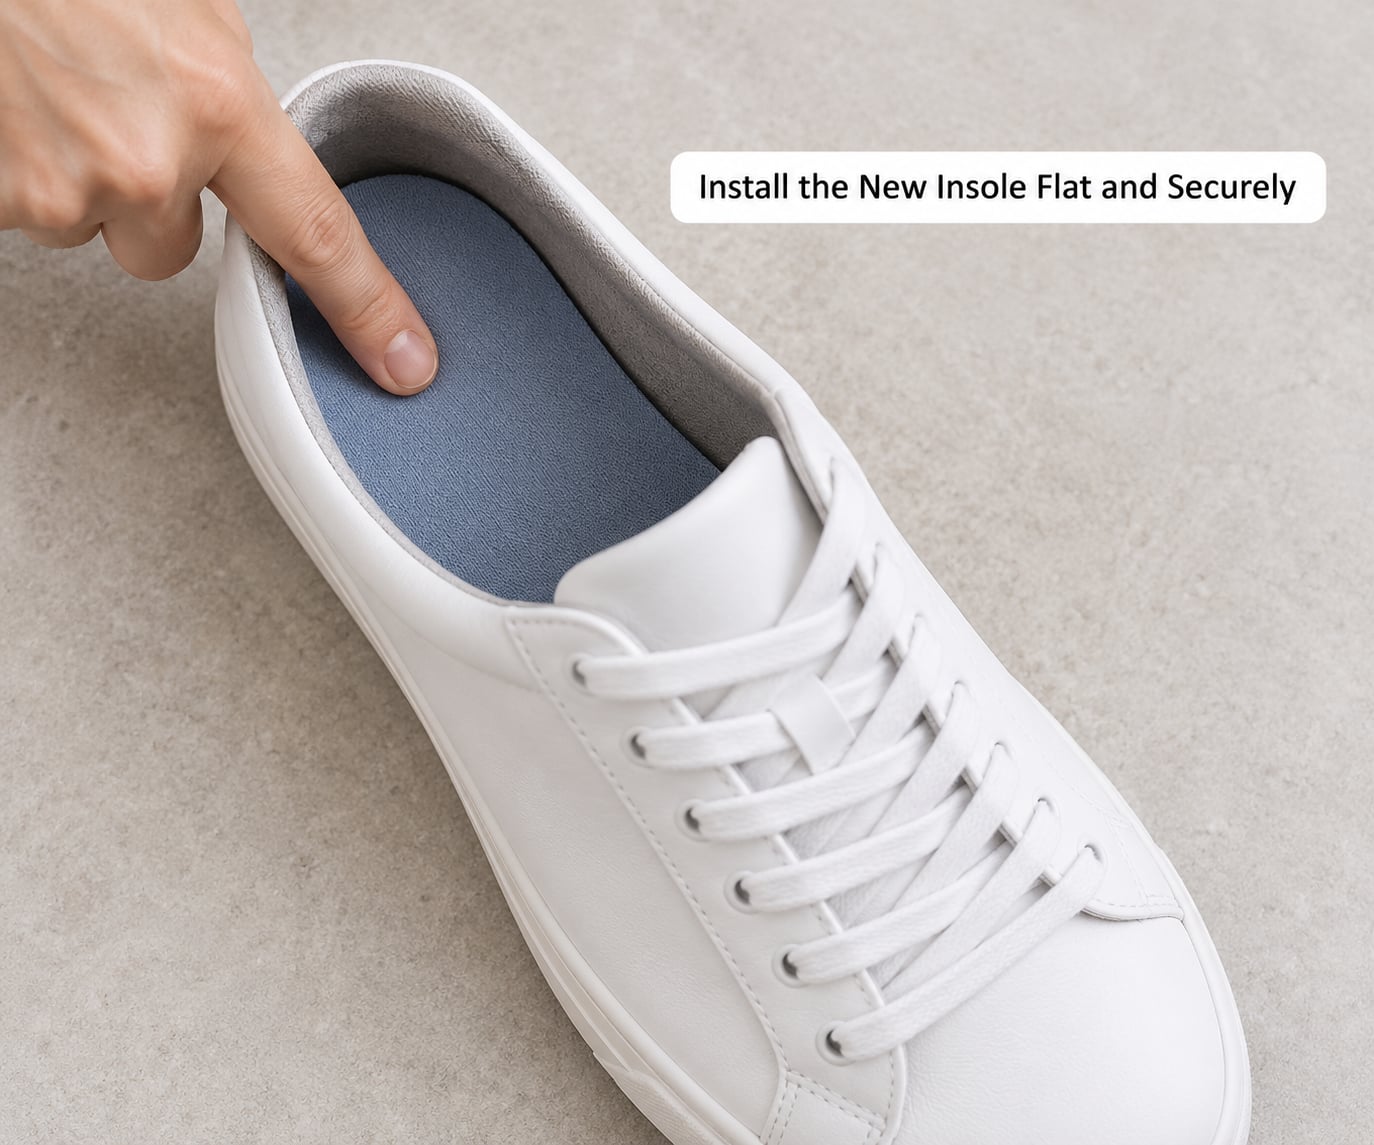
Slide it in from the heel and press it down evenly so it lies flat across the whole board. A creased or folded insole is the fastest way to create a new pressure point.
Place the heel end first, aligned with the back of the shoe, then work forward with your thumbs along the arch and toward the ball of the foot. Press down around the perimeter with your fingers, then step into the shoe and press down with your toes — this seats the heel cup properly. Wiggle your toes and walk around the room for a minute.
If the shoe has adhesive strips or a Velcro patch on the footbed, engage them instead of relying on friction. If the insole has a removable adhesive backing, peel it only after you have confirmed the fit with the backing still on. Never use household glue. Shoe glue seeps into foam, and it makes the next swap impossible to remove cleanly.
Check that the shoe’s original shape is intact. The collar should still hug the heel the way it did before, and nothing should bulge at the sides. If the upper now looks stretched across the midfoot, you went too thick and the shoe will never be comfortable again.
6. Test the Fit and Support
Judge the new insole on foot, over a week or two, not on the first ten minutes. Fresh foam feels unfamiliar and sometimes feels worse before it feels better.
On day one, walk around the house and then outside. Check four things: the heel sits in the heel cup without sliding, your arch makes contact along its length rather than touching at one point, your toes have room and can spread, and nothing rubs at the ball of the foot or the inside of the arch.
Remove the insole and reassess if you get numbness, a hot spot that gets worse the longer you walk, or arch pain that shows up as a specific sore spot. A slightly unfamiliar feel for the first week is normal. Sharp pain on the first walk is not, and it means the arch height or the thickness is wrong rather than that you need more time.
Do not run or play hard in a brand new orthotic-style insole until it has been worn for a week or two. Break-in is not marketing language here; it is how your foot adapts to a new contact surface.
Common Mistakes When Replacing Sneaker Insoles
Almost every complaint about replacement insoles traces back to one of these seven mistakes. Each has a straightforward fix.
1. Buying the wrong size. Sizing off your shoe size instead of your foot gets you either a rocker or a cramped toe box. The sizing tip that circulates on sneaker forums is sound: go up a size for more heel room, then trim more material off the forefoot. A little extra at the heel is harmless because you can trim it; a too-narrow forefoot cannot be added to.
2. Leaving the factory insole in and stacking on top. Never stack a new insole on the factory footbed, except for a thin insert under 3 mm on a shoe you cannot open. Stacking raises your heel, tilts your gait angle, stops both layers sitting flat, and creates rocking plus new pressure points. The one exception is a glued footbed, where a thin insert is the only realistic option.
3. Folding or bunching the new insole to make it fit. A crease in an insole is a pressure point that gets worse with every step. Trim instead of folding. If it will not fit flat, it is the wrong insole for that shoe.
4. Ignoring that insoles come in mirror pairs. Placing one in the wrong shoe flips the arch post under the outside of the foot and feels immediately off. Line both old insoles up before you cut so you can see which side faces which.
5. Using household glue to secure it. Craft glue and superglue soak into EVA foam and make the footbed impossible to remove or replace again. Use the adhesive backing the insole came with, or self-adhesive hook-and-loop strips, and nothing more.
6. Going too thick for the footbed. A thicker insole makes the shoe tighter and can shorten the inside of the toe box. If the shoe feels snug after the swap, you have gone up more than a 3 mm step. Remove it and pick a thinner profile or size up.
7. Replacing only one shoe’s insole. Your feet are not identical, and neither are shoe lasts. Replacing one and leaving the other factory insole means a mismatched pair that will feel wrong on the first walk. Always swap both.
Tips for Getting More Support and Longer Sneaker Life
Matching the insole to your foot matters more than the brand on the box. A supportive insole built for the wrong arch shape does nothing useful, which is the single biggest reason people conclude insoles do not work.
Which insole type should you choose?
Pick by material and foot shape, and start moderate. Going from a flat foam sheet to a rigid carbon shell in one swap is how people end up with arch pain they did not have before.
| Insole type | Feel | Best for | Watch out for |
|---|---|---|---|
| EVA foam | Light, springy, returns quickly | Everyday sneakers, cushioning with mild support | Compresses flat faster than denser foam |
| Memory foam | Soft, molds to the foot over hours | Walking shoes, long shifts on your feet | Little edge support; feels flat after a few months |
| Gel or poron pads | Plush, targeted cushioning | Heel strike or ball-of-foot pressure, court shoes | Bulky under a shallow footbed |
| Semi-rigid or carbon fiber shell | Firm, defined arch post | Mild over-pronation, high arches needing a firm platform | Pressure points if the arch height is wrong |
| Heat-mouldable | Warm in the oven or hot water, then set | A custom contour without a clinic visit | Needs heating and a cooling period before use |
Arch matching is the quick self-check. Flat feet roll inward, so you want a defined arch post and a firmer base to resist that motion. High arches rarely touch a full insole, so you need a deep heel cup and a high arch contour rather than a flat cushion. Neutral feet want a light, moderate insole, and over-thick inserts on neutral feet tend to cause the over-pronation they were meant to fix.
Custom orthotics are worth it when a specific problem is already diagnosed and an off-the-shelf insert has not moved it. They are rarely the right first move for general discomfort, and rigid devices are not universally better — plenty of runners have reported that rigid support made their discomfort worse, not better.
How thick should a replacement insole be?
Stay within about 3 mm (1/8 inch) of the insole you removed. That is the ceiling, not a target.
For low-top court shoes and canvas sneakers, stay thinner than the original — people wearing Converse-style shoes chase thin inserts for exactly this reason, because the footbed depth is minimal. For high-tops, be aware that extra thickness tightens an already loose fit. For running shoes with a tall stack, keep the heel-to-toe drop the same as the original so the geometry of the shoe does not change under you.
One sneaker-specific detail: trimming shifts visible logos on shoes with branding printed across the footbed. Trim from the toe end rather than the heel to keep alignment.
How do you know your current insoles are finished?
Watch for these six signals rather than a date on a calendar:
- The heel is visibly flattened or the insole no longer springs back under a thumb.
- Cracks, splits or a top layer peeling away from the foam.
- Frayed or crumbling edges, especially in the arch waist.
- The shoe no longer feels supportive after a full day, when it used to.
- New foot, knee or lower back discomfort that tracks with wearing that pair.
- Odour that returns within a day of cleaning.
As a rough guide, everyday sneakers run six to twelve months, court and gym shoes four to six, standing work shifts three to six, and running shoes somewhere around 300 to 500 miles. Foam compresses long before it looks broken, which is why the pressure test matters more than the appearance.
How to clean and deodorize insoles
Wash by hand in lukewarm water with mild soap, wipe with a clean damp cloth, and air-dry with the insoles out of the shoe. Never soak them, never put them in a washing machine, and never in a dryer — heat is what destroys foam structure and adhesives.
For odour, lay baking soda on them overnight and brush it off. Wiping with a cloth dampened with a little diluted vinegar also works. Dry them fully before they go back in, and rotate two pairs so each pair gets a full day to dry out.
When replacing insoles is not enough
This is general information, not medical advice. If you have sharp heel pain on your first steps in the morning, pain that wakes you at night, numbness, swelling, or discomfort that has not improved after a month with a properly fitted insole, see a podiatrist or a doctor. The same goes for a shoe that has lost its shape — no insole restores structure that is gone.
Persistent first-step pain in the morning is the classic sign that the issue goes beyond shoe insert comfort, and that is a conversation to have in person rather than another round of online insoles.
Frequently Asked Questions
Can I replace insoles in any pair of sneakers?
No. Some sneakers have a glued-in or thin footbed that is not meant to be removed. If the insole lifts out with a light tug at the heel, it is loose-fit and fine to replace. If it resists, does not flex, or requires a tool, leave it and use a thin insert on top instead, or check the maker’s care guidance before you cut anything.
How do I know which sneaker insole size to buy?
Remove the original insole and measure its length and width at the heel and forefoot, then compare those numbers with the size range printed on the replacement. Buy from the brand’s length chart rather than your shoe size. Going up a size for more heel room and trimming the forefoot is a common forum tip that works well.
Should I keep the original insole under the replacement?
Usually not, unless the shoe maker specifically says to stack them. Two layers raise your heel, tilt your gait angle, and stop both insoles sitting flat, which creates rocking and new pressure points. The exception is a glued footbed, where a thin insert under about 3 mm is the only realistic option available to you.
Will new insoles fix foot pain or an arch problem?
An insole may improve comfort by adding cushioning, spreading pressure and holding your foot in a more neutral position, but it is not a guaranteed treatment. Persistent pain, numbness, swelling, or morning heel pain that lasts more than a month needs a podiatrist or a doctor. This article is general information, not medical advice.
How much space should there be between my toe and the end of the shoe?
About a thumb’s width of space between your longest toe and the front of the shoe, or roughly 12 to 15 mm. With a new insole installed, if your toe is touching the front wall, the insole is too thick or the shoe is a half size too small. No insert will solve a shoe that was already too short.
Can insoles make a sneaker fit tighter or make it smaller?
Yes, in the sense that extra thickness reduces the interior volume, which is often what people want when a shoe runs slightly long. It is the same mechanism that makes a shoe tight, so it only works if the fit is loose rather than if it is too long overall. Keep within about 3 mm of the original insole thickness and you are usually fine.
Conclusion
Start with the simplest test: grab the heel of the factory insole and pull. If it lifts out with no force, measure it at the heel and forefoot, buy a replacement whose size range covers those numbers, and stay within about 3 mm of the thickness you removed. Trace before you cut, trim the toe first and keep the heel cup intact, press the new footbed flat from heel to toe, and then walk in it for two weeks before you decide whether the support is actually better.
If you have worked through how to replace sneaker insoles for better support and the shoe is glued, or the pain is more than a dull ache, or two weeks of a properly fitted insole changed nothing, that is the point to stop shopping and talk to a podiatrist.