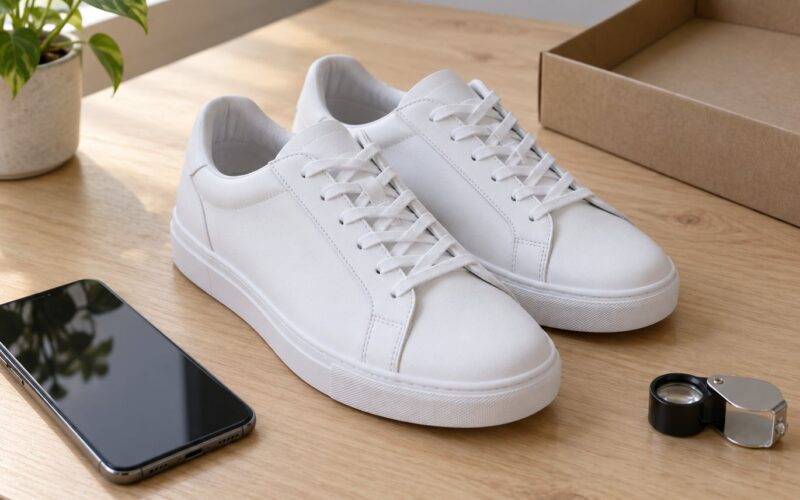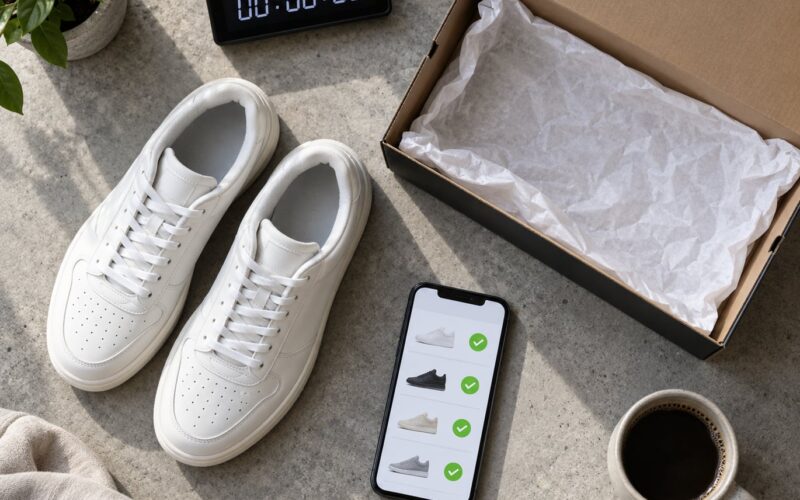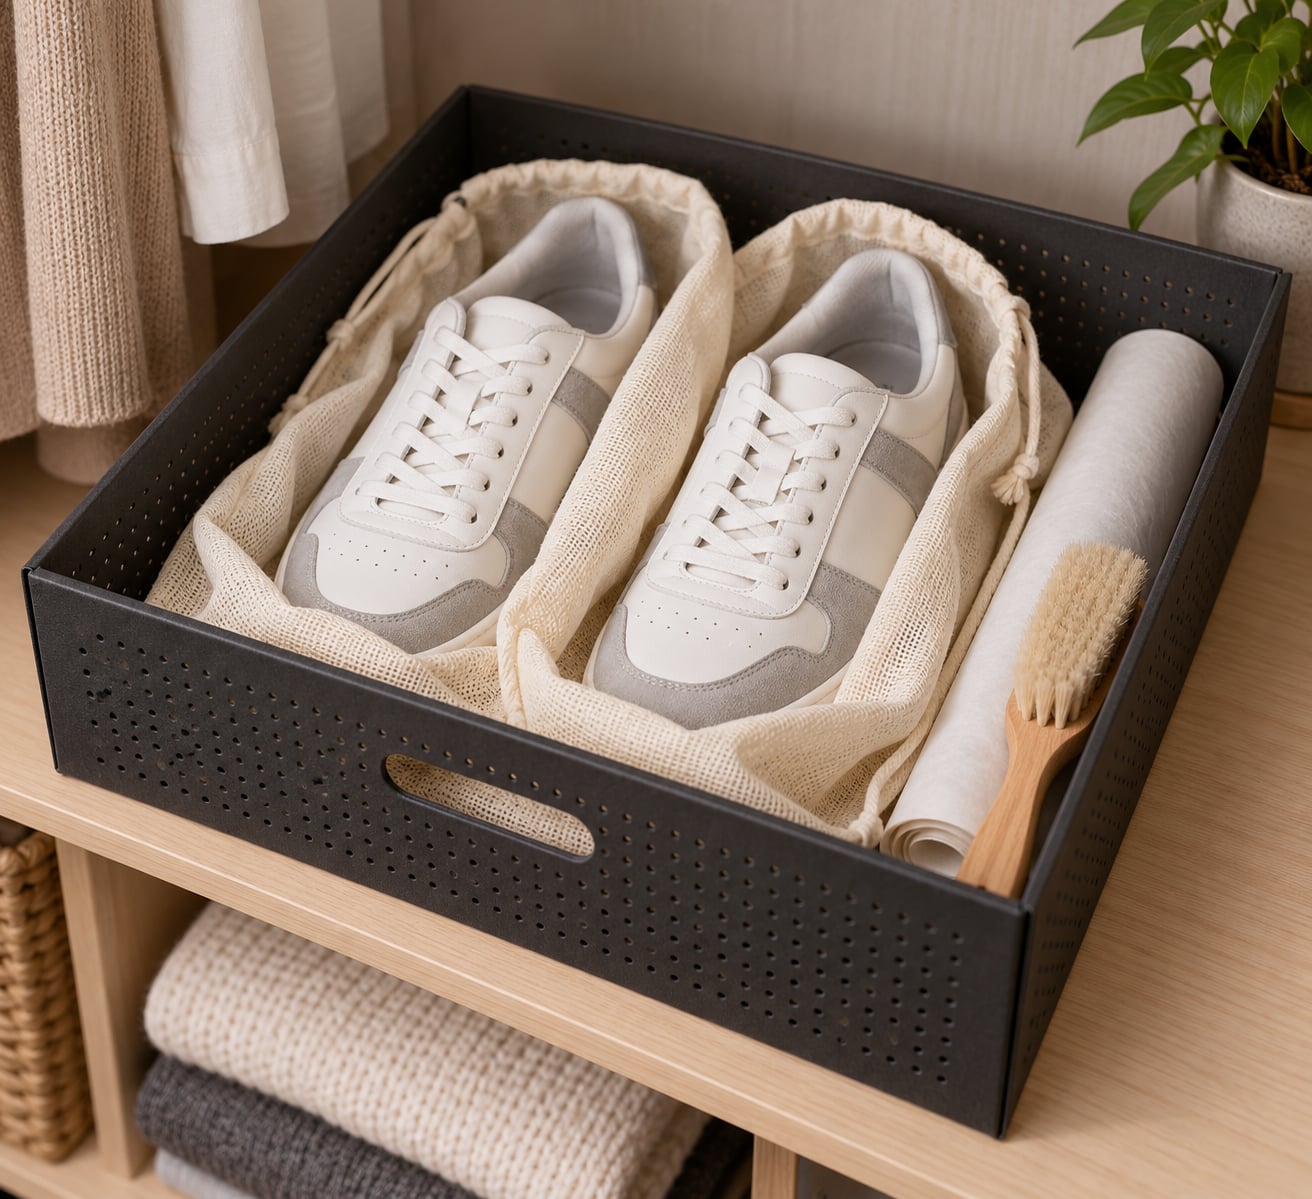
To store sneakers long term so they do not yellow, keep them cool, dry, dark and ventilated, and never sealed in plastic. Clean the pair first, let it air out for a full 24 hours, support the shape with acid-free tissue, then put it in a breathable container sitting around 40-60% relative humidity and 15-24C.
The part most collectors get wrong is assuming the original shoebox is protection. It is not. Cardboard and tissue breathe less than people think, adhesives and plastic wrap off-gas into the enclosed space, and a closed box traps whatever moisture was in the shoe the day it went in. Ten years later the sole comes out the colour of old butter and the box is the reason people argue about.
None of this takes more than about half an hour per pair, plus an inspection every few months. That is the whole system.
Table of Contents
- What You Need
- Step-by-Step: How to Store Sneakers Long Term So They Don’t Yellow
- Common Mistakes
- Sealing sneakers in an airtight plastic bag
- Storing shoes damp or straight after wear
- Leaving sneakers in direct sunlight
- Using bleach or heavy chemicals on white soles
- Overfilling boxes or stacking them too high
- Storing next to a heat source or in a variable-temperature space
- A final tip worth more than the whole container debate
- Frequently Asked Questions
- Conclusion
What You Need
You do not need much, and most collectors already own most of it. Gather these five things before you start.
- Breathable shoe bags or acid-free tissue paper. Two bags per pair, unbranded if you are storing a factory-fresh pair. Acid-free tissue also does double duty as shape support.
- A cool indoor spot. A closet shelf or the top shelf of a wardrobe, off the floor, away from any exterior wall that runs warm.
- Soft cleaning supplies. A soft-bristle brush, a microfibre cloth, and a mild soap or sneaker cleaner you have already used on the pair without problems.
- A humidity indicator or silica gel packets. Cheap indicator cards let you check conditions without opening every box.
- A box or archival container. A ventilated hard-shell shoe box, a stackable clear container with a drop-front lid, or a breathable open shelf. The container matters less than the conditions inside it.
Step-by-Step: How to Store Sneakers Long Term So They Don’t Yellow
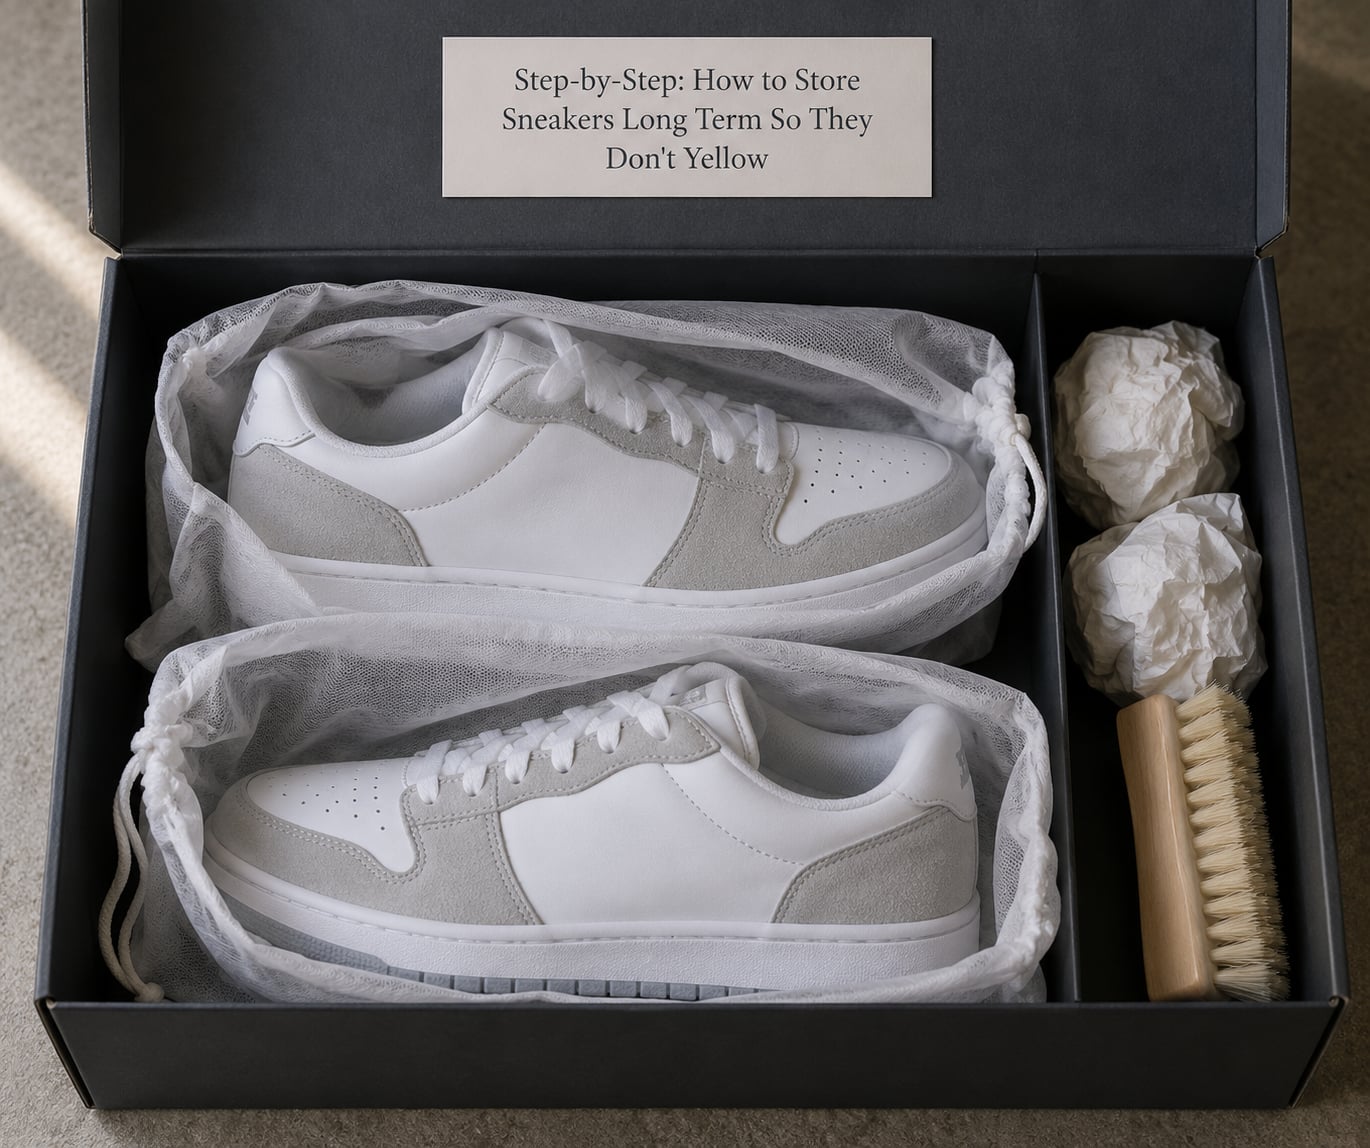
Run through these six steps in order every time you put a pair away. Skipping the drying step is the single most common failure, and it is the one that does the most damage over a decade.
Step 1: Clean the Sneakers Before Storage
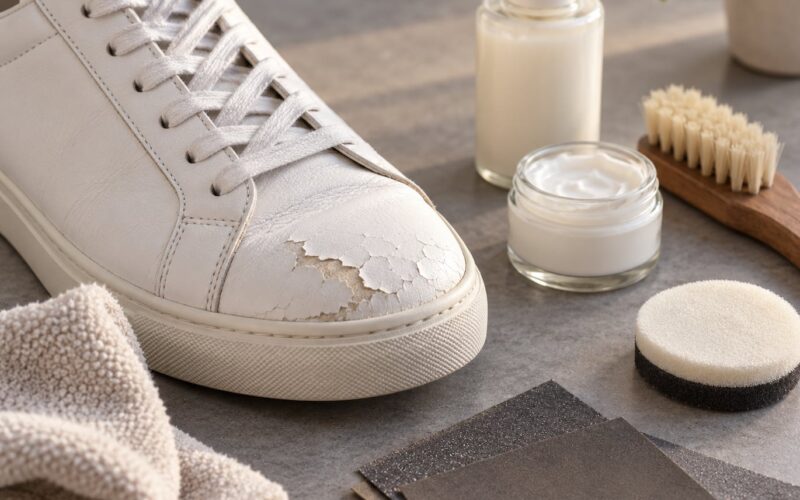
Clean before you store, because dirt, sweat and skin oils do not sit still. They oxidise slowly and they hold moisture against the material.
Take a soft brush to the uppers and the seam lines first, then wipe the midsoles with a cloth dampened with mild soapy water. Stay away from bleach, alcohol-heavy cleaners and acetone; those bleach the dye, pit the finish and leave a residue that keeps attracting yellowing. It worked on the day, and the damage shows up years later.
How you know it worked: the soles look evenly white before drying, not just on the surface you just scrubbed. Smell the cloth. If it comes back grey or oily, go again.
Material differences matter here. Mesh and knit uppers want a soft dry brush rather than soaking, because saturated mesh takes days to dry out and can mildew from the inside. Suede and nubuck want the dry brush only, with any dampening done sparingly and immediately dried. Leather wipes clean fine. White rubber midsoles can handle a damp cloth but not an overnight soak.
Step 2: Let Every Part Dry Completely
Air-dry at room temperature until the shoe is completely dry inside and out, which usually means 24 hours rather than an afternoon.
Loosen the laces, pull the tongue forward and take the insoles out so air can move through the shoe. Stuff the cavity with paper towels or newspaper, swap the stuffing every few hours while it dries, and check the footbed and the inside of the tongue last, because those are the two places that stay damp longest.
No hair dryer on a hot setting, no radiator, no tumble dryer, no dashboard in the sun. Heat drives water deeper into the foam and can warp the midsole or dry the glue out at the joint. If you want a nudge, use a fan on cool.
How you know it worked: the shoe feels the same temperature as the room and weighs what a dry pair of the same size weighs. Any coolness against your palm means there is still water in there.
Step 3: Choose the Right Storage Materials
Pick a container that lets air through and does not trap vapour. Here is how the common options compare.
| Container | Moisture control | UV protection | Shape support | Best for |
|---|---|---|---|---|
| Original cardboard box | Poor, absorbs and holds damp | Good while closed | Decent if you add tissue | Short-term resale staging only |
| Ventilated hard-shell plastic box | Good, vented sides | Very good | Good with acid-free tissue | Collectors storing multiple pairs |
| Breathable open shelf or dresser | Best, full airflow | Depends on the room | Fair, use shoe trees | Pairs you actually wear |
| Resealable bag with desiccant | Good only if air is purged first | Excellent | Poor, needs stuffing | Icy-soled pairs, tightly wrapped |
Acid-free tissue paper is the safest filler and the best shape support. Silica gel packets pull moisture out of the enclosed air and get replaced every three to six months. Plastic bags are the problem child: sealed, they create the exact warm, humid, airless microclimate that causes yellowing and mould. If you must use a zip bag for an icy sole, put the fully dried shoe in, add a desiccant packet, seal it, and do it once.
Wrapping a high-risk pair such as an icy translucent sole in cling film the day it arrives is a defensible move for that shoe and only that shoe. Asked whether the same trick is worth doing for ordinary pairs, the honest answer from collector threads is generally no, because the film solves a UV problem while creating a worse moisture one.
How you know it worked: the closed container weighs no more than the shoes plus the container, and the indicator card inside still shows blue rather than pink.
Step 4: Store Sneakers in a Cool, Dark, Stable Place
Aim for 40-60% relative humidity and 15-24C, out of direct sunlight, and check those numbers with an inexpensive hygrometer rather than guessing.
Ranked from safest to worst, an interior closet shelf wins, followed by an open shelf in a dry room, then the top of a wardrobe, then a self-storage unit with climate control, then an unheated garage or attic. Never store shoes in a basement that takes on damp, next to a boiler or water heater, in a shed, or in any spot where the temperature swings wildly between day and night.
Condensation is the quiet one. A box that goes from a cold garage to a warm room overnight collects water on the inside surfaces, and that water sits against the midsole. Dust is the other one, because it settles into mesh and suede and needs moisture to stick. Keep boxes off the floor, away from any outside wall, and away from direct light.
How you know it worked: open a box you closed three months ago and the first thing you notice is that it smells like nothing at all.
Step 5: Support the Shape Without Overstuffing
Fill the shoe loosely enough that it holds its shape and no tighter. Acid-free tissue, rolled paper stuffing or boot trees all work; overstuffing is its own damage.
Tissue is the right choice for mesh, knit and canvas uppers and for any pair with an icy TPU sole, because it cushions without adding pressure to the translucent part. Cedar or hardwood shoe trees suit leather, where holding the heel counter in position prevents the crease and the permanent heel collapse that shows up when you finally wear the pair. One tree per shoe, matched to the size, not a pair jammed in together.
Push the stuffing down into the toe box so it fills the front, where the shape is most vulnerable, and keep the collar area lightly filled. Nothing hard should press against the outside of the upper either, because it leaves marks that can last longer than the storage.
How you know it worked: the pair sits upright and takes its own shape when you pull it out, with no permanent crease across the toe box and no bulge at the heel.
Step 6: Check and Maintain the Storage Box
Open every stored box once a quarter and once a year, and check for damp, odour, pests, discoloration and sole separation. It takes two minutes per pair.
Look for four things: any soft or spotted cardboard, a musty smell, small webbed or silken areas near the lining, and a gentle gap where the midsole meets the upper when you press the toe and heel together. Replace silica gel if the colour has shifted, and swap paper stuffing that has yellowed or gone brittle. Air out a damp box for a day in shade with the lid open before putting anything back inside.
For pairs kept past ten years, plan for the foam rather than the colour. Polyurethane midsoles slowly break down through hydrolysis, a moisture-driven reaction, which is why collectors of foam-heavy models such as Air Max worry about crumbs at the fifteen-year mark rather than at two. Store them dry and stable and it happens slower; wear them occasionally and the risk drops further. There is no technique that stops it entirely.
How you know it worked: the shoes come out of a five-year-old box looking like the day they were put in, or close enough that the difference is the storage, not the shoe.
Common Mistakes
Every one of these is common, and every one of them is fixable right now.
Sealing sneakers in an airtight plastic bag
The classic mistake, and the reason several pairs yellow faster in a bag than on a shelf. The bag raises humidity inside, traps sweat vapour, and gives mould a warm sealed room. Correction: breathable bags or an open ventilated box instead, with silica gel in a hard container rather than plastic film.
Storing shoes damp or straight after wear
Sweat carries salts and oils that stay in the lining and start oxidising immediately. Correction: the full 24-hour dry with the insoles removed, checked at the footbed and tongue before the lid goes on.
Leaving sneakers in direct sunlight
UV light photodegrades the polymers in the midsole and fades the upper, and sun on a windowsill also heats the shoe far beyond the recommended 24C. Correction: interior shelf, dark drawer, or inside a closed box, never a sill, a balcony or a garage window.
Using bleach or heavy chemicals on white soles
Bleach strips the surface coating, which then yellows faster, and it dries out the glue at the midsole-to-upper join. Correction: mild soap, a soft brush and patience. If the pair is already stained, work on it slowly rather than aggressively.
Overfilling boxes or stacking them too high
Weight from the box above deforms the pair inside, especially at the toe and heel collar. Correction: one pair per box, fill loosely, and keep the stack light enough that the bottom box does not visibly compress.
Storing next to a heat source or in a variable-temperature space
Garages, attics and sheds swing from freezing to hot across a single day, which pumps moisture in and out of every material. Correction: a climate-controlled interior, and if that is impossible, a sealed hard container with fresh desiccant replaced twice a year.
A final tip worth more than the whole container debate
Condition matters more than equipment. A pair worn two or three times a month and left to air out is in better shape at ten years than one sealed in a box since the day it arrived. There is a recurring thread of collector guilt about grails that were never worn, and it is not a bad thing, but a pair you actually use is a pair you will not lose to yellowing.
Frequently Asked Questions
Should I keep my shoes in boxes?
Keep them boxed only if the box is ventilated and the pair was fully dry going in. An unventilated cardboard box absorbs damp and off-gasses into the enclosed space, which is why some pairs yellow faster inside the box than on an open shelf. For a sealed, controlled cabinet you need to build up to, use a hard shell with vented sides and a silica gel packet.
What is the ideal humidity level for storing shoes?
Aim for 40-60% relative humidity, measured with a cheap hygrometer rather than guessed at. Above roughly 70% you get hydrolysis in foam midsoles, mildew in mesh and lining, and faster oxidation at the midsole join. Silica gel handles short spikes; a dehumidifier or a climate-controlled room handles a humid season.
How long can shoes sit in a box?
In a cool, dark, dry box with the pair cleaned and fully dried, a decade is realistic and many collectors report good results beyond that. In a warm, humid or sunlit space, meaningful change can show within a year or two. The container is not the clock, the conditions are.
Why did my sneakers turn yellow?
White midsoles and icy TPU soles turn yellow because polyurethane and rubber oxidise. Oxygen, UV light, heat and moisture all shift the material’s molecular structure so it reflects yellow light instead of white, and the change is permanent. Acidic cardboard, off-gassing plastic wrap and trapped sweat speed it up rather than causing it.
Do silica gel packets actually work?
Yes, inside a closed container. Silica gel pulls moisture out of the enclosed air and slows hydrolysis, mildew and oxidation, and it does not expire quickly the way calcium chloride does. Replace or regenerate it every three to six months, or whenever the indicator on the packet turns pink. It is not a substitute for a dry room.
How do I remove yellowing from white rubber that already happened?
Start with a soft brush and mild soapy water, then try a small amount of hydrogen peroxide or diluted white vinegar on a patch first, leaving it for a few minutes and scrubbing gently. Never use bleach, which strips the coating and makes the next yellowing worse. A sealed bag with a bright light source can help lighten stubborn discolouration, and results are partial at best.
Conclusion
Start with the pair in front of you: clean it, give it a full 24 hours to dry with the insoles out, fill it loosely with acid-free tissue, and put it in a ventilated container with a silica gel packet. Keep that container dark and stable at 40-60% relative humidity and 15-24C, away from sunlight, heat and plastic film, then check it every three to six months. The box is not protecting the shoe. The conditions are.