White sneaker soles yellow because the rubber and foam in them oxidize, a slow chemical reaction with oxygen and UV light that turns the polymer amber over time. Knowing why do sneaker soles turn yellow and how to fix it comes down to two things: identifying what the sole is made of, and using mild methods that lift the discoloration without eating the rubber. Most pairs need 20 minutes of work and air overnight.
One thing to get out of the way first: yellowing is not dirt. You can scrub a sole until you get a sore wrist and it will still be cream-colored, because the color change lives inside the material. It also does not mean the shoe is ruined or dying.
It does mean the shoe is ageing, though, and an untreated sole keeps going until the rubber turns brittle and the midsole starts to crumble at the flex points. The good news is that most of the visible yellow can be pulled back, especially on shoes you have actually worn rather than ones that have sat in a box for a decade.
Why Do Sneaker Soles Turn Yellow?
Sneaker soles turn yellow for one main reason: oxidation. The synthetic rubber and polyurethane in a white sole react with oxygen and sunlight over time, breaking down the additives that keep the material bright. A bromine-based compound, added as a flame retardant, oxidizes into yellow chromophores, and the sole shifts from white toward amber. It is chemistry, not grime.
Here are the four causes you will run into, and they need different responses.
1. Oxidation. The big one. Brominated rubber and polyurethane foam slowly break down as oxygen attaches to the polymer chain. This is intrinsic to the material, which is why unworn pairs stored in their boxes still yellow.
2. UV exposure. Sunlight accelerates the reaction and adds photo-oxidation on top of it. A pair that spends summers on a windowsill will yellow far faster than one kept in a closet. Retail display cases add a tungsten light source that contributes as well.
3. Age and heat. Heat speeds oxidation up and drives off the antioxidants that were mixed into the rubber to slow it. Garage floors, car trunks and hot attics are the worst storage spots for a pair you care about.
4. Detergent and cleaner residue. This is the odd one out, because it is not oxidation. Harsh cleaner leaves a film that reads as yellow or grey, and it can make a cleaned sole look worse than a dirty one.
That fourth cause is why a lot of people end up with brown soles after washing. Bleach plus heat plus a rough brush chemically scorches the surface, and scorched rubber goes tan. The damage is done to the polymer, so no amount of scrubbing brings it back.
What You Need
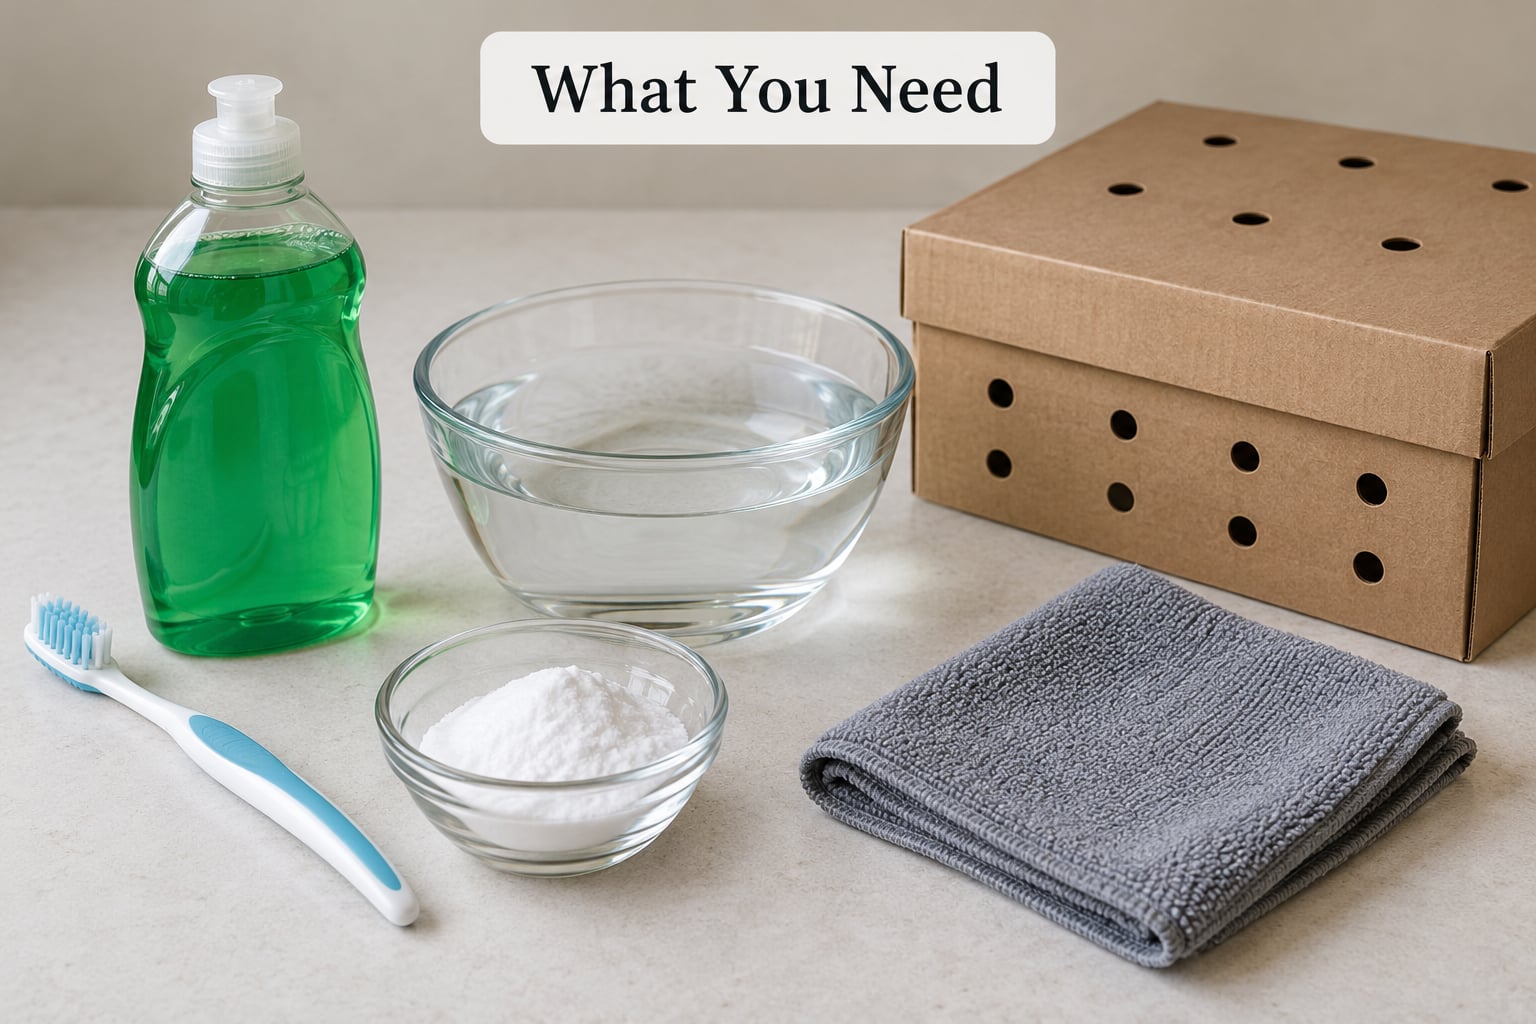
You do not need a chemistry set. Everything below is something you already have or can grab in one trip.
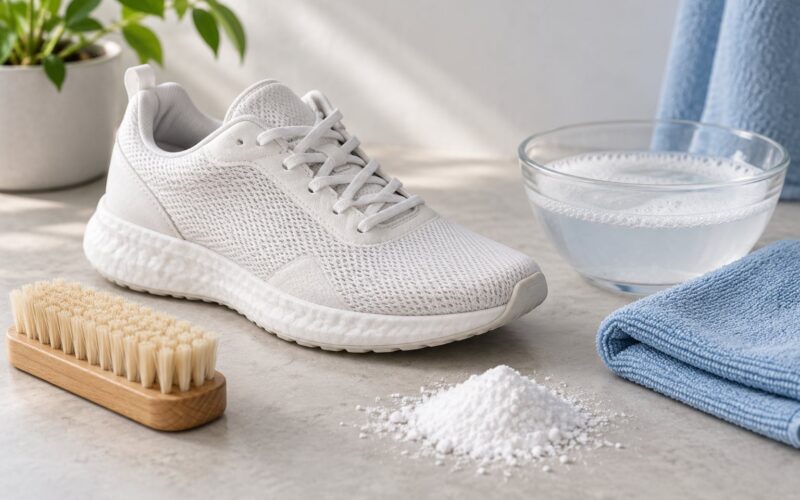
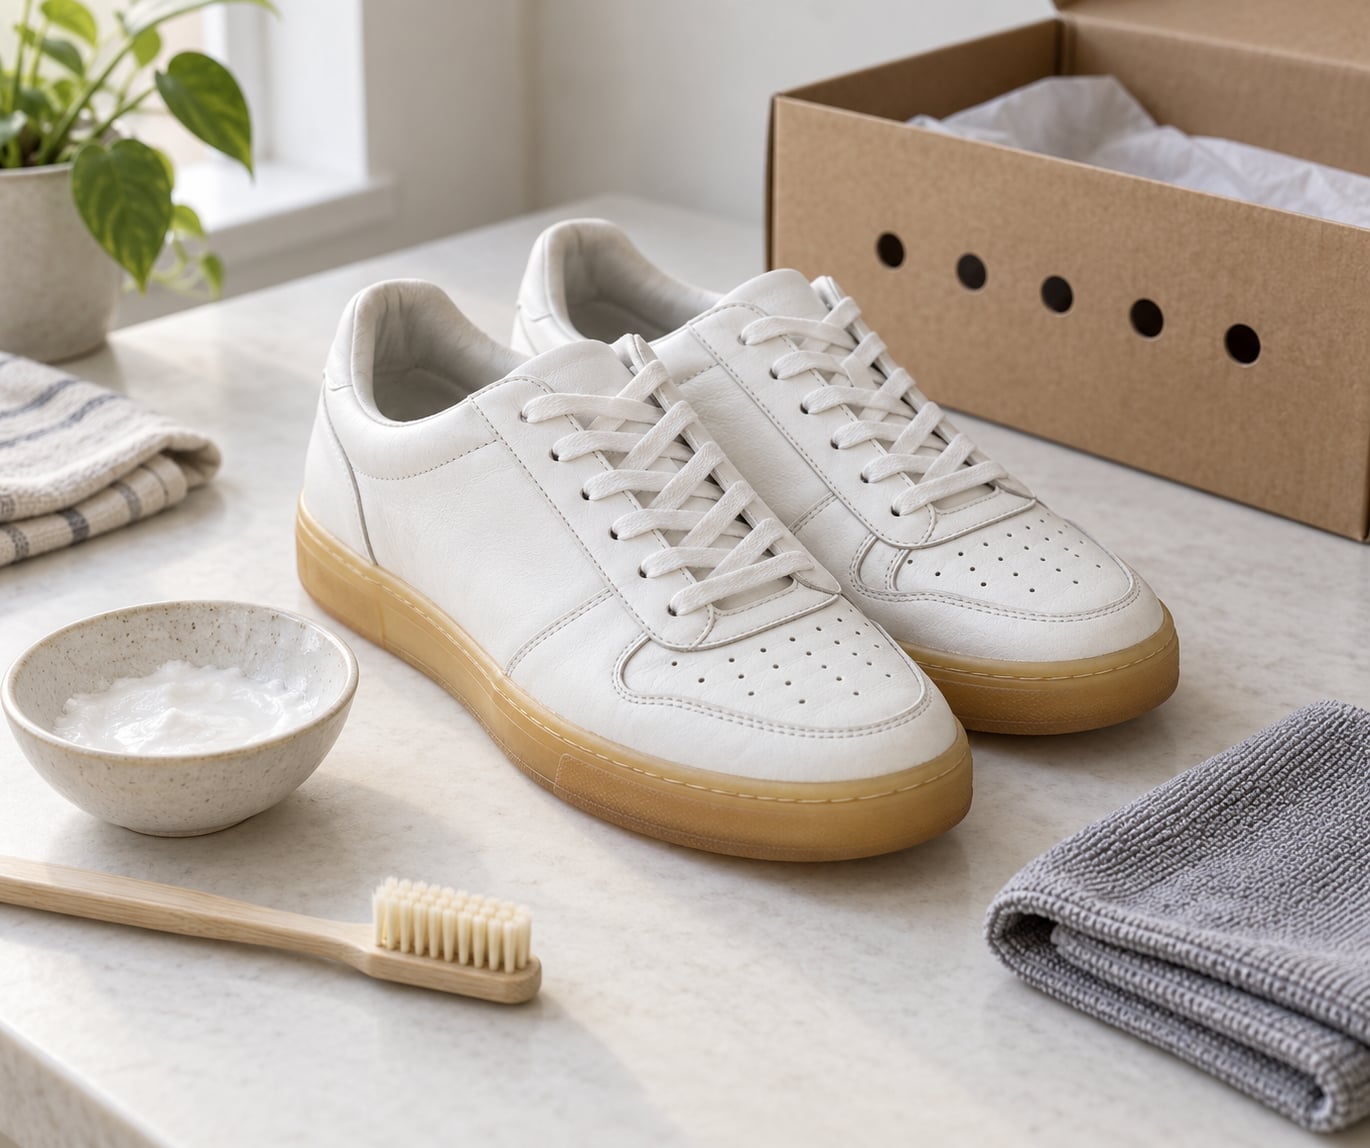
Soft-bristled toothbrush. The single most useful tool. A worn-out one is fine. Stiff bristles are how people scratch gum rubber into blotches.
Baking soda. The mild abrasive. It loosens surface grime and helps lift fresh yellowing without stripping anything.
Mild dish soap. For routine cleaning and for cutting grease-based residue off a midsole. Nothing harsh, nothing scented, nothing with bleach in it.
Warm water and a bowl or tray. You only need this for mixing and rinsing.
Microfiber cloth or an old towel. For drying. A towel also protects your work surface from a wet sole.
Masking tape or a plastic bag. Only if the upper is suede, nubuck or a light canvas you want to protect from splash.
Paper towels. Cheaper than microfiber for wiping up paste that will end up in a bin anyway.
Patch-test before anything else. Pick an inside edge of the midsole, near the heel where nobody will see it, and work the product in. Wait 10 minutes, then look and smell it. If the rubber has gone matte, sticky, or lost its gloss, stop there. That reaction means the chemical is too strong for that material and you will do permanent damage chasing a cosmetic improvement.
Mask the upper with tape before you start, whatever it is made from. Suede and nubuck will take a bleach spot in a heartbeat, and it will not come back.
Step-by-Step
Identifying the Sole Material First
Not every sole reacts the same way, and picking the wrong method is how shoes get ruined. A quick press with your thumb tells you what you are dealing with.
Solid synthetic rubber feels hard, springs back slowly, and is usually the outsole and the midsole wedge. Gum rubber is the amber-tinted version. This material handles baking soda, mild soap and even a controlled peroxide gel well.
EVA foam feels soft and spongy, compresses under your thumb, and is the midsole cushioning in most running shoes and Air models. It is the most fragile. Repeated soaking makes it crumble, and any peroxide treatment needs to be spot-applied rather than a full dip.
Polyurethane foam has a denser, slightly tacky feel, often with a translucent skin. It yellows noticeably faster than rubber. Baking soda and mild soap are the safe options here.
Translucent soles let you see the yellowing happening underneath, which means a surface treatment will not fix it. A cosmetic cream or paint is the only way to change the appearance, and it is a commitment.
Leather soles never get a wet treatment. Leather darkens and can spot permanently. Wipe, condition, done.
Canvas or mesh uppers are not the problem but they are the casualty. Keep them out of any wet process.
Why Do Sneaker Soles Turn Yellow and How to Fix It with Baking Soda?
Mix two parts baking soda with one part water in a bowl. You want a thick paste that holds its shape on the sole, not a runny batter. If it slides off, add more soda.
Apply it with your fingers or a flat tool and cover the yellowed area completely, working it a little into the texture of the rubber. A toothbrush works well here because the grooves hold yellow that a cloth never reaches.
Leave it for 10 to 15 minutes. This is a surface method, so give it time to do its work but do not expect miracles. Fresh yellowing responds. Four-year-old intrinsic yellowing on a heavily worn pair will not.
Scrub gently with the soft brush, in small circles, using light pressure. You are removing the paste and loosened grime, not trying to polish the rubber.
Rinse with a damp cloth first rather than dunking the shoe. Wipe away all the paste, then follow with a clean damp cloth until the cloth comes up clear. Any leftover soda residue reads as a dull film and can look like the problem came back.
Set expectations here: expect to lose one shade of yellow. If a fresh pair came out of the box faintly cream and you have worn them a year, baking soda gets you close to that and stops. For deeper yellowing you need a stronger but still controlled approach.
Cleaning Yellow Rubber with Mild Soap
This is the safest method and the right first move for a pair you have never treated. Put a small amount of mild dish soap in a bowl and add warm water until it foams.
Dip the toothbrush in the suds and work over the outsole, midsole edges and the seam where rubber meets the upper. Small circles, steady hand, no drama.
Wipe the foam off with a damp microfiber cloth, moving in one direction so you are not pushing residue back into the grooves. Then rinse the cloth and go over it again.
Towel blot the shoe and let it air-dry away from direct heat. Once it is dry, compare the cleaned area to a spot you did not touch. If the difference is obvious, you are dealing with oxidation, and the next method is worth trying. If the whole sole now looks grey or dull, you used too much soap and it is residue, so clean it again with plain water and a clean cloth.
Using a Baking Soda and Soap Paste
For stubborn grime and oxidation on solid rubber, combine the two in a single paste. Three parts baking soda, one part mild dish soap, and just enough warm water to bring it together.
Spread it across the yellowed rubber only. Do not let it touch suede, nubuck, canvas, stitching thread or any printed leather. This mixture is safe on solid rubber and hard TPU, and it is not safe on suede, even for a minute.
Work it in with the toothbrush and let it sit for 15 to 20 minutes. Cover with a damp towel if you are working on a pair with a lot of surface area, because a drying paste does not lift anything.
Scrub with the soft brush, rinse with a damp cloth, and blot dry. On gum rubber, check your pressure. The material is soft and it will show every pass you make with too much force.
Never soak the shoe. A full dip is the single most common way collectors end up with crumbling foam midsoles, because water gets into the foam and the soap stays there long after the surface looks clean.
If the sole has gone from yellow to brown and the brown started after a wash, stop. That is surface damage from over-processing, and no paste will reverse it.
Drying and Checking the Result
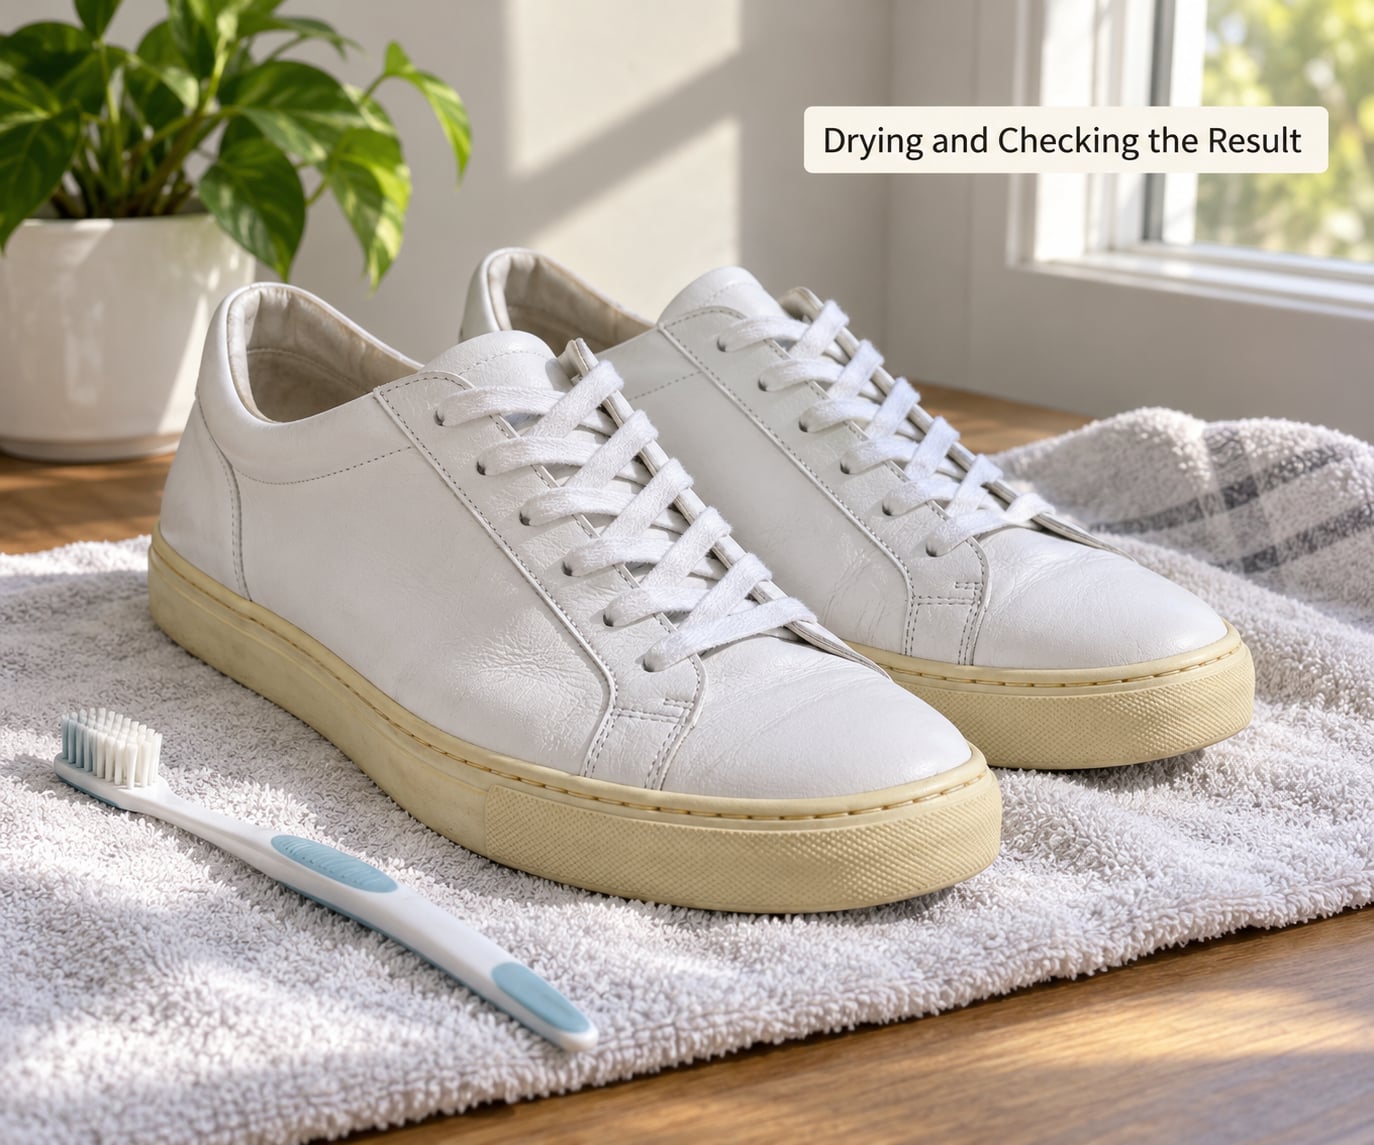
Air-drying is not a detail. Heat from a radiator, a hairdryer or a tumble dryer drives off water unevenly and can cause the rubber to harden or the glue to let go at the sole-to-upper seam. Give the shoe 12 to 24 hours of room-temperature air with some airflow.
Stuff the shoe with paper towel or newspaper and change it every few hours. Newspaper ink does transfer to some light materials, so stick with plain paper towel if the pair is white.
Check the result in the same light you took the before photo in. Different lighting is the fastest way to convince yourself a treatment worked when it barely did anything.
Two realistic outcomes. If the sole is a shade or two brighter, the surface yellow is gone and the remaining cream color is intrinsic to the aged polymer. That is the stopping point for home work. If the sole is back near its original white and the shoes are worth real money to you, a cosmetic white sole paint will lock in the result, though it will need refreshing eventually.
One more thing worth knowing: cleaned soles yellow again, and it is not a sign the treatment failed. Oxidation is a continuing reaction. Storing a treated pair in a dark, dry, cool space with the box lid off or the silica pack kept is what slows the next round down.
Common Mistakes
Using bleach. This is the big one. Bleach does not remove oxidation, it chemically alters the rubber surface, and the result is a permanent tan or brown. Sneaker care consensus across every forum is the same on this: leave it alone.
Soaking the whole shoe. Water drives into EVA and polyurethane foam and stays there. Repeated soaking leaves the midsole soft, then crumbly. Apply paste to the rubber, keep the rest dry.
Scrubbing hard. A stiff brush and heavy pressure on gum rubber produces the blotchy, uneven results people post about. The yellow is inside the material, so scrubbing harder just removes surface rubber.
Grabbing any household chemical. Acetone and nail polish remover strip finish off leather and can craze TPU. Magic eraser melamine foam abrades rubber to a matte patch that never comes back. Toothpaste is a mild abrasive that works about as well as baking soda and leaves a sticky film behind.
Drying with direct heat. Even a warm hairdryer. Heat accelerates oxidation as it dries, which is partly why a heat-dried sole comes out worse than a wet one.
Expecting white again. Deep, multi-year oxidation in a heavily worn pair is not reversible at home. Anyone who promises otherwise is selling a product.
Prevention is the part people skip and the part that actually helps. Store pairs away from direct sunlight and away from heat sources, keep humidity down with a silica gel pack in the box, and take them out of a warm car if you are not wearing them that day. Rotate what you wear so one pair is not absorbing months of sun while the other sits in a closet. Wipe soles with a damp cloth every couple of weeks if you wear them often, which removes grime before it has time to set.
Frequently Asked Questions
Can yellowing on sneaker soles be completely removed?
Fresh, surface-level yellowing can usually be lifted most of the way back with baking soda or a baking soda and mild soap paste. Deep oxidation in an old or heavily worn sole is a chemical change inside the polymer, and home methods only lighten it. A cosmetic sole paint is the only thing that changes the color itself, and it needs refreshing over time. Judge progress in the same lighting each time.
What is the safest home method for yellow sneaker soles?
Mild dish soap, warm water and a soft-bristled toothbrush is the safest starting point, and it costs almost nothing. It will not touch intrinsic oxidation, but it does remove the soap and cleaner residue that makes a sole look yellow when nothing is actually wrong with it. Patch-test on a hidden edge of the midsole first, keep the upper dry, and let the shoe air-dry overnight.
Can I use bleach to make sneaker soles white again?
No. Bleach does not remove oxidation, it alters the rubber surface, and the outcome is a permanent tan or brown shade. The same chemical damage is why soles that sat in a washing machine come out tan instead of white. If a sole has already been bleached and gone brown, that discoloration cannot be reversed at home, because the surface polymer itself has been altered.
How do I clean yellow soles without damaging leather or fabric?
Mask the upper with masking tape before you start, and keep every wet product on the rubber. Do not soak the shoe, since water gets into foam midsoles and stays there. For a leather upper, wipe the sole only and use a separate soft cloth, because soap that runs over leather leaves a permanent spot. Suede and nubuck should be taped off completely or excluded from the process entirely.
Is it worth paying a specialist to restore badly yellowed sneakers?
It is worth it for collectible pairs, where the difference between a clean sole and a badly yellowed one is a real gap in resale value, and where a paint or coating job buys years rather than months. For everyday pairs, the home methods get most of the visible improvement for a fraction of the cost. Ask any specialist exactly what product they use and whether the result is reversible before you hand the shoes over.
Conclusion
Start by identifying what the sole is made of, because a hard rubber outsole and a soft foam midsole do not tolerate the same treatment. Test the mildest option first: warm water, a little dish soap and a soft toothbrush, applied to the rubber only. Move up to a baking soda paste for surface yellowing, and keep the pressure light and the water out of the foam. When the remaining color is intrinsic to an aged polymer rather than sitting on the surface, accepting it is the right call. Yellowing is aging, not damage, and a shoe that looks cared for is worth more than one you pushed past what the material could give.