To get creases out of leather sneakers, stuff the shoe to hold its shape, soften the leather with light indirect steam, press the crease flat against the stuffing, and leave the shoe stuffed until it cools completely before conditioning. Light surface wrinkles flatten in about 15 minutes. Set-in flex lines soften but rarely vanish.
That is the whole method, and the order matters more than any product you buy. Creases come back fast if you unstuff the shoe while the leather is still warm, because warm leather has not finished setting yet.
Here is the short version before we go deeper:
- Stuff the sneaker with a shoe tree or tightly rolled socks so the toe box keeps its shape.
- Test a hidden spot with the steam or conditioner you plan to use.
- Apply steam from roughly 6 to 8 inches away, one small area at a time.
- Gently press the crease flat against the stuffing and hold it there.
- Let the shoe cool fully in the shape, then condition when it is dry to the touch.
Everything below is the detail behind those five lines, including which materials to skip and what never to put on leather.
What You Need to Get Creases Out of Leather Sneakers
Most people can do this with what is already in the kitchen. A few tools make the difference between a crease that softens and one that flattens.
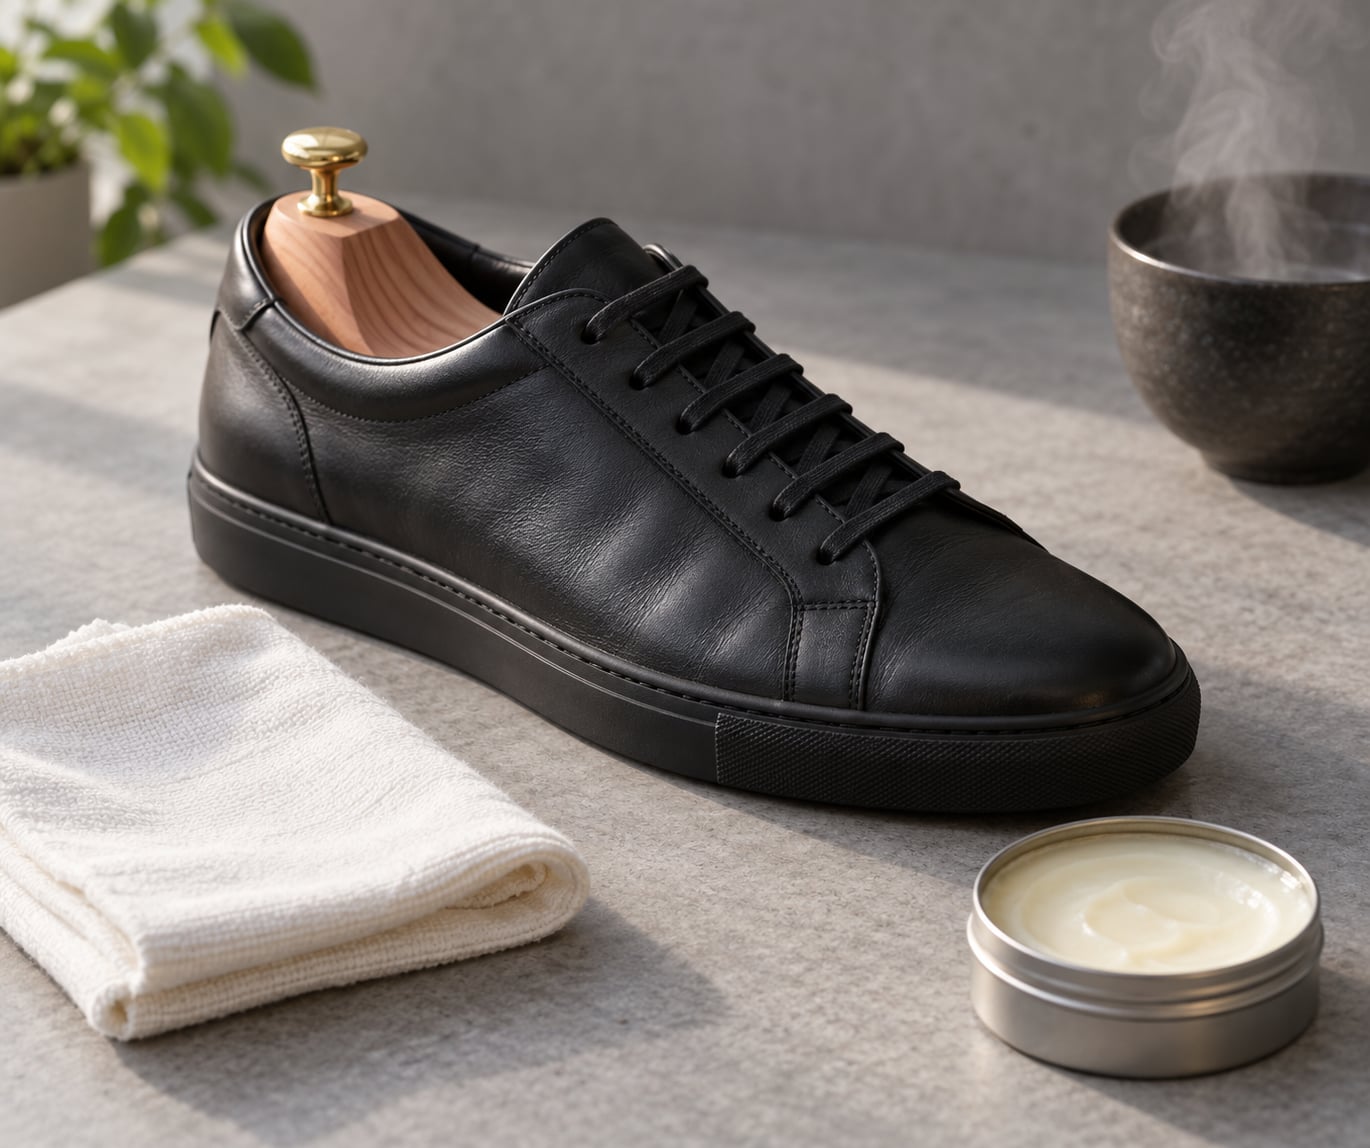
- Shoe tree or clean rolled socks. The single most important item. Full-size cedar trees hold a toe box better than anything else and pull moisture off the leather while they sit in the shoe. Rolled socks work in a pinch.
- Kettle or handheld steamer. Produces the light, indirect steam that relaxes fibers. A kettle works; just pour the water into a bowl and hold the shoe above the steam rather than over the spout.
- Soft cotton cloth. White or undyed, so you can see any dye or cleaner transferring to it.
- Soft-bristle brush. A toothbrush is fine. Mainly for suede and nubuck.
- Leather-safe conditioner. Any cream or liquid conditioner sold for finished leather. Skip anything oil-based on suede.
- Protector spray. Optional. A water and stain protector helps slow future staining and makes the next crease session easier.
An iron is not on this list on purpose. It works, but it is the step that can permanently mark a shoe, so treat it as the escalation after everything else has failed.
Step-by-Step: Removing Creases from Leather Sneakers
Check the Leather and Test a Hidden Area
Every upper reacts differently to moisture and heat, and getting that wrong is how people end up with stiff patches or faded spots. Find a hidden area first, usually the inside of the tongue or the quarter panel under the laces, and treat that spot the way you plan to treat the crease.
Smooth finished leather and synthetic leather usually handle steam well. Nubuck, suede and patent leather need their own approach and are covered later in this guide. If the hidden test leaves a dark blotch or a stiff mark, stop, because the visible crease will look worse.
How to Get Creases Out of Leather Sneakers With Controlled Steam
Start with the shoe stuffed. Fill the toe box and the heel so the leather is already pushed out to the shape you want before any heat arrives.
Hold the steamer or kettle steam 6 to 8 inches from the shoe and move it constantly. Work one small section at a time, about the size of a coin, for 5 to 10 seconds. You are looking for the leather to feel slightly warm and flexible, not damp or hot.
Steam from a distance softens the fibers slowly and evenly. Held close or parked in one spot, it darkens the leather, dries it out and bakes cracks into the crease line. That is also why steam is the method most shoe care guides land on first for smooth leather panels.
While the section is still warm, press the crease flat between your thumb and the stuffing inside the shoe. Hold steady pressure for about 10 seconds, then move to the next section.
Reshape the Sneaker and Let It Cool
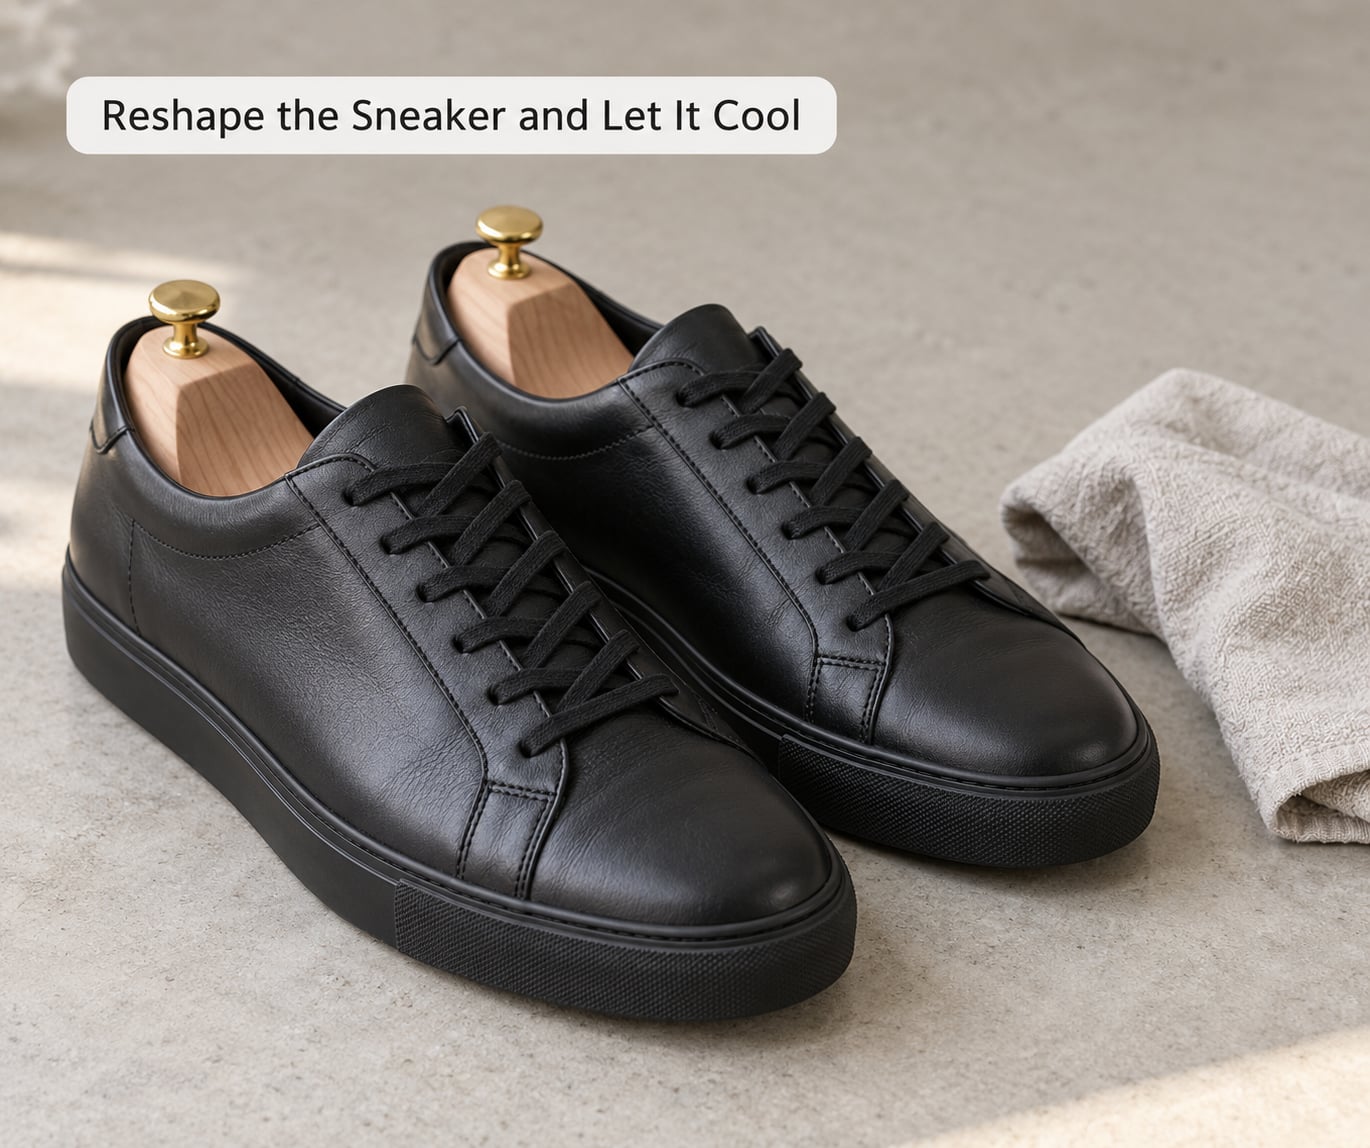
Once every crease area has been worked, reshape the shoe properly. Push the toe box back to its original height, smooth the tongue flat, and pull the quarter panel back against the last shape.
Then leave it alone. Every repair shop and shoe care guide I know of lands on the same point: the overnight hold is what makes the result stick. A flattened crease that cools for 24 hours with the tree still inside stays flat noticeably longer than one you admire for ten minutes and then pull the stuffing out.
If you are in a hurry, at least wait until the shoe is completely cool to the touch. Warm leather is still deciding what shape it wants to be, and unstuffing it early is why so many people say the crease came straight back.
Condition and Protect the Leather
Steam and heat pull natural oils out of the leather along with the crease. Once the shoe is dry, put a small amount of conditioner on a clean cloth and buff it over the treated areas in light circular motions.
A thin, even coat is what you want. Let it absorb for 15 to 20 minutes, then wipe off the excess with a dry cloth so the surface does not go greasy or attract dust. On suede and nubuck, skip this step entirely and use dry brushing instead.
When the shoe is fully dry and conditioned, a protector spray helps. It does not prevent creasing, since creasing is movement, but it keeps grime and water out of the grain so the next round starts from a cleaner surface.
Common Mistakes When Removing Creases from Leather Sneakers
Most ruined sneakers were not ruined by a bad method. They were ruined by a good method held too close, too long, or applied to the wrong material. Watch these.
- Parking heat on one spot. A heat gun or iron held still scorches and cracks leather within seconds. Keep it moving, keep it 6 to 8 inches away, and keep the shoe stuffed.
- Touching an iron directly to leather. If you do use an iron, set it to the lowest heat setting, put a thick damp cotton cloth between the iron and the shoe, and take 5 to 10 second passes only. Never let the plate touch the leather.
- Soaking the whole sneaker. Water gets under the upper, weakens the glue and warps the shape. Sneaker care threads warn about this constantly. Damp cloth, never a submerged shoe.
- Using WD-40, acetone or Vaseline. WD-40 leaves an oily film that collects dust and can permanently darken the leather. Acetone strips dye and finish. Neither belongs on a sneaker, and neither belongs on any leather.
- Treating suede or nubuck like smooth leather. Oil and water leave dark blotches on a nap finish. Dry brush, use a light touch of steam, and skip conditioner.
- Forcing a deep crease out. Pulling hard on leather that has already cracked splits the surface. Reduce it slowly over several sessions or accept it.
- Drying with direct heat. Radiators, hair dryers on cool-to-warm and sunny car dashboards stiffen and curl leather. Air dry at room temperature, out of direct sun.
- Working on a wet shoe. Let leather fully dry first. Steam and heat on damp leather plus a stuck-fast drying cycle is a good way to get water stains that never leave.
How to Handle Different Leather Finishes
The finish decides the method. Running the same steps on a nubuck panel that you just used on a smooth toe box is how a good pair ends up blotchy.
Smooth calf leather. The easiest to treat. It handles light steam, conditioner and short iron passes well. Start here.
Nubuck. A fine nap over the grain, so it stains more readily than smooth leather. Use dry brushing and a very light pass of steam only. No oils, no conditioner, no iron.
Suede. Brushing with a soft bristle restores the nap and lifts shallow marks. Steam is fine from a distance. Anything wet leaves a dark patch that can take weeks to blend out.
Patent leather. A coated surface that will blister, haze or lose its shine under heat. Skip steam and heat entirely. Work it with conditioner and a soft cloth, using slow circular motions.
Synthetic or faux leather. Usually the most forgiving material, and it will not develop real fiber memory the way hide does. Stuffing, light steam and a soft cloth are plenty. Skip the iron, because coated synthetics bubble.
When a Crease in a Leather Sneaker Cannot Be Removed
Being straight about this saves a lot of frustration. Some creases are structural: the toe box flex point on a heavily worn pair has folded so many thousands of times that the leather fibers have shortened permanently.
Cracking is the other hard stop. Once a crease line has dried out and split, no amount of heat or conditioning closes the gap. It can only be filled cosmetically, which is a repair shop job.
Realistic expectations, then. Light surface wrinkling usually flattens in one session. Medium creases soften noticeably and keep most of the improvement. Deep set-in lines on the flex point get reduced, not erased. For a collectible pair where the leather is already dry or cracked, a cobbler with a leather restoration service is the safer call than a home iron, because the cost of getting it wrong is higher than the cost of the repair.
Frequently Asked Questions
Are creases in leather sneakers reversible?
Light surface wrinkles usually flatten with steam, stuffing and a cool-down. Deep set-in flex creases at the toe box can only be softened and reduced, not erased. Once a crease line has dried out and cracked, the leather has shortened permanently and only cosmetic filling will hide it. If you have a collectible pair, treat it as reduction rather removal.
Can I use a hair dryer to uncrease my shoes?
Yes, on smooth leather only. Use the cool or low setting, hold it 6 to 8 inches away, keep it moving, and work 5 to 10 seconds on one small area at a time while the shoe is stuffed. Parked on one spot or held close, a hair dryer will scorch and crack the leather. Skip heat entirely on suede, nubuck and patent.
Does WD-40 remove creases from leather shoes?
No. WD-40 will not relax leather fibers, and it leaves an oily film that traps dust and dulls the color permanently. Acetone is worse, since it can strip dye and finish outright. Vaseline and baby oil block the leather from breathing and collect dirt in the crease. The fix is light steam plus stuffing plus a leather-safe conditioner, not household sprays.
Do shoe trees actually prevent creases?
They prevent most of them and they hold the rest in a better position. After every wear, a cedar tree pulls moisture out of the shoe and stops the leather from setting into a new shape. After a crease treatment, leaving the tree in for 24 hours while the shoe cools is the single biggest factor in how long the flattened area stays flat.
How long before creases come back after flattening them?
Expect weeks rather than months if you wear the pair hard every day, and several months if you rotate shoes, stuff them with trees after each wear and keep the leather conditioned. A crease across the toe box reappears fastest because it forms at the flex point on every step. Creases behind the laces and on the tongue last considerably longer once flattened.
Can I remove creases without an iron or steamer?
Yes, for light creases. Stuff the shoe tightly with rolled socks or a tree, work a small amount of leather conditioner into the crease line with your thumbs, massage it until the leather feels flexible, and leave it stuffed overnight. This relaxes the surface without any heat at all. Deep set-in lines usually need steam or a controlled low-temperature iron pass on top of it.
Conclusion
The safest order every time is the same: test a hidden spot, use light indirect steam, reshape while the leather is warm, leave the shoe stuffed until it is fully cool, then condition once it is dry. Skip the iron unless nothing else moves the crease, and never let WD-40 or acetone near the upper. Stuff the pair with a tree after every wear and the creases you flatten today stay flat longer than one wear cycle.