Suede does not need soaking, soap and water, or a washing machine. The whole job is four moves: let the shoes dry, brush the dust off along the nap, lift the marks with an eraser, then treat only the spots that are still there. Most of it is dry work, and the whole thing takes about 30 minutes of attention plus a day of drying.
That is the difference between a pair that looks new for a season and a pair with pale patches, stiff toes and tide marks that never quite come out. Suede is napped leather, and that raised fiber layer is both the reason it looks soft and the reason it reacts badly to water and friction. Treat it gently and it rewards you; scrub it and it never looks the same again.
Below is the order I would actually follow, with the waiting times and the signs that each stage worked.
What You Need
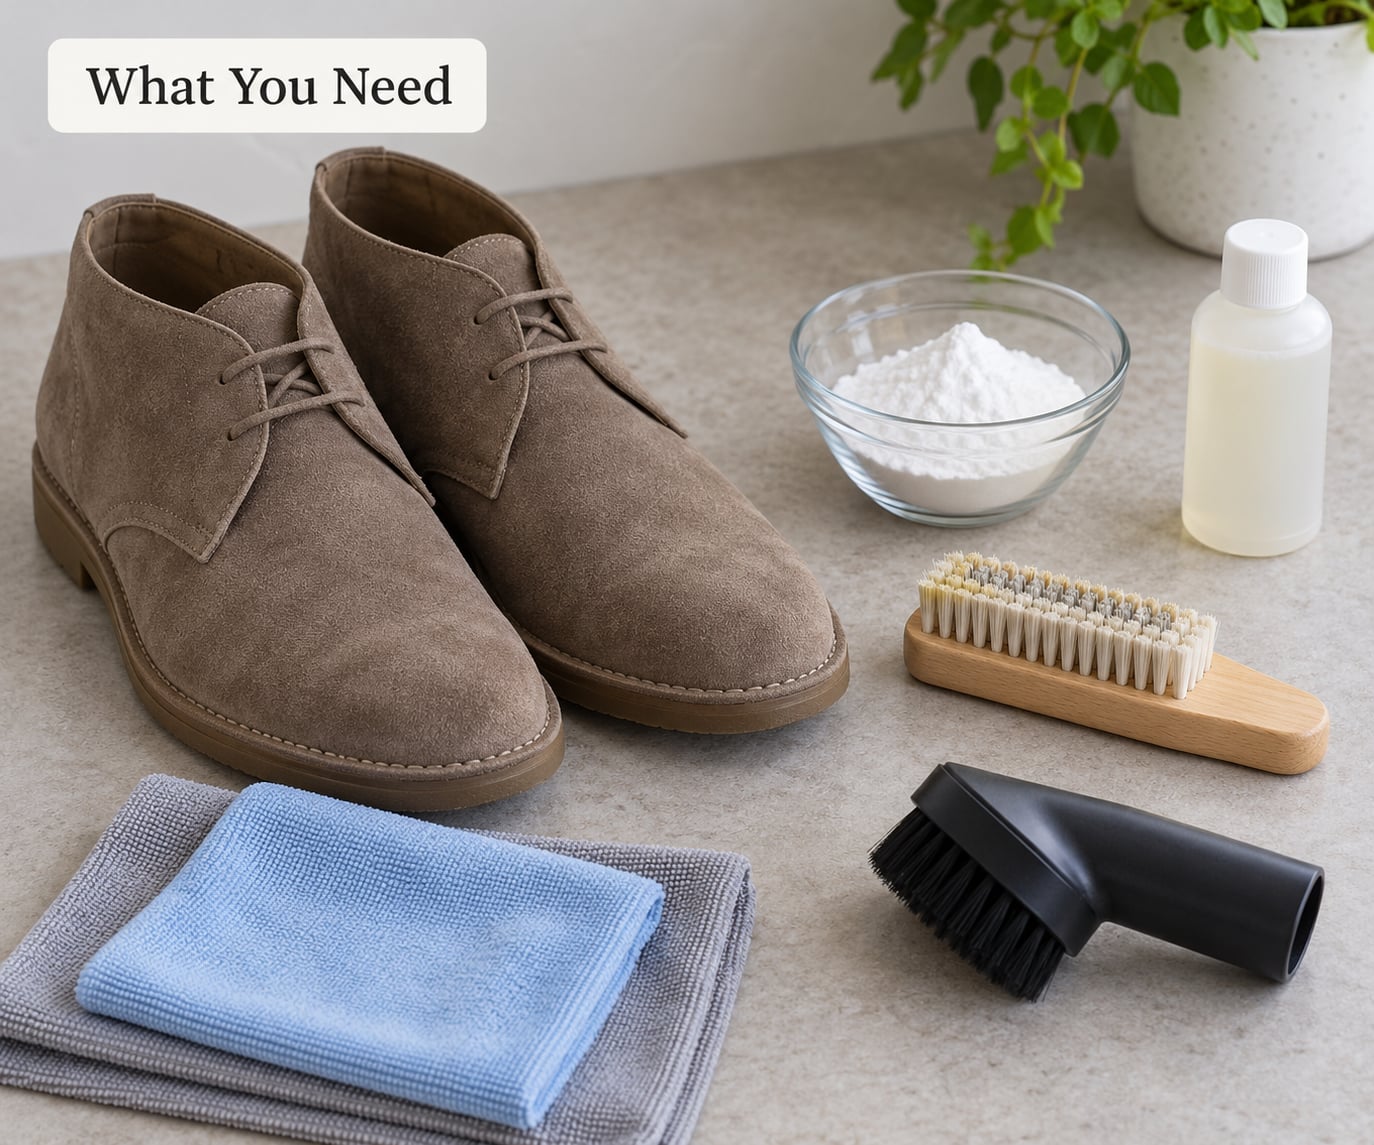
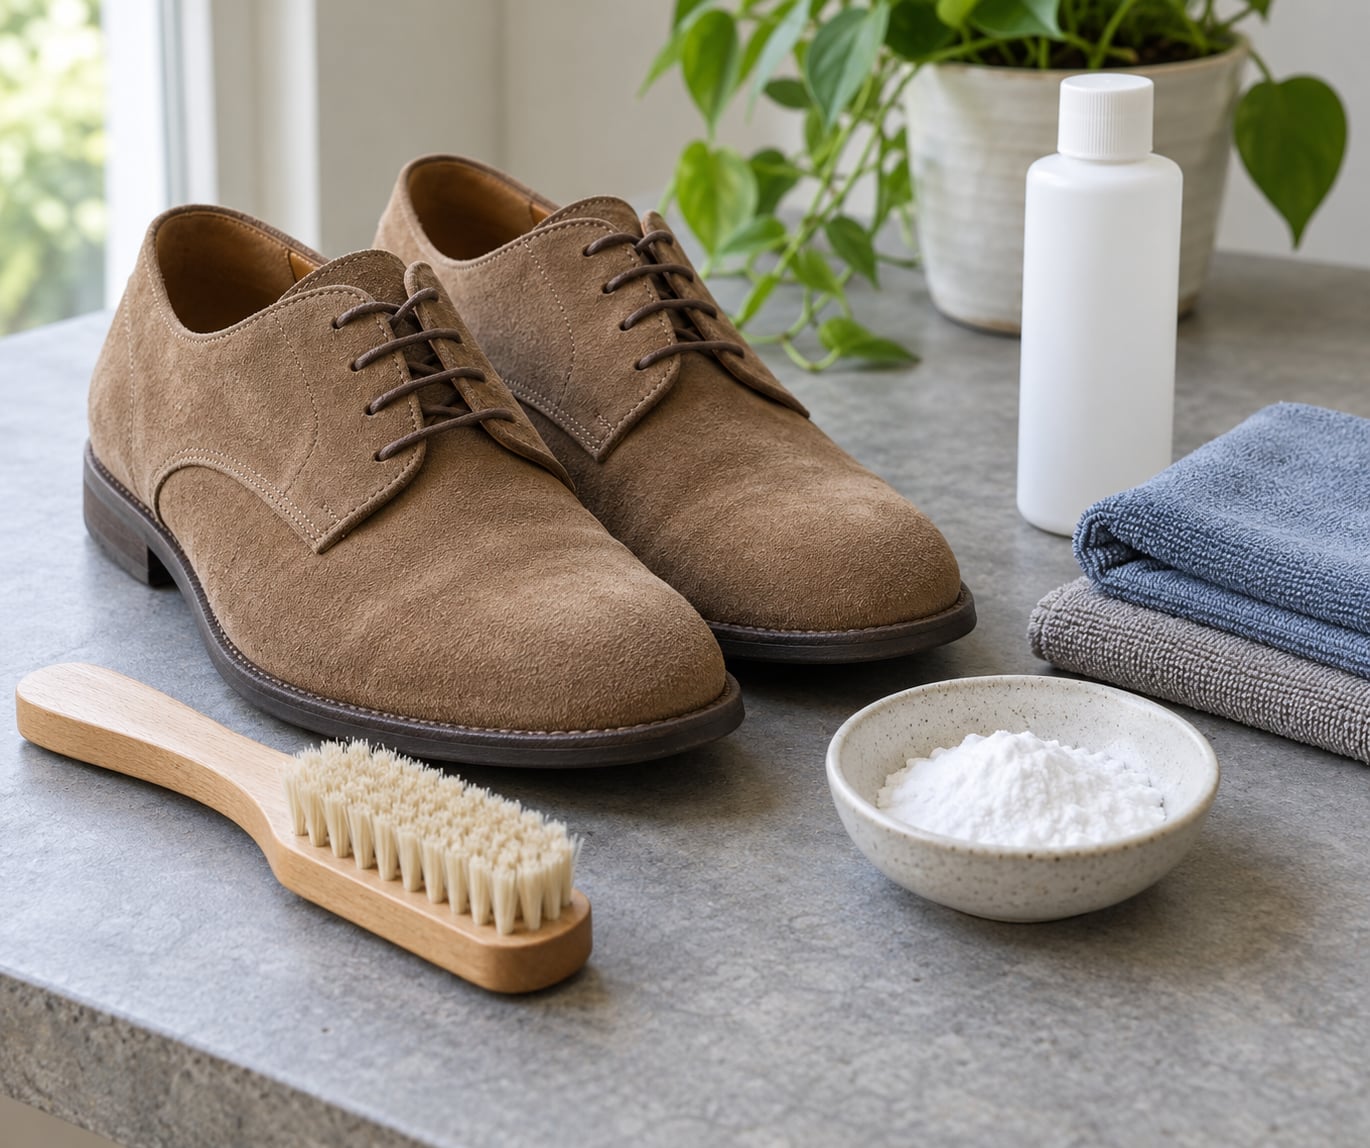
You need very little, and most of it lives in a household already. A soft-bristled toothbrush or a suede brush is the one tool that matters most. A clean microfiber cloth, a vacuum with a brush attachment, plain baking soda or cornstarch, and a suede-safe cleaner handle everything else.
- Suede brush or soft-bristled toothbrush. Use it dry. The longer the nap, the softer the bristles you want; a stiff wire brush belongs on short-nap shoes only.
- Clean microfiber cloths. One for brushing, one damp, one for buffing. Never reuse a cloth that has picked up dirt.
- Vacuum with a brush attachment. Low suction, nozzle a few centimetres from the shoe. It pulls dust out of seams and grooves without touching the nap.
- Baking soda or cornstarch. Both absorb fresh oil before it soaks in.
- Suede eraser or block. The cheapest item in the kit and the one people skip. It is what removes scuff marks.
- A suede-safe cleaner. Only for set-in dirt, and only after a patch test.
Two things decide which method is safe before any product touches the shoe. The care label tells you whether water-based products are allowed at all, and the colour tells you how much risk you are taking, since light and coloured suede bleeds and shows every wet patch. Test whatever you plan to use on a concealed spot, the inside of the tongue or under the heel, and wait for it to dry before you judge the result.
If the label says the uppers are nubuck rather than suede, expect a shorter nap, a smoother surface and less forgiveness. Everything below still works, but use gentler pressure and skip the eraser on anything but light marks.
Step-by-Step: How to Clean Suede Shoes at Home
1. Check the Care Label and Empty the Creases
Machine cleaning and water-based products are off the table when the label disallows them, and for suede sneakers it usually does. If the label permits partial cleaning, take the laces out and pull the insoles if they lift out easily, and brush away loose surface dirt from the toe box and along the seams first.
Run the vacuum over the shoe with the brush head just off the surface. You are after the grit sitting in the stitching and the grooves around the midsole. You should be able to see loose particles move and nothing else change; if the nap looks scuffed or flattened while you vacuum, you are too close.
2. Brush the Suede in One Direction
This is how to clean suede shoes at home without water: a dry suede brush or soft toothbrush, always moving with the natural direction of the fibres, one single pass per area rather than scrubbing back and forth.
Stand the shoe on a flat surface and brush from the toe toward the heel, then down each side. The sign it worked is an even, slightly brighter nap with no lighter and darker stripes across it. If you see patches that look worked-on rather than refreshed, you are brushing too hard or crossing the grain.
3. Treat Scuffs and Light Stains
Go in order from least to most aggressive, and stop as soon as the mark lifts.
- Plain rubber eraser. Rub gently with the grain on fresh dust or salt-coloured scuffs, then brush the crumbs away immediately. A pencil eraser works on rough high spots.
- Baking soda or cornstarch. Press a teaspoon onto a fresh oil spot, leave it 15 minutes so it absorbs the grease, then lift the powder and brush off. Add more only if the powder darkens.
- Barely damp cloth. Only when the label allows it. Dampen a microfiber cloth, wring it out until it barely drips, and blot. Never wipe.
Any wet method on suede means the whole shoe gets wet, or the boundary between treated and untreated leather becomes the most visible thing on it. Blot, then let it dry fully before you judge. Suede darkens when damp and often returns to its original shade as it dries, so a mark can look worse at the fifteen-minute mark than it does the next morning.
4. Use a Suede-Safe Cleaner for Set-In Dirt
When a mark survives the eraser and the powder, it needs a cleaner. Dilute a suede-safe cleaner as the bottle directs, dampen a cloth with it rather than pouring onto the shoe, and work one small section at a time.
Blot the cloth over the area and follow with a clean damp cloth to lift the residue. Two or three passes beat twenty. The sign of success is evenly distributed colour with no wet-looking halo; a dark ring around a treated patch means you used too much product or moved too fast.
Keep bleach, household spray cleaners, carpet cleaner, saddle soap, baby wipes, baby oil, steam cleaners and standard polish off suede. Dish soap belongs to a very diluted spot treatment, and only where the label allows water. If a cleaner smells strongly or leaves a ring on the test patch, stop and try a different one.
5. Let the Shoes Dry Away From Heat
Reshape the toe box with tissue paper, or use shoe trees if you own them. Cedar shoe trees are the better long-term choice because they hold the shape and absorb moisture rather than packing it in.
Then give the shoes 12 to 24 hours at room temperature. Radiators, hair dryers, tumble dryers, hair-dryer heat and direct sun are what shrink, stiffen, warp or fade suede. If you need to move the drying along, a fan set several feet away and on cool is fine. The shoe is ready when it feels room-temperature and soft all the way through, including inside the shoe, not just on the surface.
6. Restore the Nap and Buff the Finish
Drying leaves the nap flat and a little darker than it started, which is normal. Brush again with the dry brush, in one direction, and the fibres lift back up. For stubborn spots that survived drying, use the suede eraser sparingly and buff with the brush afterward.
A soft-bristled toothbrush also works for buffing the seams and the creases where the brush cannot reach. The finished result should look even and soft, close to the original texture. Shine, bald patches or grey fuzz at the edges mean you went too far, and no amount of further brushing will bring those fibres back.
7. Check the Result and Protect the Suede
Hold the shoe next to the untreated pair, or compare one shoe against the other, under neutral daylight rather than warm indoor light. Slight differences are usually invisible to other people; a hard line between treated and untreated sections is not.
If a stain remains after this, stop working on it. Repeated scrubbing turns a mark into a bald patch, which is worse than the original stain. Apply a colour-matched suede protector once the shoes are completely dry, and reapply every few months or after heavy rain. Protector makes future stains easier to lift, but it does not undo damage that is already there.
Common Mistakes
Soaking the shoes or using the washing machine
Machine washing saturates the nap, drives dye out of it and shrinks the shape. It is the single most common way people ruin suede at home, and it cannot be undone. Dry cleaning at home works. If the shoes need more than this guide allows, that is a cobbler job.
Rubbing instead of blotting
Rubbing works a stain deeper into the fibres and spreads it past the original spot. Press a cloth down, lift it, change the side, press again. On a dry mark, brush. On a wet one, blot. Neither involves sideways force.
Using too much cleaner
More product does not mean more cleaning; it means a saturated patch that dries into a ring. Apply to the cloth, keep the shoe barely damp, and work in sections the size of a coin before you move on.
Drying with heat or sunlight
Heat hardens the fibres and shrinks the leather, and sunlight fades the colour unevenly. Room-temperature air drying over a day is slower and it works. Patting with a towel speeds nothing up and can push dye around.
Scrubbing thin, light or coloured suede
Light suede shows every pass, and coloured suede can transfer dye to a lighter patch or darken where the product pooled. Work those shoes with the brush alone as long as you can, and test on a hidden area twice before using anything wet.
Expecting every stain to disappear
Ink, blood, red wine, chili oil and set-in dye usually need professional treatment, and no home method will get them out without taking colour with them. When the mark stops responding after two careful attempts, the realistic move is a cobbler, or simply living with it.
Whatever you try, patch-test first and follow the manufacturer’s directions on the shoe and on the cleaner. The label knows the leather better than any guide does.
Frequently Asked Questions
Can you use a washing machine to clean suede shoes?
No. A washing machine soaks the suede through, pushes dye out of the nap and shrinks the shape, and the result is usually a stiff shoe with bare patches. Clean suede shoes at home with a dry brush first, spot-treat only what needs it, and let the shoe air dry. If the uppers are marked machine-washable, the label has tested it already.
What is the safest home cleaner for suede shoes?
A dedicated suede cleaner used sparingly, dampened onto a cloth rather than the shoe, is the safest option. Dish soap can work heavily diluted for an oily spot where the label allows water, but skip bleach, household sprays, carpet cleaner, polish and steam. Always patch-test on a hidden area and let it dry before judging the result.
How do you remove oil or grease stains from suede?
Absorb first rather than scrubbing. Press baking soda or cornstarch onto the fresh spot, leave it about 15 minutes, lift the powder off and brush away the residue. For older grease, the shoe-care solvent sold for leather and suede works when applied to a cloth, not the shoe. Treat the whole shoe evenly and let it air dry fully.
Can you use baking soda to clean suede shoes?
Yes, and it is one of the safest powders for suede because it absorbs rather than adds liquid. Use it on fresh oil or grease, leave it 15 minutes, then lift and brush it away. Baking soda will not lift a stain that has already soaked in, and brushing hard to remove the powder can flatten the nap, so brush gently in one direction.
How do you restore the nap on suede after cleaning?
Wait until the shoe is completely dry, room-temperature and soft all the way through, usually 12 to 24 hours. Then brush with a dry suede brush or soft toothbrush in the natural direction of the fibres, from toe to heel. The nap lifts and the colour evens out within a few passes. Shine or bald patches mean the area was overworked and will not recover.
Conclusion
Start with the label, then the dry brush. Vacuum out the grit, brush along the nap, and treat the smallest hidden area with the mildest thing that could work before you touch anything visible. Most shoes never need more than that.
Patience and barely any moisture are what protect suede. Soaking and repeated scrubbing cause nearly all of the damage people regret, and both are entirely avoidable.