You can add a water-repellent layer to suede sneakers that sheds rain, snow and road spray, but you are not sealing the leather. Suede is porous, napped hide, so what you get is repellency, not immersion-proofing. The whole process takes about half an hour plus an overnight cure, and it is easy enough for a first-timer if you go thin and test first.
The reason people get scared off is that they see a stiff, dark, shiny sneaker and assume the spray did it. Usually the spray did not; saturating the suede did. Work in light passes on clean, dry shoes and the material comes out of it looking like suede.
What You Need
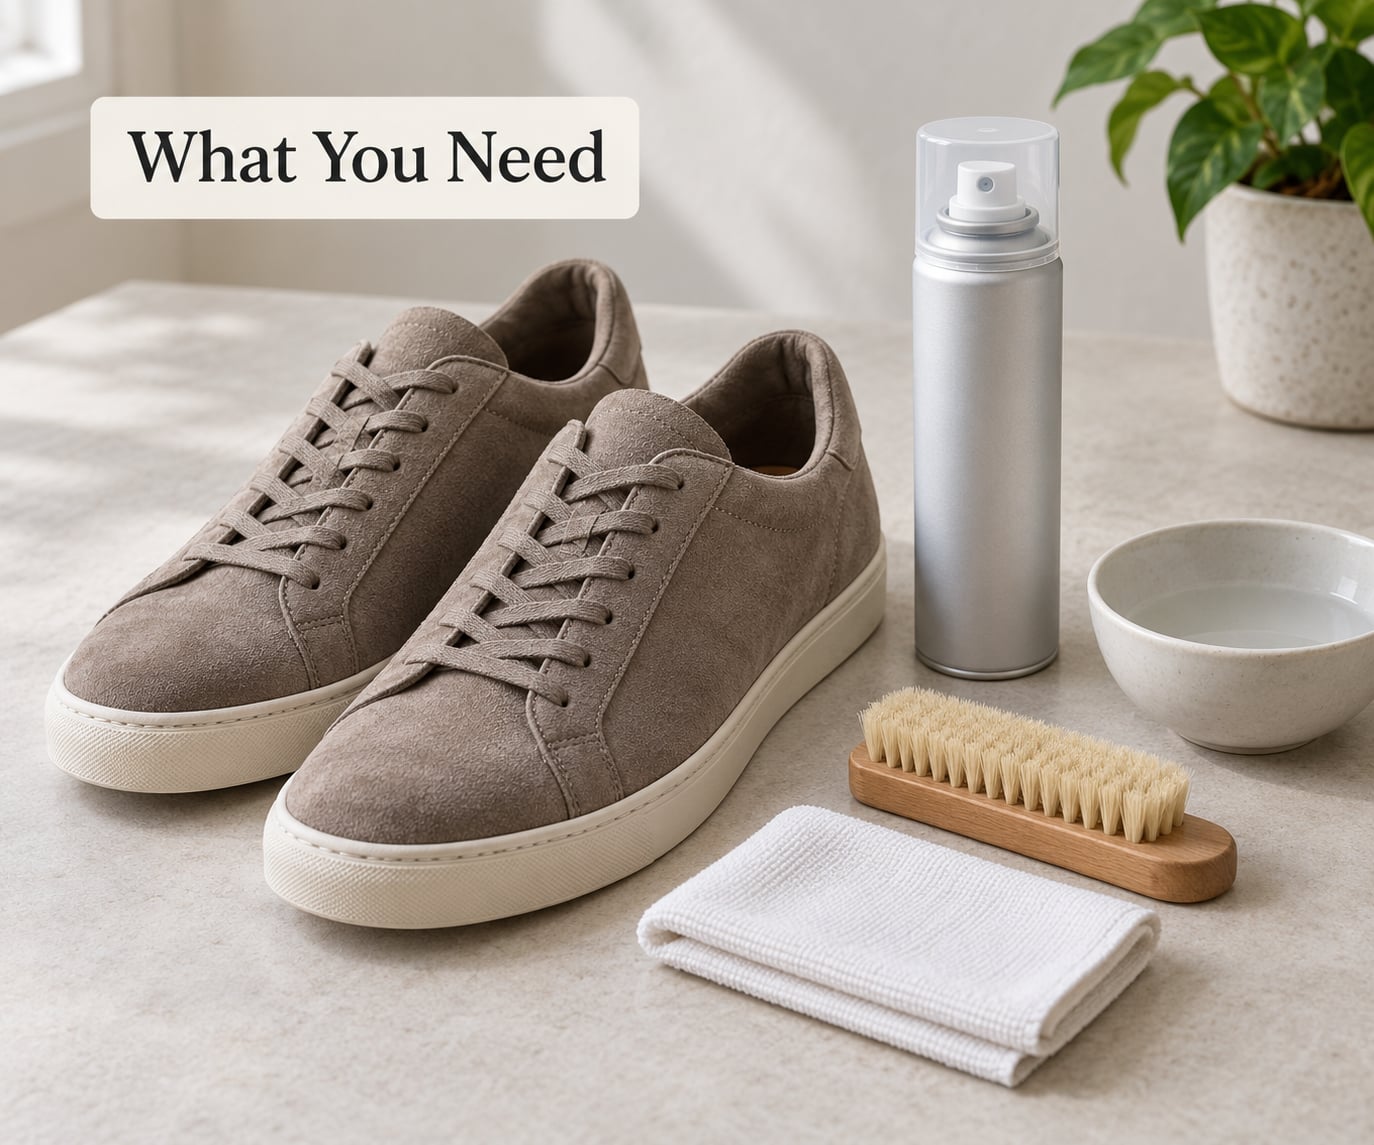
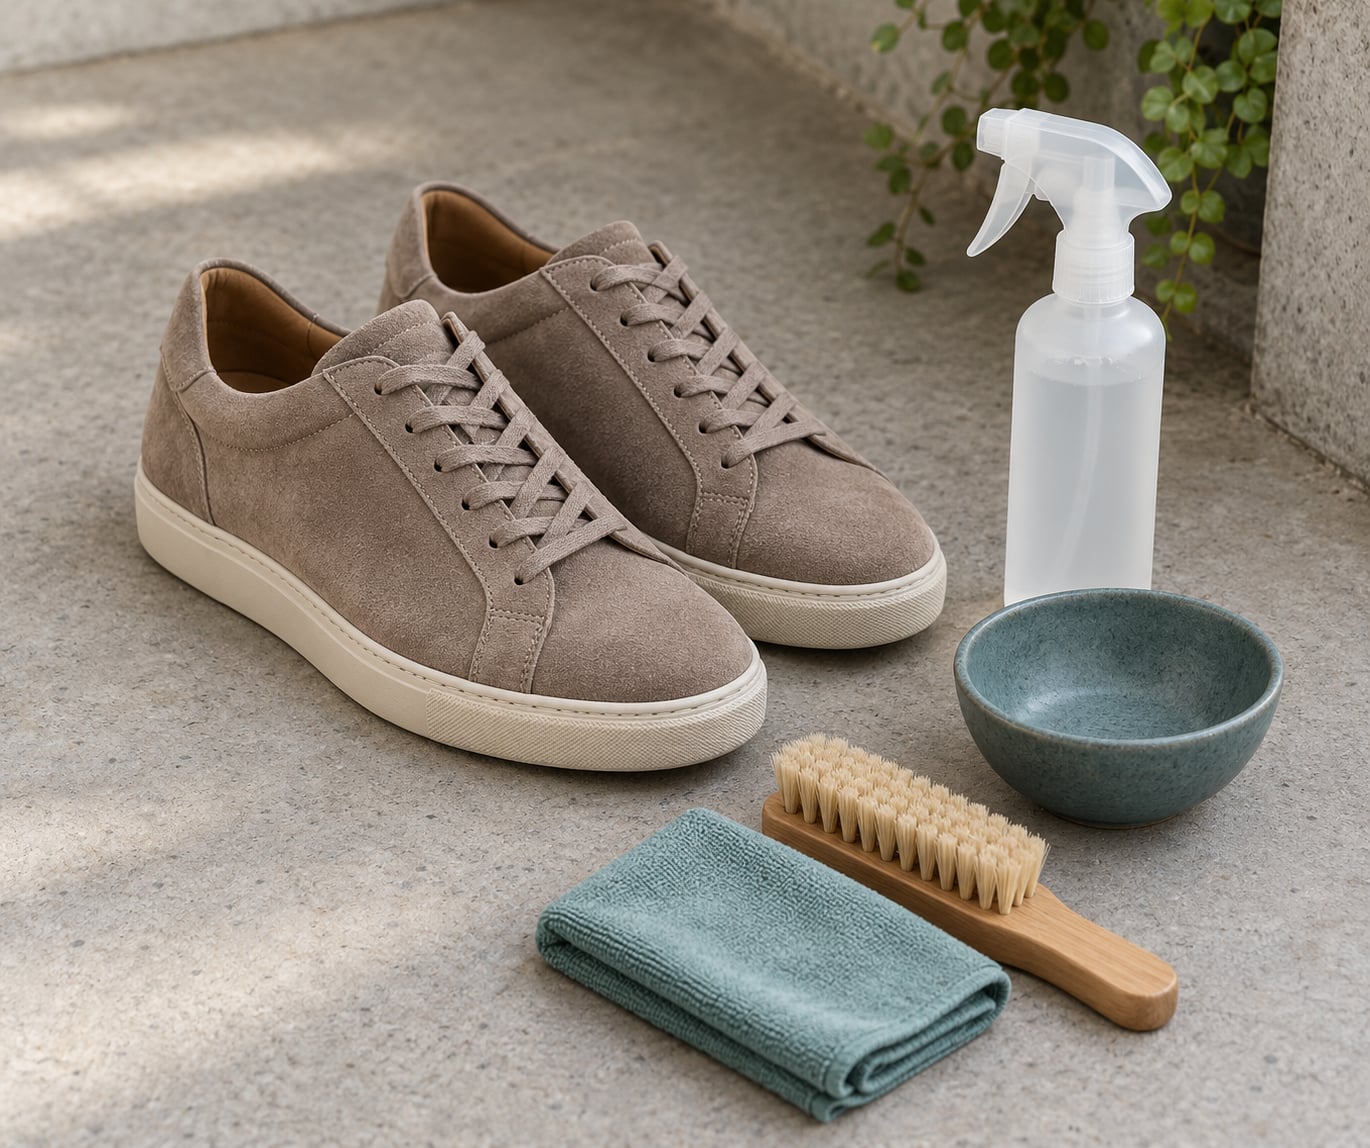
Grab four things: a protector whose label actually says suede and nubuck, a soft-bristle or crepe rubber brush, a clean microfiber cloth, and shoe trees or crumpled acid-free paper to hold the shape while the coating dries. A pair of nitrile gloves and a well-ventilated outdoor spot round it out. That is the whole kit, and the brush matters more than people expect.
Skip the generic leather conditioner and the kitchen sink of shoe products. A conditioner or cream designed for smooth leather can sit on the nap, flatten it, and leave a gloss that never fully leaves. Silicone sprays aimed at synthetic waterproof fabrics are wrong chemistry here too. If the can does not name suede, put it back.
A pump spray beats an aerosol for one reason: no propellant fumes filling the room. Aerosols are fine if you spray outside with the wind behind you, but water-based pump bottles are the easier habit to build around indoors. Formula labels change, so read the one in front of you rather than trusting any list, including this one.
Step-by-Step
1. Test the Product on a Hidden Area
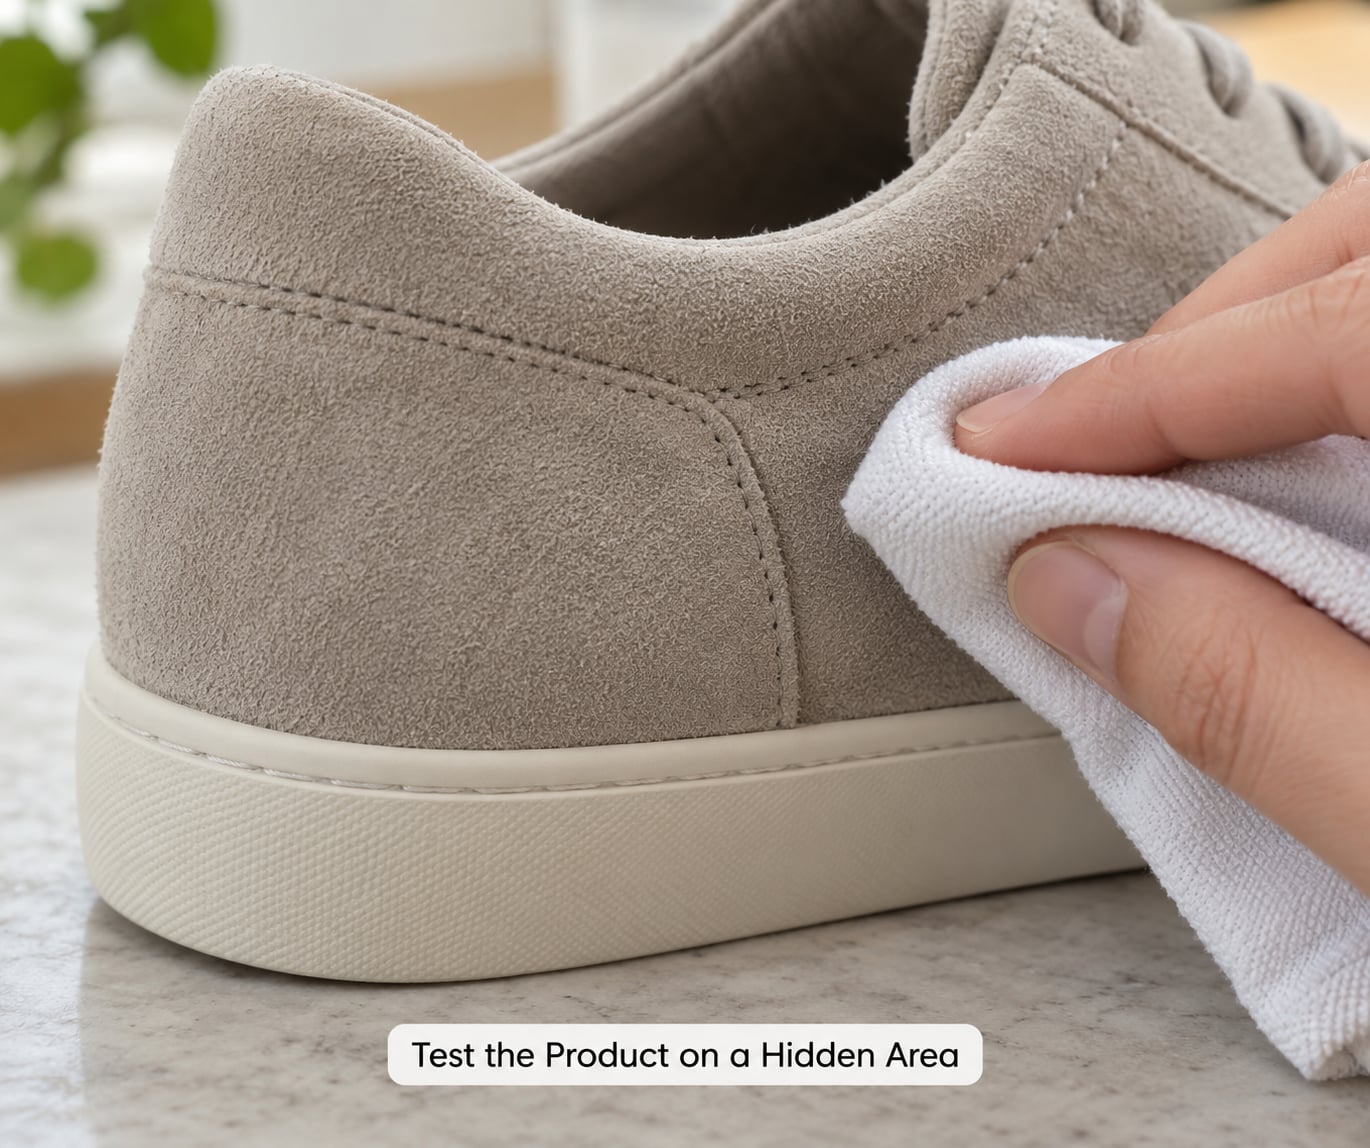
Dab a small amount onto an inside seam or the strip where the tongue tucks under, then wait for it to dry completely. Drying is the real test, because most color shift shows up as the solvent or water evaporates. Look for three things: any darkening, any stiff patch, and any change in the nap direction.
If the test spot dried darker than the surrounding suede, or if it feels like cardboard, stop there. That product will do the same thing across the whole upper and it will not wash out. Pull the color back with a barely damp cloth and a few brushes; if the mark stays, take the shoes to a specialist cleaner before you treat anything.
2. Clean the Suede Before Waterproofing
Brush the shoes with a suede brush first, working with the nap in one direction, until loose dust stops coming off your hand. For marks that do not lift dry, use a cloth barely damp with cool water and a small amount of suede shampoo, then blot rather than rub. Rubbing on damp suede is how you end up with blotchy, uneven patches.
This step is where most people skip ahead, and it is the one that causes the worst outcomes. Seal dirt under a waterproof film and you have locked the stain in place; the cleaner you start, the more evenly the coating spreads later. Let the shoes dry fully before step three, and if they took a while, stuff them with paper and swap it out as it dampens.
3. Apply a Thin, Even Layer
Hold the can the distance the label specifies, usually somewhere between 6 and 10 inches, and keep your hand moving. Light passes from the heel toward the toe, working the seams and the toe box without dwelling on any one spot. Two thin coats beat one heavy coat every time, because a soaked area dries blotchy and stiff.
You know the coat is right when the suede darkens slightly and evenly and the nap still lies flat. You know it is too heavy when you see a glossy trail, a puddle at the seam, or fibers that look matted once it dries. Stop the second you notice any of those and let it dry; you can always add more coverage later.
Combo-dyed uppers need extra caution. Mask the white or contrasting panels before you start, and go around them rather than over them. Colored suede that is already fading will release dye when it gets wet, and that transfer does not come out of the other panel once it soaks in.
4. Let the Sneakers Dry Naturally
Follow the cure time on the label, which usually means 15 to 45 minutes between coats before you add the second one, then a full 24 hours before the shoes go near wet weather. Keep shoe trees in for the whole stretch so the uppers hold their shape instead of slouching toward the sole.
Keep them away from radiators, hair dryers, tumble dryers, and direct sun. Heat drives the water out fast and takes the natural oils with it, which is exactly how suede ends up stiff and pale. The finish is ready when it feels dry to the touch with no tack, no stiffness, and no cool damp patch near the midsole.
5. Test with a Light Water Exposure
Once cured, put a few drops of water on a treated spot near the toe and let them sit for a minute or two. Proper coverage beads the water up and it rolls or blots off. If it soaks in and leaves a dark circle, the coat was too thin there and you can add another pass once it dries.
Keep the test modest. A hose or a sink of water tells you nothing useful and it soaks the shoe straight through the repellent. A misted cloth or a few drops in the sink is enough to know whether the finish is doing its job.
6. Maintain the Waterproof Finish
Brush the nap lightly once the cure finishes so the fibers lie in one direction, using a crepe or soft-bristle brush. Expect to reapply every two to four weeks in wet weather, and always after cleaning them, since washing suede strips whatever protection was there.
Brushing is also the reason protection fades. Every pass over the nap wears down the protective film, which is a recurring complaint from people who use Saphir Super Invulner or Tarrago Invulner and like the result. So brush less than you think you need to, brush dry, and touch up the protector rather than scrubbing the surface back to bare.
A simple rainy-season routine: brush before each wear, blot rather than rub if something spills, reapply every few weeks, and give the whole pair a fresh coat at the start of autumn if you wear them outside year-round. Stop treating the shoes the moment the suede starts feeling stiff, looking shinier, or shifting color.
Common Mistakes
Soaking the shoes is the big one. A sneaker held under a tap or sprayed until it drips is past the point of no return, and no amount of brushing brings back the texture afterward. Thin passes only.
Using leather or silicone products without testing is the second most common. Both can darken suede unevenly, and a silicone film has a habit of turning up looking plastic once it cures. Test an inside seam first, every single time you switch products.
Over-application is the third. More product does not mean more protection, it means darker, stiffer suede and a longer cure. Two light coats, then stop.
Drying with heat does the quietest damage of all. The shoes come out looking fine until the nap dulls a few weeks later, and by then it is not fixable at home.
Brushing against the nap pushes dirt into the fibers instead of lifting it out, and it strips the repellent film while it does it. Always brush in one direction with the nap, and brush dry.
Treating dirty shoes traps the dirt permanently, which we covered above. And expecting one coat to last a season is how people end up disappointed in December; plan on the two-to-four-week rhythm and the finish behaves.
How to Fix Darkened or Stiffened Suede
Stop applying anything first. Every additional pass makes a stiff patch worse, so set the shoes down for 24 hours and let the coating finish curing on its own. Suede that looks bad at hour six often looks reasonable at hour thirty.
Once they are fully dry, work the nap back with a crepe brush in long, light strokes. For a stiff area, a barely damp cloth followed by brushing will relax the fibers, and going with the nap keeps you from matting it further. Small water marks usually come out this way once the shoes are completely dry.
Discoloration that has soaked in, dye that has bled onto a contrasting panel, or a hard glossy patch means one of two things: the damage set, or you are past what home care can do. A specialist suede and leather cleaner can often pull a set stain out of the nap. Worst case, the honest answer is that the pair has had it, and no amount of conditioner will change that.
Frequently Asked Questions
Can you make suede sneakers waterproof without damaging them?
Yes, if you use a protector labelled for suede and nubuck and keep the coats thin. Suede cannot be fully sealed because it is porous napped leather, so think water-repellent rather than waterproof. Test an inside seam first, apply light passes, and let the shoes cure fully. Skip it entirely if the pair already came from the factory with a repellent coating.
What type of waterproofing spray is safe for suede sneakers?
Look for a can that specifically says suede and nubuck on the label. Water-based formulas spread more evenly and are less likely to darken the nap than solvent-based ones. Nikwax Nubuck and Suede Proof and Saphir Super Invulner are the two most commonly recommended options. Stay away from generic all-purpose waterproofer, silicone sprays and boot sealants such as Sno-seal.
Can I use a hair dryer to dry waterproofed suede shoes?
No. Heat pulls moisture out of suede fast and takes the natural oils with it, leaving the nap stiff and pale once it dries. The same warning applies to radiators, tumble dryers and warm air vents. Air-dry the pair at room temperature, out of direct sun, with shoe trees inside so the uppers hold their shape while you wait.
How do I remove water stains from suede sneakers?
Let the shoes dry completely first, because brushing damp suede mats the nap. Then work the area with a crepe or soft-bristle brush in long strokes, following the nap. If a mark remains, blot it with a cloth barely damp with cool water, let it dry again, and brush once more. A protector applied after cleaning helps stop the next stain from setting.
How often should I waterproof suede sneakers?
Every two to four weeks if you wear them regularly in rain, snow or slush, and always after cleaning them. Reapply before winter if the pair has been sitting in a closet, since protector films wear away with brushing and wear. If the nap is starting to feel stiff or look shinier than it should, stop for a cycle and let the leather recover.
Conclusion
Test a suede-specific product on a hidden seam, clean the pair and let it dry fully, then apply one thin coat from the distance on the label and give it the full cure time. That sequence is what separates protected suede from ruined suede.
After that, reapply on a schedule rather than by reflex. Two thin coats every few weeks will keep rain and stains rolling off; six heavy coats will just make the nap look like plastic, and no amount of brushing gets that back. Updated for 2026, since protector formulas and the language on the label do shift over time.