To repair a hole in the toe of a sneaker you need three things: a clean surface, a backing patch and a flexible adhesive. No specialist required for most toe holes. Clean the area with isopropyl alcohol, back it from the inside with a scrap of matching material, bond or stitch it closed with a shoe-grade adhesive, then give it 24 to 48 hours to cure. Leather and canvas are easy. Mesh and knit are the fussiest.
The method matters more than the product. Someone who grabs a tube of super glue on a mesh upper usually ends up with a brittle, yellow patch and a bigger hole, because the glue seeps through the fibres and sets hard. Someone who takes ten minutes to prep the surface and build a proper two-layer patch usually ends up with a repair that survives the rest of the shoe’s life.
Here is the full process, updated for 2026, starting from diagnosis and finishing with the trim and colour match.
Table of Contents
- What You Need
- How to Repair a Hole in the Toe of a Sneaker, Step by Step
- When a Home Repair Is Not Enough
- Repair Tips for Different Sneaker Uppers
- Frequently Asked Questions
- What is the best way to repair a hole in the toe of a sneaker?
- Can I use super glue to fix a hole in a sneaker toe?
- How do I repair a hole in mesh sneakers without making them look worse?
- Is it better to sew or glue a hole in a sneaker?
- How long should a sneaker toe repair take to dry?
- When should I take a torn sneaker to a repair shop?
- Final Advice
What You Need
Match your kit to the upper and the size of the hole. Most toe holes need two of these approaches combined: a structural patch inside and a cosmetic layer outside.
For stitching
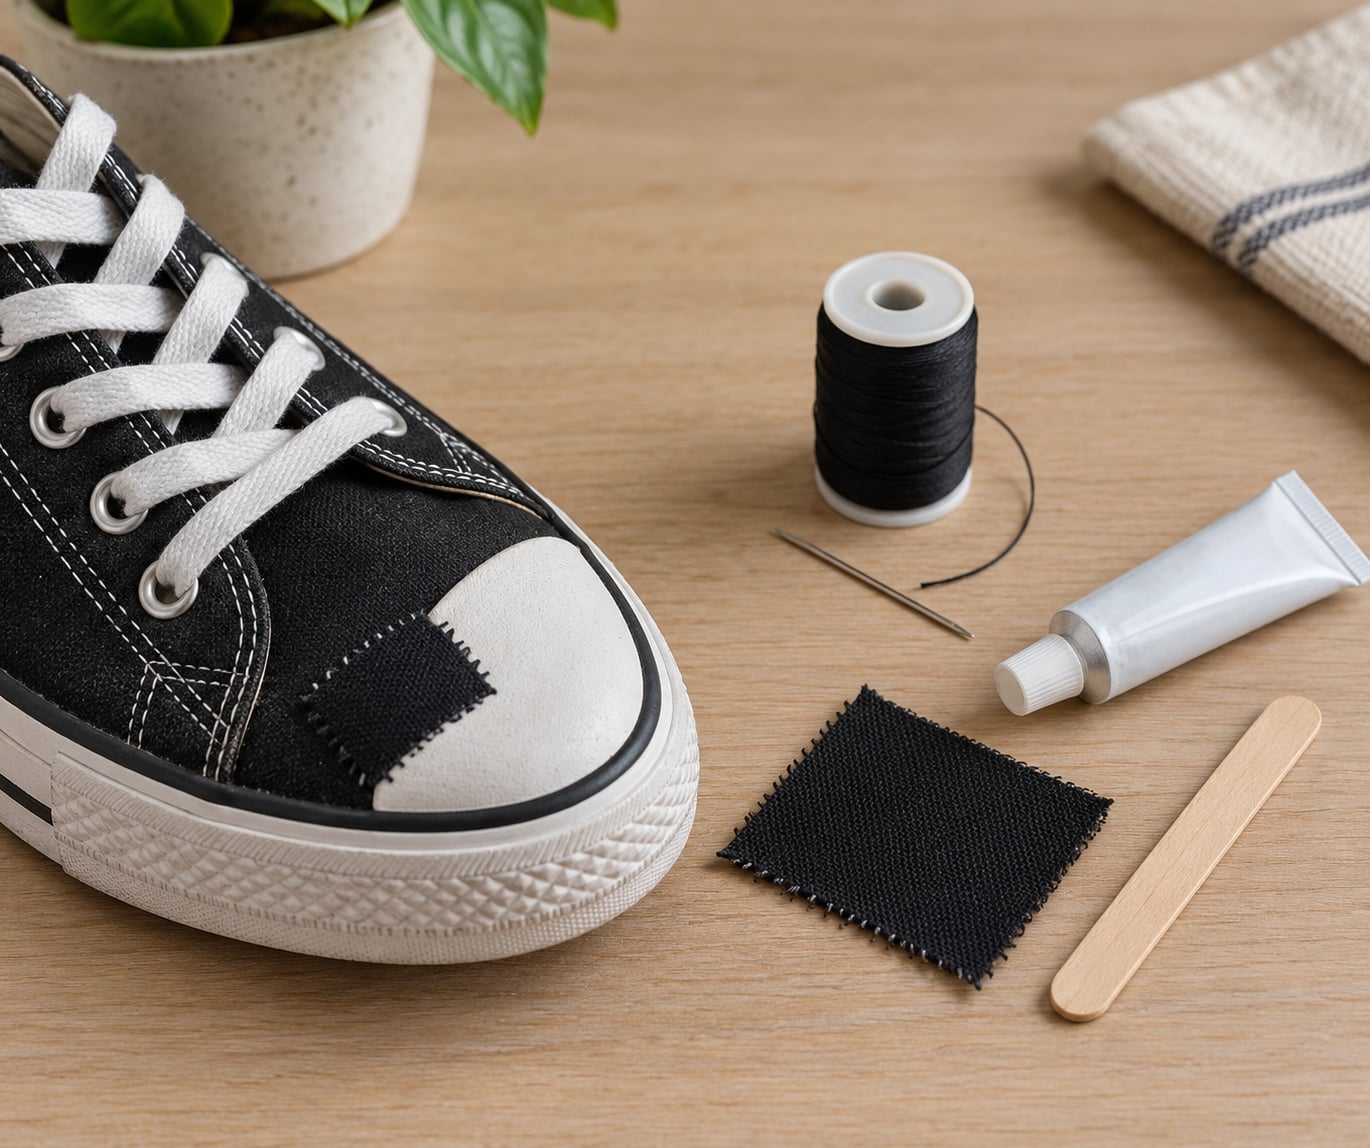
Awl, thick needle or shoe-needle, waxed polyester or heavy-duty thread, small sharp scissors, and a thimble if you push hard. Waxed thread resists abrasion and moisture better than ordinary cotton sewing thread.
For patching
Self-adhesive fabric patches, canvas or leather offcuts in a close colour, iron-on patches for canvas and leather, and a scrap of lining material to close the hole from inside. A patch alone holds small holes; anything bigger needs adhesive on top of it.
For adhesive repair
Shoe GOO or E6000 for flexible bonding, mouldable silicone such as Sugru for toe boxes you can shape with your fingers, fabric glue for light mesh, and contact cement (Barge, Freesole) for rubber rand or toe-cap edges. Grab isopropyl alcohol, cotton swabs, fine-grit sandpaper, a wooden craft stick for spreading, painter’s tape, and binder clips or heavy books for clamping.
Always useful
A spare shoelace or small piece of cloth to hold the toe closed while it sets, a nail file or scissor for trimming cured excess, talcum powder or matching shoe polish for the finish, and gloves because most shoe adhesives are not kind to skin.
How to Repair a Hole in the Toe of a Sneaker, Step by Step
Five steps, about an hour of active work, then waiting. Each step ends with a quick check so you can stop before a bad bond sets.
Step 1: Inspect and clean the damaged area
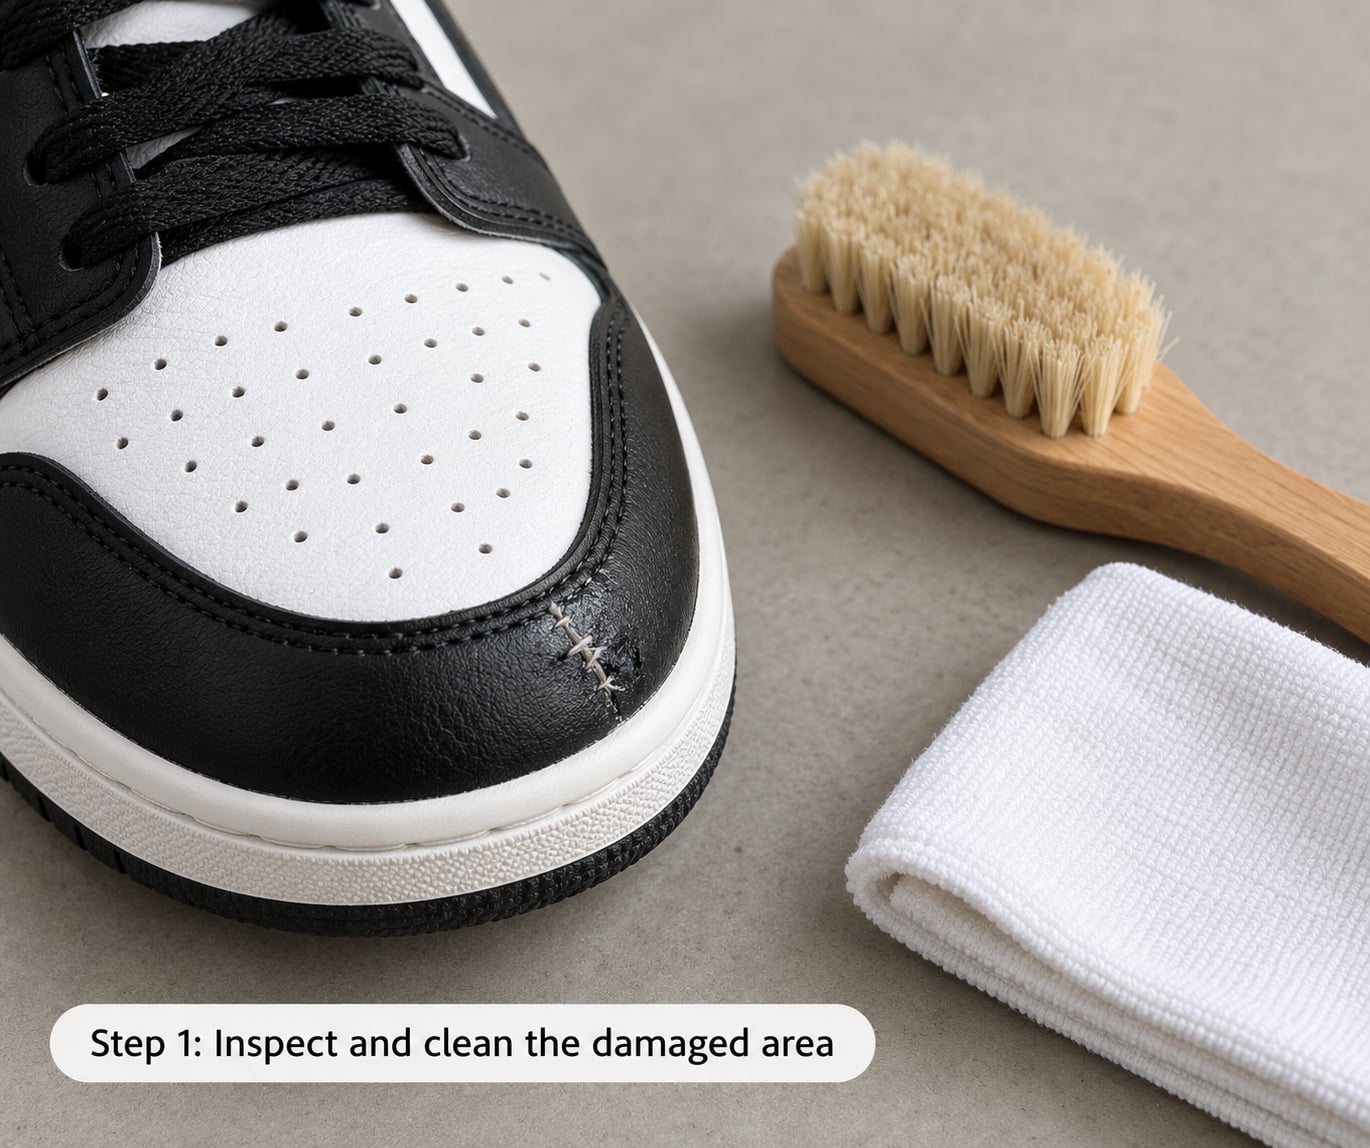
Work out the hole’s size, shape and cause before touching it. Poke the centre with an awl to see whether the toe box is still firm or already hollow inside, and check whether the tear sits on a stitched seam, a bonded panel or a flexible knit area. That decides your method.
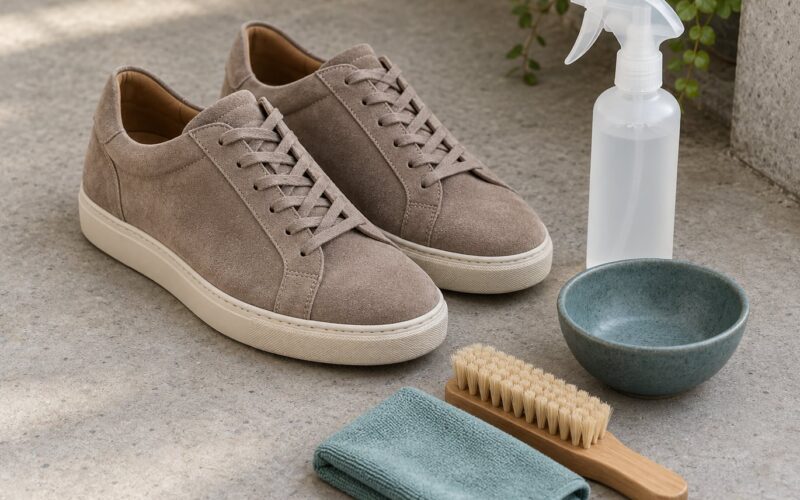
Snip loose threads with small scissors rather than pulling them, then scrub the area and an inch around it with isopropyl alcohol and a cotton swab. Let it dry fully. If the upper is suede or nubuck, keep the alcohol off and use a dry brush and a barely damp cloth instead, since alcohol flattens the nap and leaves a pale ring.
Success check: the surface is clean, dry and slightly scuffed where you will bond, with no loose threads hanging into the hole.
Step 2: Choose the right repair method
Small hole in a firm upper: adhesive plus an inside backing patch. Hole in a flexible mesh or knit: a patch inside, a light hand-stitch or fabric glue on the outside, and nothing rigid on top. Split toe cap or rubber rand lifting: contact cement, because that joint needs a fast, high-tack grab. Suede: patch and adhesive, then colour with powder.
Match stiffness to stiffness. If the area flexes with every step, a hard epoxy-style bond will crack first at its own edges. Flexible polyurethane and mouldable silicone move with the shoe; rigid glues do not.
Here is a quick comparison of what people actually reach for:
| Adhesive | Best for | Watch out for |
|---|---|---|
| Shoe GOO | Leather, canvas, rubber, general toe-box holes | Dries translucent, so it shows on black suede |
| E6000 | Flexible permanent bonds on leather and rubber | Runs if you apply too much; slow to grab |
| Sugru (mouldable silicone) | Toe boxes you need to sculpt back to shape | Only about 30 minutes of working time once opened |
| Contact cement | Rubber rand, toe cap edges, outsole seams | Solvent-based: work ventilated and away from flame |
| Fabric glue | Small mesh and canvas nicks | Too brittle for high-wear toe zones |
| Super glue | Almost nothing on a sneaker upper | Bonds to itself, goes brittle, stains white |
Success check: you have picked one method and one backing material, and both are rated for the upper’s flexibility.
Step 3: Apply the repair
Adhesive: cut a backing patch of matching material about half an inch bigger than the hole on every side, stick it on the inside with the rough side facing the hole, then apply adhesive to the upper in a thin layer with a craft stick. Use less than you think. Let it go tacky, press the patch down, then add a second thin layer over the join.
Patch or iron-on: trim the patch to a rounded shape, leave a quarter inch of material overlapping the tear, and press from the centre out. On leather and canvas, follow the patch’s own instructions for heat and time rather than guessing.
Stitching: thread the needle and wax it, push the awl through from the inside so each hole is pre-made, and use a whip stitch or a saddle stitch with short, evenly spaced bites. Pull the thread snug, not hard, or you pucker the upper and pull the toe out of shape. Tie off with a double knot and dab a little adhesive on the knot.
Hold the toe closed with a spare shoelace or strip of cloth, or clamp it with binder clips lined in cloth so the clips do not print into the upper.
Success check: the hole is fully covered from both sides, the edges lie flat, and nothing is stretched or puckered.
Step 4: Let the repair set or dry
Touch-dry is not cured, and that difference decides whether the repair lasts. Realistic expectations, read off the product and the room you are working in:
| Adhesive | Touch-dry | Full cure |
|---|---|---|
| Shoe GOO | 6 to 8 hours | 24 to 48 hours |
| E6000 | Several hours | 24 to 72 hours |
| Sugru | About 3 hours | 24 hours |
| Contact cement | Minutes to grab | 12 to 24 hours |
| Fabric glue | 1 to 2 hours | 24 hours |
Keep walking, dust and humidity away from the repair while it sets. A folded paper cup or a small box over the toe works fine. Cold and damp rooms push cure times out, so give the slow end of the range if the shoe is not in a heated space.
Success check: the repair feels firm and slightly rubbery, not tacky or soft, when you press it lightly with a fingernail.
Step 5: Check the finish and test the sneaker
Look at the toe from several angles in good light. Trim cured overflow with a sharp file or blade held flat against the shoe so you cannot gouge the upper, then scuff the edge level. On suede, brush with a suede brush and press talcum powder into the repair to knock the shine back; on smooth leather, finish with a matching conditioner or polish, keeping it off the mesh and the glue line.
Wear the shoe indoors for an hour with a thick sock. Flex the toe gently, then normally. If the edge lifts rather than stretches, you went too rigid: cut it back and redo it with a flexible adhesive.
Success check: the toe looks like part of the shoe from a foot away, and the repair stays put through a full bend.
Common mistakes to avoid
Repairing over dirt or moisture. Nothing bonds to a dirty surface. Clean and dry first, every time.
Using too much glue. Excess adhesive squeezes out, soaks into the mesh and cures hard. Thin layers beat one thick one.
Picking an incompatible patch. A rubbery patch on a breathable knit traps sweat and peels at the edge. Match the patch to the upper.
Stitching with thin or weak thread. Waxed heavy-duty thread lasts. Cotton thread snaps and leaves the hole wider than before.
Pulling the thread too tight. You will pucker the upper and pull the toe out of its shape. Snug is enough.
Wearing the shoe before full cure. The first flex while the adhesive is still soft is what opens the repair again. Wait the full time.
When a Home Repair Is Not Enough
Some damage is past a home patch. Hand the shoe to a cobbler or sneaker-repair specialist if the hole sits next to a glue bond and the panel keeps lifting again, if the split runs from the toe into the outsole, if the sole is separating from the upper along the rand, or if the toe box is crushed and you can feel the foam or the internal board crumbling.
The same goes for a hole in the lining that lets grit into the foot, a badly worn-through upper with more than one weak zone, and any pair you intend to keep for years and want the colour matched properly. A resole with new toe caps is often the cheaper route than replacing a good shoe, so it is worth pricing up before you write the shoe off.
If you are not sure how far gone the shoe is, ask the cobbler for an assessment first. Plenty of people spend money patching shoes that needed a resole.
Repair Tips for Different Sneaker Uppers
Mesh and knit
Treat these as the hardest case. Rigid adhesive seeps through the open weave, cures hard and then cracks along the flex line. Use a patch inside, either self-adhesive fabric or a scrap of the shoe’s own lining, and a light fabric glue or hand stitch on the outside. Expect the repair to hold but to look slightly different from the surrounding weave.
Suede and nubuck
A hole in suede can be repaired, but the patch will show unless you manage the colour. Cut a suede or leather offcut slightly larger than the hole, attach it inside with flexible adhesive, then trim the outside flush and finish with talcum powder and a suede brush. Keep liquid adhesives off the nap and test any cleaner on the inside of the shoe first.
Leather
The easiest upper to work with. Clean with isopropyl alcohol, scuff glossy coatings lightly with fine sandpaper, back it with a leather offcut and bond with E6000 or Shoe GOO. Full-grain leather can take a colour match almost perfectly. Patent and coated leather will not take a matte repair gracefully, so keep the cosmetic layer thin.
Canvas
Close the hole from inside with a scrap of heavy canvas, then use an iron-on patch on the outside or a flexible adhesive under pressure. Canvas takes dye well, so you can recolour a mismatched patch with shoe polish or fabric dye to get close.
Rubber toe caps and rand edges
Use contact cement and follow the manufacturer directions, which usually means scuffing both surfaces, coating both, letting them go tacky, then pressing together and weighting overnight. This is the one repair where the glue is designed for the joint you are fixing.
Frequently Asked Questions
What is the best way to repair a hole in the toe of a sneaker?
Back the hole from inside the shoe with a scrap of matching material, then close it with a flexible shoe-grade adhesive such as Shoe GOO or E6000, or hand stitch it for mesh and knit. Clean with isopropyl alcohol first, apply thin layers, clamp, and wait 24 to 48 hours for a full cure before wearing.
Can I use super glue to fix a hole in a sneaker toe?
Usually not. Cyanoacrylate super glue bonds to itself, cures rigid and brittle, and turns yellow on light uppers, so it cracks along the flex line and leaves a scuffed, stained patch. It also soaks into mesh and can make the original hole bigger. Use a flexible polyurethane adhesive or mouldable silicone instead.
How do I repair a hole in mesh sneakers without making them look worse?
Patch from the inside with a scrap of the shoe’s own lining or a self-adhesive fabric patch, then close the outside with a light fabric glue or small hand stitches. Avoid rigid glue, which seeps through the weave and cures hard. Trim the patch to a rounded shape and keep it close in colour so the outline does not read as a patch.
Is it better to sew or glue a hole in a sneaker?
Glue holds better on firm uppers like leather, canvas and rubber, because it spreads across the tear. Stitching is gentler on soft, breathable mesh and knit, where a hard bond would stiffen the flex zone. Plenty of repairs use both: an inside patch for structure, stitching or glue to secure it.
How long should a sneaker toe repair take to dry?
Shoe GOO is touch-dry in 6 to 8 hours and fully cured in 24 to 48. E6000 can take up to 72 hours, mouldable silicone around 24, and contact cement grabs within minutes but needs up to a day. Cold, damp conditions add time. Wearing the shoe before the full cure is the most common reason a repair peels back open.
When should I take a torn sneaker to a repair shop?
Take it in when the tear reaches the outsole, the sole is separating along the rand, the toe box is crushed internally, or the lining is holed and letting grit in. Those need a cobbler, not a patch. A resole with new toe caps is often cheaper than replacing a good pair, so ask for an assessment before you write the shoe off.
Final Advice
Start by cleaning the toe and working out how big the hole really is, then choose the least invasive repair that suits the upper: a patch and flexible adhesive on leather or canvas, a backing patch plus stitching on mesh and knit, contact cement on rubber rand edges.
Build it in two layers, keep the adhesive thin, and let the repair cure fully before the shoe goes back in rotation. That is how to repair a hole in the toe of a sneaker well enough that you forget it was ever there.